Building a New Patch
This guide will show how to add fixtures into your show file using the Patch.
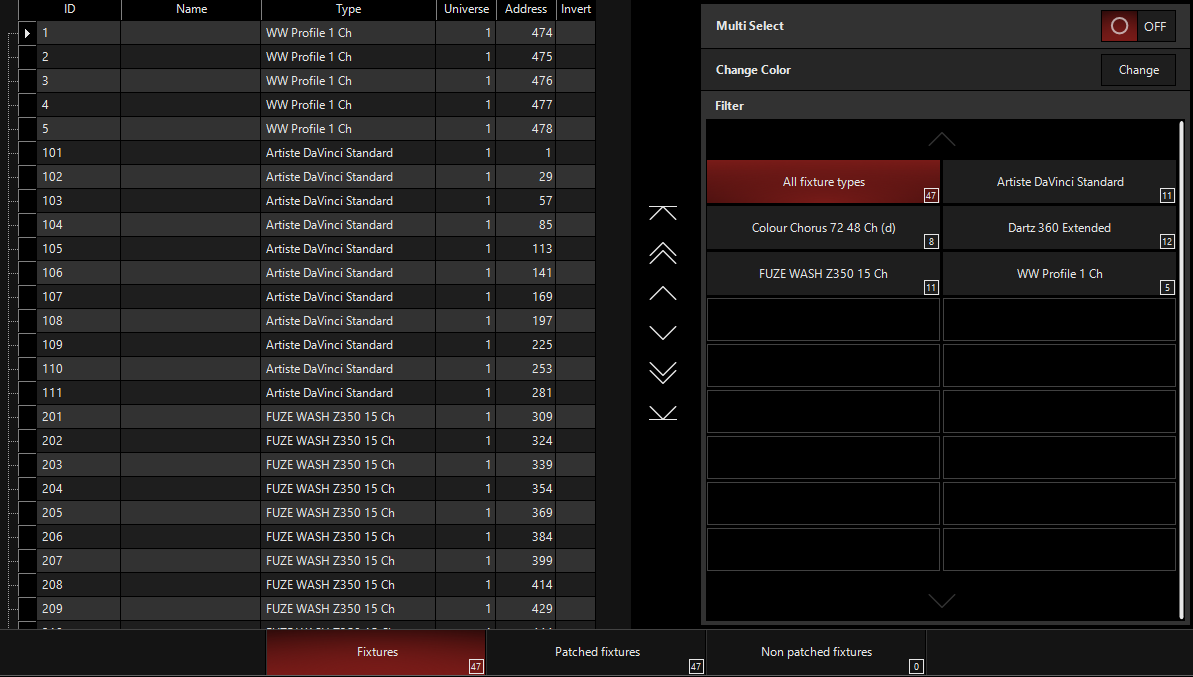
Adding Fixtures.
To choose the fixtures you want in the show, and patch them accordingly, you need to enter the patch.
To do this, press the ONYX quick menu button in the top left hand corner of the main screen.
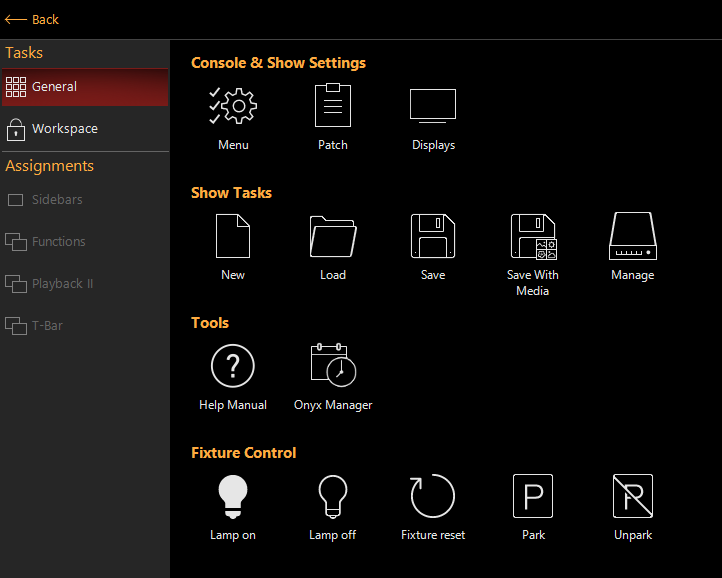
Press the button and
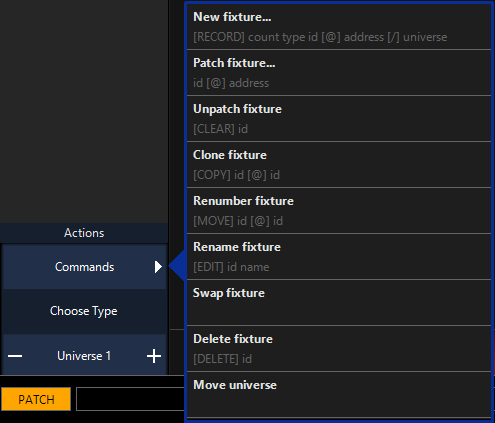
The easiest way to add new fixtures to the show is with the Auto Patch tool. So, press the Button, then the option.
Now you are in the Fixture Library. The library is arranged with manufacturers in the left most column, the fixture type in the second column, the mode in the third column and the DMX protocol readout in the last column.
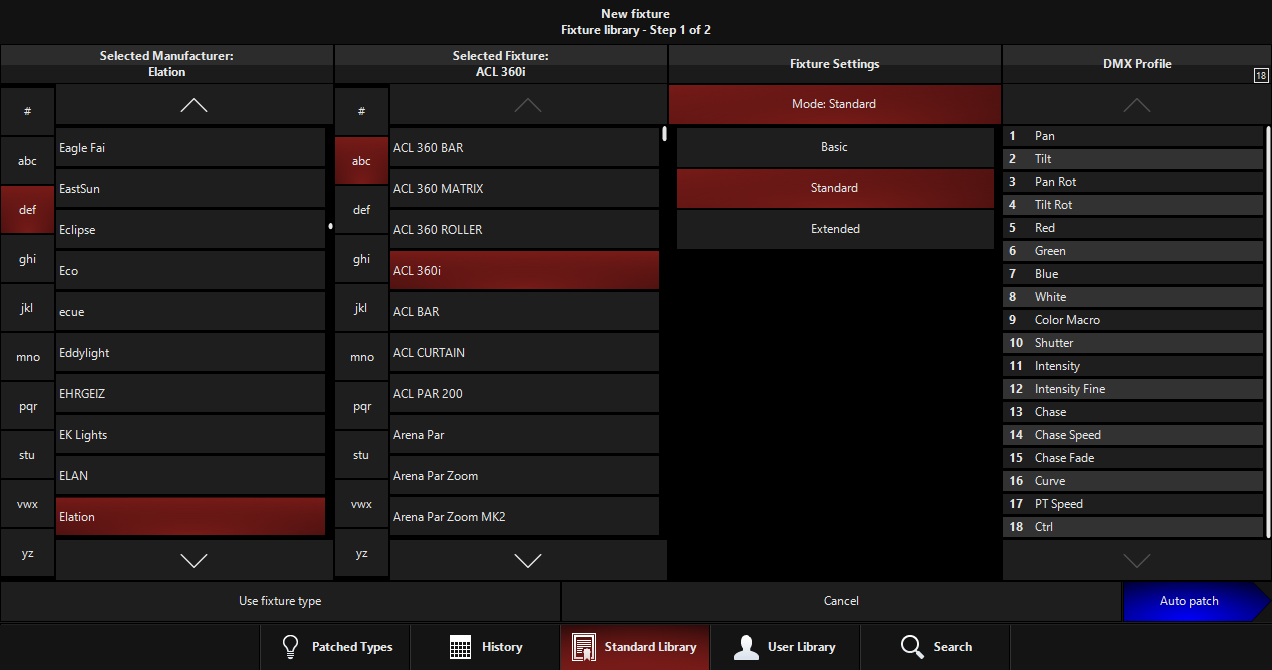
Navigate to the required manufacturer, fixture and mode by pressing on the available options. You can use the groups of letters to the left of each column to jump through the listings quickly.
Once you have found your fixture and selected the correct mode for your needs, press the blue button in the bottom right hand corner of the window.
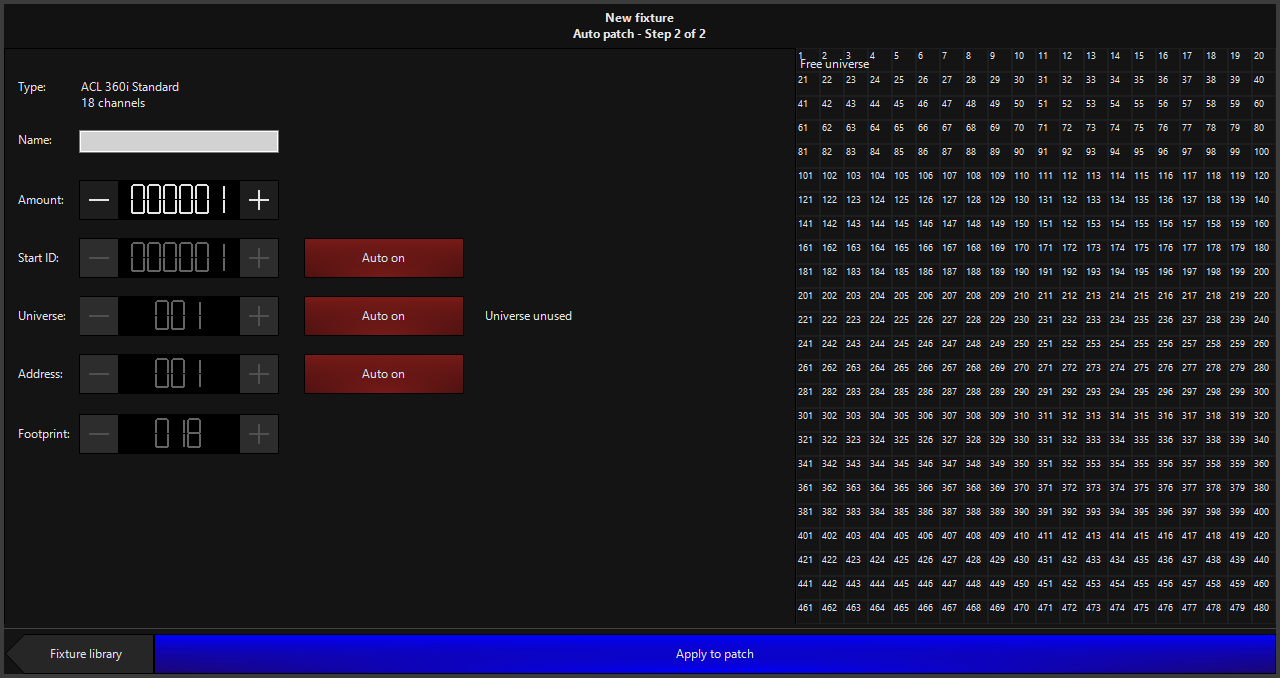
Once in the Auto Patch window, simply set the counter to be the total number of the selected fixture you wish to patch.
The Start ID can remain at its default, or be changed to your preference by pressing the "Auto On" button and using the buttons. The start ID is the unique "fixture number" assigned to each fixture that you will use to call them up on the keypad.
You can also press on the value and use the number pad on your computer or console. Double-pressing will popup the on-screen number pad.
The Universe and Address can be changed in the same manner. If you leave them to "auto", the console will choose the first available address.
Press to add the new fixtures to the patch.
Once