Cuelist Mark (Move In Black)
Sometimes it is desirable to have fixtures preset in a position, with colors, gobos, and other parameters already set before a cue is run.
Rather than sweeping from their last position or scrolling through various attributes, the fixtures are simply "there" when it fades in.
A fixture that is preset with a position or other attributes prior to fading in is said to be "Marked." While it is entirely possible to achieve this manually during programming, the process can be simplified with a little automation.
ONYX conveniently provides a MARK function just for this purpose...
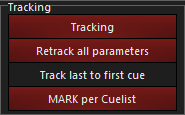
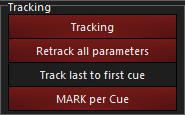
The MARK function looks for fixtures with 0% intensity (tracked or active) and reads ahead, giving them attribute values for the upcoming cue. It is activated in the Cuelist Options window under the "Tracking" heading.
Fixtures with a null intensity value will not be marked; they must have an intensity value of 0%.
A tracked value of 0% is valid. In other words the fixture must already have values in the Cuelist before the "up" cue otherwise, they will not be marked. They must be at 0% in the same cuelist as the mark cue.
Mark Per Cuelist
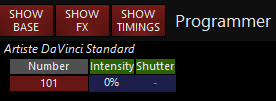
To demonstrate the MARK function, we'll begin by selecting Artiste DaVinci number 101 and giving it 0% intensity. Record this in a new cuelist as cue 1.
Now select fixtures 1 and 2, bring the Intensity to Full, and give them some Pan, Tilt and Color values. Store this as cue 2.
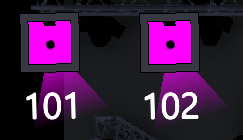
Press GO and observe that the Color and Pan Tilt values remain unchanged in cue 1. For the sake of illustration, we will use the 2D Plan View Screen to view the fixtures, which are off and centered:

Press GO to execute cue 2 and observe that fixtures 1 and 2 fade to the values you recorded. I chose Magenta with a tilt forward and a bit of pan right. It looks nice.
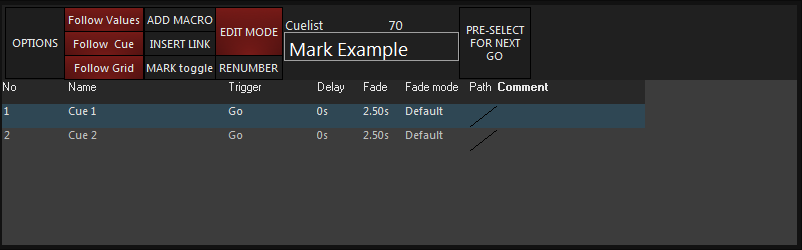
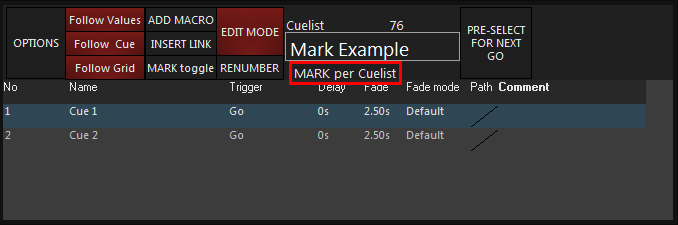
In the Cuelist Options window, enable . The Selected Cuelist screen will display just below the cuelist name.
Now make sure the cuelist is inactive by holding and pressing the cuelist button (for more information, see "Releasing Cuelists.htm").
Changes to the MARK settings will not take effect until the cuelist has been released.
Execute cue 1 again by pressing the GO button and observe that fixture 1 has magically faded to its cue 2 values, but has no intensity. Also note that fixture 2 is unchanged since it has no intensity value (active or tracked) in cue 1. Fixture 1 is Marked and ready for cue 2.

Now, when you press , cue 2 will load, and fixture 102 will swing into place and transition color. Fixture 1 will merely fade up intensity, it is already in it's color and position!
Mark Per Cue
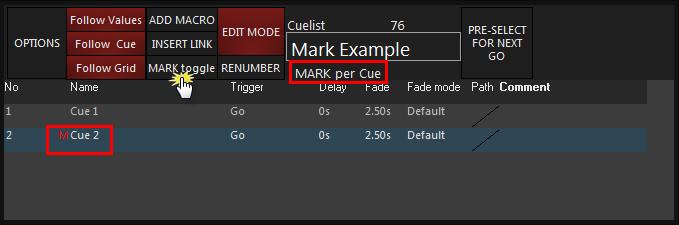
If you only want fixtures to mark automatically for certain cues, you can use MARK per cue... In the Cuelist Options window, enable .
Select the cue that you want fixtures to MARK in preparation for and click or press . A red "M" will appear to the left of the cue name to indicate that fixtures with 0% intensity in the preceding cue will mark automatically .
The Auto Mark feature is non-destructive; the cuelist is not changed in any way and disabling the function will revert the behavior of the cuelist.