Masking
Masking allows you to use the different slots in DyLOS to subtract Media or Text content over the Source.
Masking may be familiar to you if you work with visual media, as it is a concept that is often used there. The "mask" is a piece of media content or text that is overlaid on the content below. But instead of adding or being placed on top of the lower content, the mask is subtracted from the content it's placed upon.
Masks can be applied to the Zone, Effect 1, and/or Effect 2. Like everything in DyLOS, we can assign and work with masks via the touchscreen GUI or via the parameters on the Channel Visualization and Encoder wheels. Both methods can be used interchangeably and adjust the same end parameters.
Mask Parameters
When a Mask is selected, there are additional parameters to configure the mask further.
First, select between the "Mask Key", and "Blend" modes, and then use the parameters available in the GUI or encoders to change the key type:
Mask Key
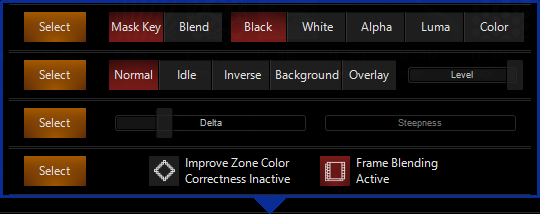
| Parameter | Selection | Explanation |
|---|---|---|
| FX 1 | Black Key | Uses the black areas of the content to determine the key. |
| White Key | Uses the white areas of the content to determine the key. | |
| Alpha Key | Uses the alpha (transparency) areas of the content to determine the key. | |
| Luma Key | Adjustable key based on the brightness of portions of the content. | |
| Color Key | Adjustable key based on the color in the content. When the RGB parameters of the same slot match a color in the content, the mask activates. | |
| FX2 | Normal | Sets the mask to activate on top of the masked slot when the key is met with a varying level of mask saturation. |
| Idle | Turns off the mask. | |
| Inverse | Inverts the mask. For example, if you are using "Black Key", and there is white in the image, the white will activate the mask. Includes a varying level of mask saturation. | |
| Background | Places the mask under the masked slot, based on they mask key. If you are masking a slot with "Black Key" selected, any black areas in the masked content will be replaced with the mask, but any non-black areas of the masked content will appear on top. | |
| Overlay | Sets the mask on top of the base content with a varying level of mask saturation. | |
| FX3 | Mask Key Delta | Fine control over the key width for the given key type (Normal, Inverse, Background, or Overlay) |
| FX4 | Mask Key Steepness | For Luma and Color Keys, this control allows fine-tuning of the width of the key. |
Blend Key
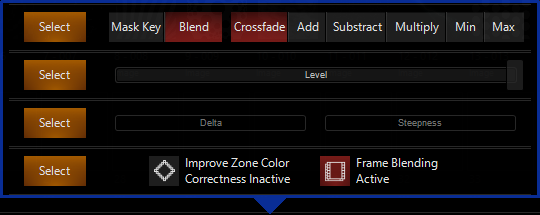
| Parameter | Selection | Explanation |
|---|---|---|
| FX 1 | Crossfade | A simple blend between the base content and the mask. A level of zero gives you only the base, a level of full gives you only the mask, and anywhere in the middle blends the two together. |
| Add | Adds the mask on top of the base content anywhere there is brightness in the mask. | |
| Subtract | Subtracts the mask from the base content anywhere there is brightness in the mask. This blacks out areas of the base image where the full white areas of the mask subtract to fully black. | |
| Multiply | Overlays the base and mask image together so that the color of the base shows through the bright areas of the mask. | |
| Min | The darkest value, between the base and the mask shows through. | |
| Max | The brightest value, between the base and the mask shows through. | |
| FX2 | Mask Blend Level | The level slider controls the saturation level of the mask in each mode. |
Placing and Configuring a Mask via the GUI
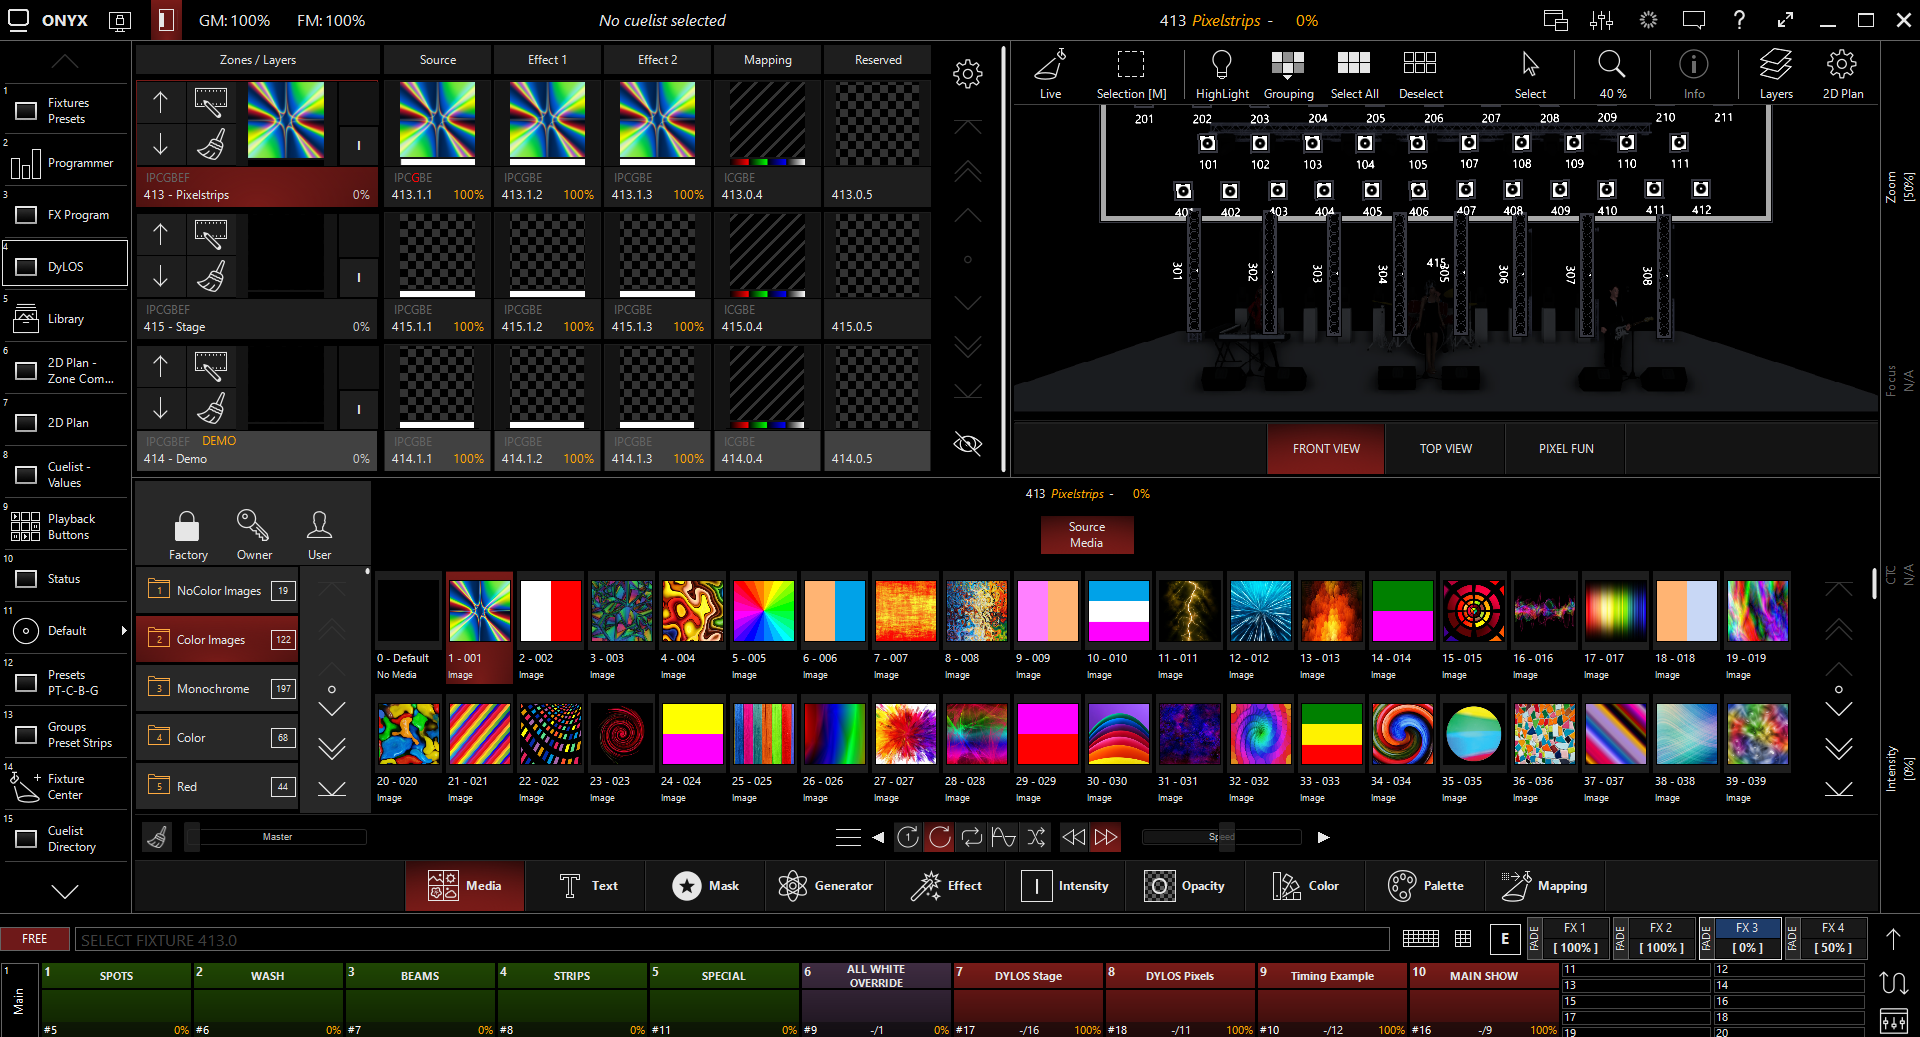
- Select a Zone by pressing on the Master Fixture in the Zone Composer:
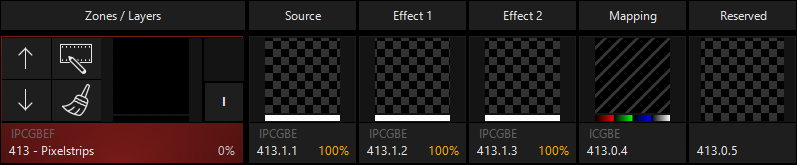
- In the Zone Parameters (below the Zone Composer in the standard "DyLOS" view), select the tab, go to the 2nd folder and choose the first image:
- Select the tab, verify that you are on the "Zone Media Mask" at the top and select the 1st image in the first folder :
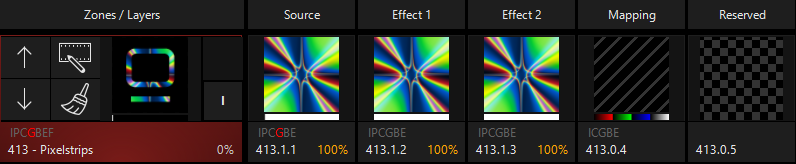
- This will then give you this image on your Zone Composer:
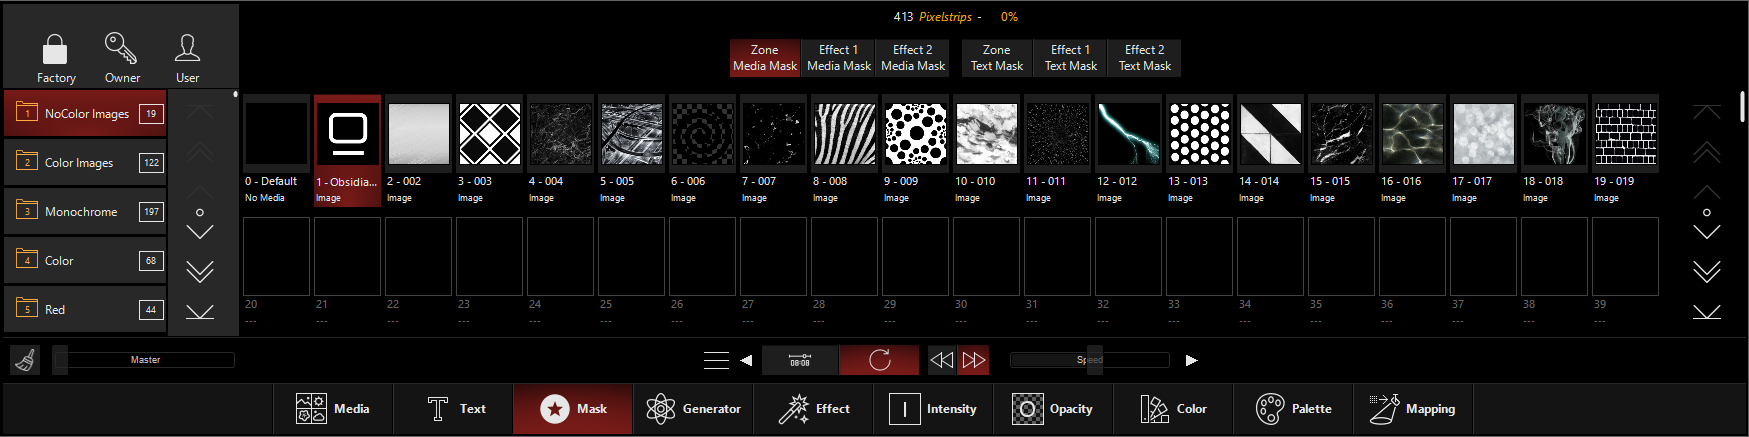
- But masking can do so much more than this! With zero configuration and a image that contains 100% black and white colors, the default settings work well. But let's select the 3rd image in the same folder. You'll notice that while the image is selected as the "Zone Media Mask", in the Zone Composer you see no active mask. Let's pop up the configuration tools via the "3 horizontal line" menu button near the bottom of the Zone Parameters:
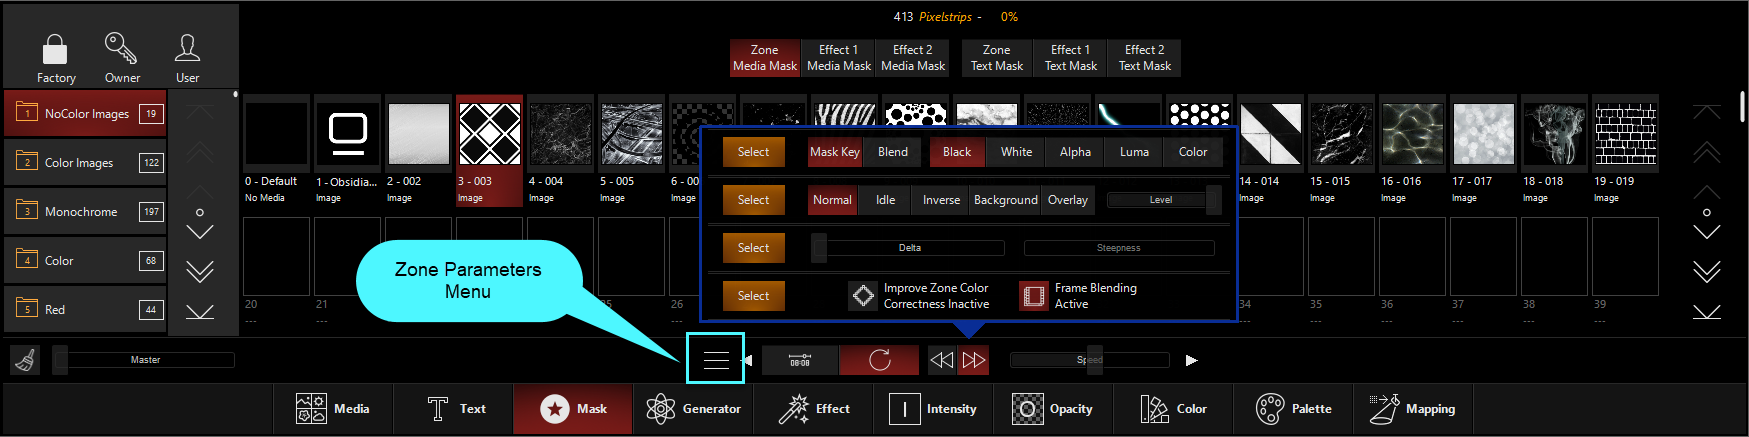
- Here we see a variety of controls that we can use to modify the mask. If you want to dock any of the sets of controls, you can do so via the amber button to the left of each row. For this example, simple grab the "Delta" fader and bring it up until you see the mask take effect on the Zone Composer:
With this image, the reason why it doesn't mask correctly on first selection is because the dark diamonds are not black, but dark grey. Similarly, the if we select "White" as our Mask Key, we'll find out that the light areas in this image aren't 100% white either, making it a great example image to illustrate these controls!
Placing and Configuring a Mask via the Encoders or Channel Visualizer
- Select a zone by typing the fixture number of the source and press - in the demo file, you would type 413.1.1 Enter
- On the encoders/Channel Visualizer, select the parameter group, and then set the first encoder to "Media", the 2nd encoder to "2 - Color Images", the 3rd encoder to "1".
- It should appear as so:

- Select the main fixture by typing 413.0 Enter
- In the parameter group, select "Mask" on encoder 1, "NoColor Images" on encoder 2, and "Slot 1" on encoder 3.
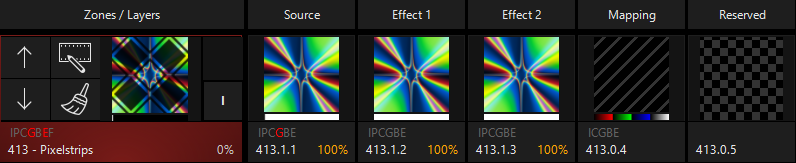
- This will then give you this image on your Zone Composer:
- But masking can do so much more than this! With zero configuration and a image that contains 100% black and white colors, the default settings work well. But let's select the 3rd image on encoder 3. You'll notice that while the image is selected as the "Zone Media Mask", in the Zone Composer you see no active mask. Let's go to the parameter group.
- Here we see a variety of controls that we can use to modify the mask. For this example, simple grab the "Mask Key Delta" encoder and bring it up until you see the mask take effect on the Zone Composer:
This image doesn't mask correctly on first selection is because the dark diamonds are not black, but dark grey. Similarly, if we select "White" as our Mask Key, we'll find out that the light areas in this image aren't 100% white either, making it a great example image to illustrate these controls!
Input Slot Selection
Last, but not least, we have are able to select the input slot that the Mask interacts with. It's located in the parameter group on the encoder labeled "Effect Input":
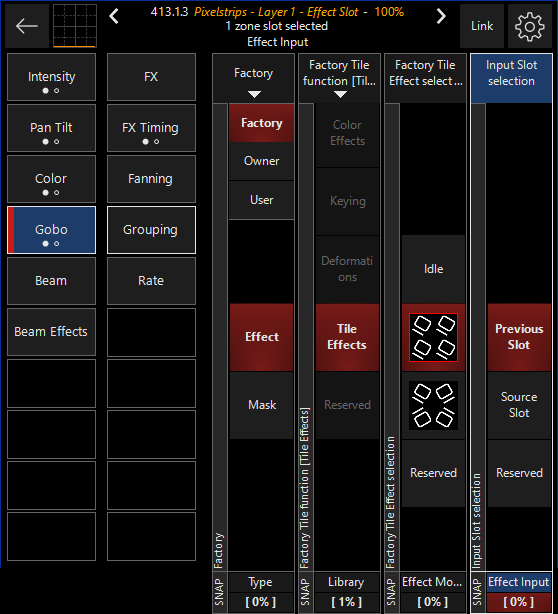
Via this encoder, you are able to choose between "Previous Slot" (Default) and "Source Slot". When on "Effect 2", it allows you to choose whether your Effect affects the previous Effect slot OR the Source slot, allowing even more visual possibilities for your mask!