Preset Mapping
Preset mapping modes convert the content to grayscale to determine the mapping to each fixture.
Each mode contains a different number of presets, but essentially works the same way. You select the preset(s) that you wish to map to each portion of the content and additional settings are available to customize the mapping:

1 Preset
The 1 Preset mode uses the grayscale value to modulate between the fixture's base (where it is placed before DyLOS contributes) and the preset selected. When the content is full white, the preset is fully engaged.
It's a great option when you don't want to completely override the regular parameters for the preset selected.
For this example, I've called up content number 35 from the folder of the Factory Content and set it in 1 Preset Mode with a "Full Intensity" preset selected:
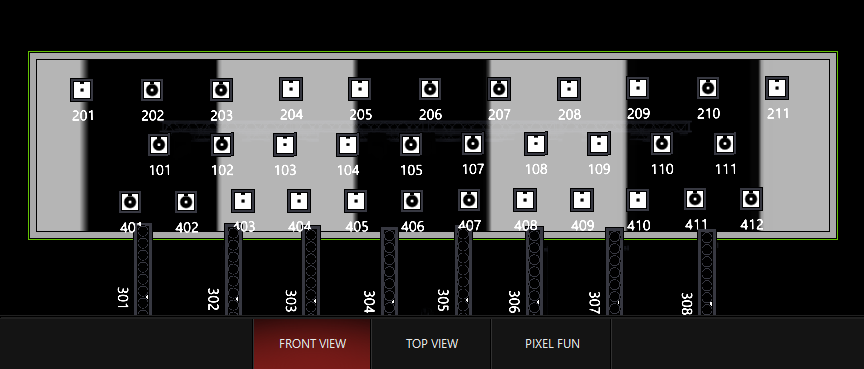
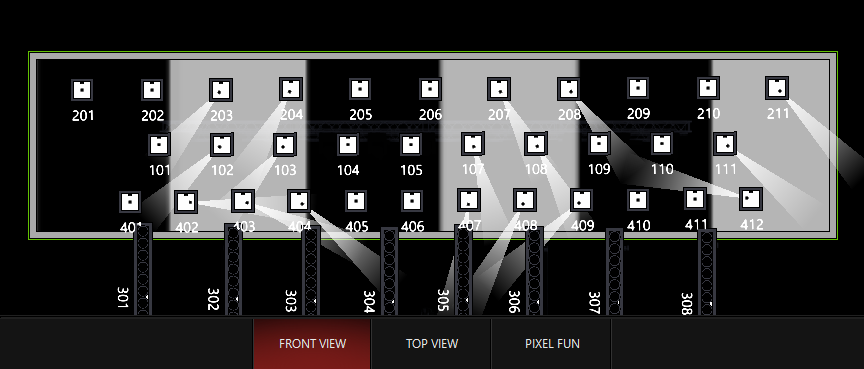
Pan Tilt: I placed the mapping in the "Lead Singer" preset and now the white areas of the content direct the lights to that position:
Color: I chose the "Magenta Mix" preset and applied it:
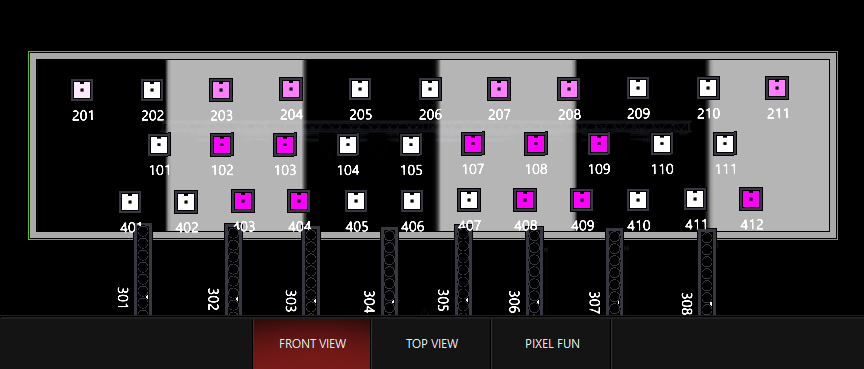
And then I played back a cue to show how the dark areas are transparent and allow the regular cues to show through:
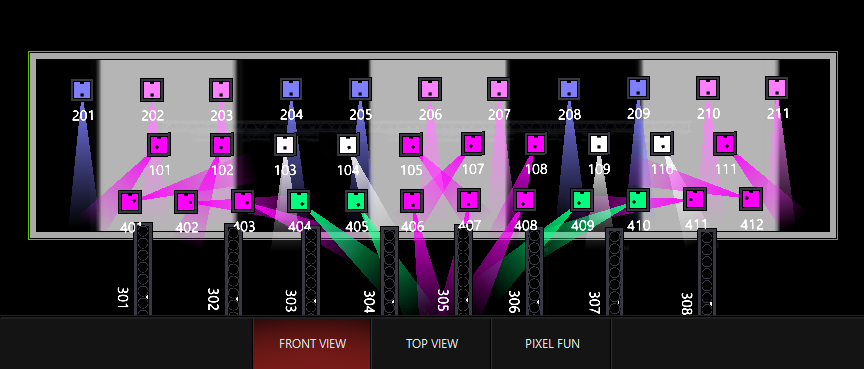
Any preset type is available via this mapping type, allowing for many possibilities!
2 Presets
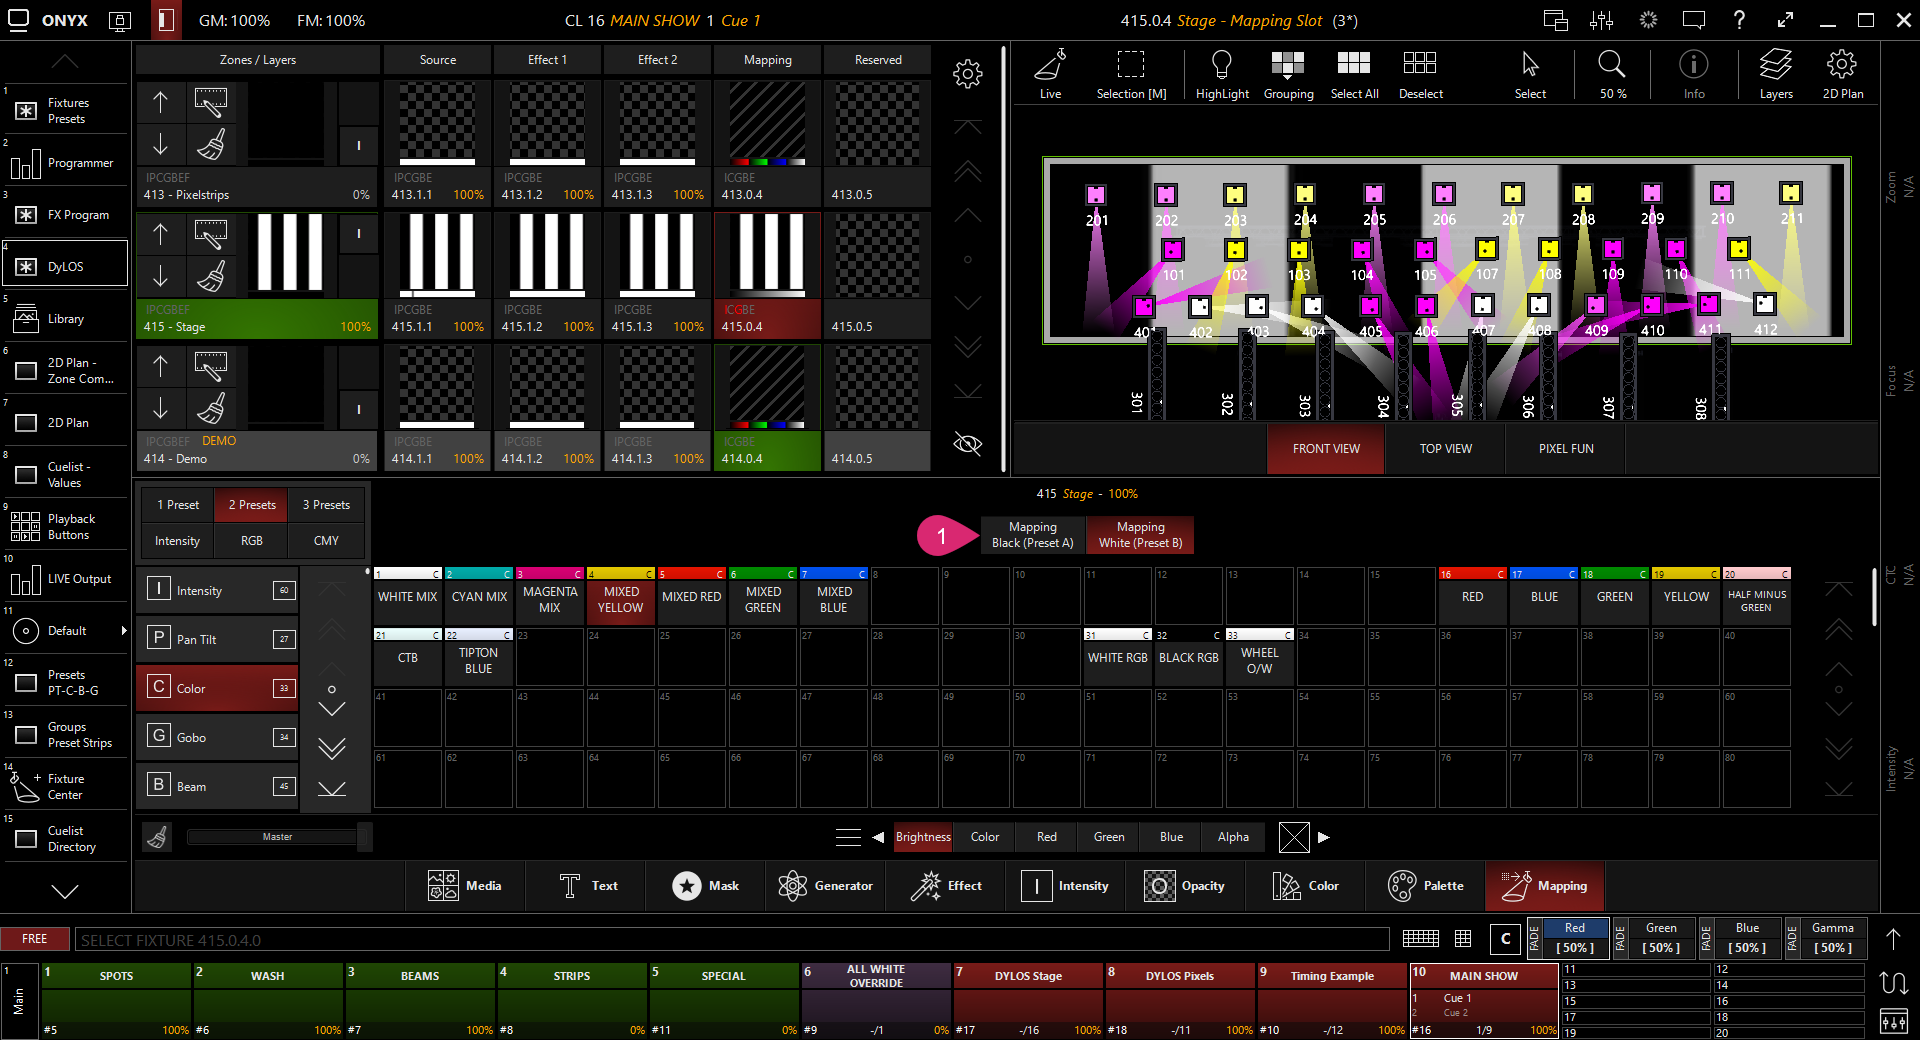
The 2 Presets mode uses the grayscale value to modulate between (2) presets. They are therefore assigned to the Black and White values of the content, and any Gray will be a mix of the 2 presets, the exact mix determined by the level of dark/lightness of the gray.
One popular way to use the 2 preset mode is to create a chase across the rig in the client's colors. The (1) arrow points out how to switch between the Black (Preset A) and White (Preset B) presets:
3 Presets
The 3 preset mode adds a "Gray" preset as a 3rd step between the Black and White presets.
There is also a "Gray Level" control which allows you to place the gray at any point between the Black and White presets for complete customization.
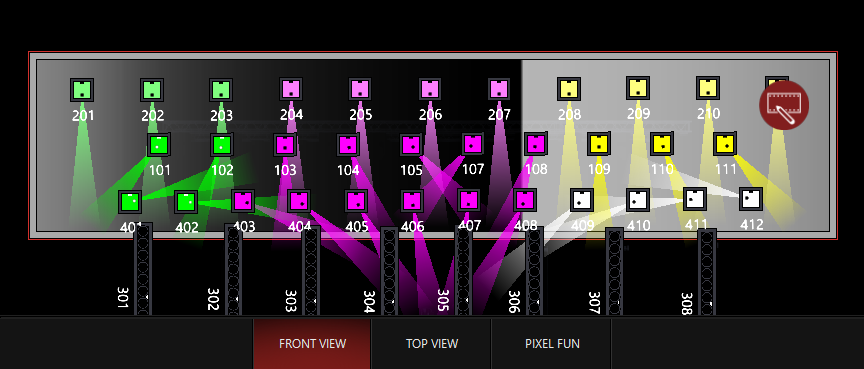
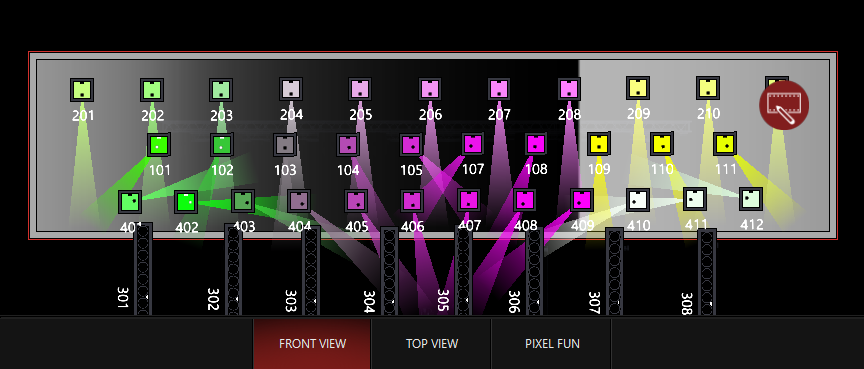
In this example, I've used one of the Generators to create content with black, white, and gray. You can see how I've mapped Black to Magenta, White to Yellow, and Gray to Green:
Snap Mode
When in preset mapping, this sets the transition between presets. When in "Auto" parameters refer to their channel defaults. When in "Fade" or "Snap", all channels either fade or snap when changing presets in the mapping. The "Snap Threshold" control determines the transition point for the snapping.
In the 3 Preset Example above, Snap Mode is left in auto and we see transitions between the colors. It's nice and smooth on color-mixing fixtures, but it could easy create un-wanted colors in the transitions. If we set Snap Mode to "Snap", then these colors will snap between the different presets, leaving no awkward transition colors:
