Mapping Adjustments
When mapping in DyLOS, there are parameter adjustments that you can make, no matter which type of mapping you are using. These adjustments allow you to best make the content mapping fit the response of different lighting fixtures.
These adjustments can be found both at the bottom of the Zone Parameters, with the full set of parameters available by the "3-line" menu button:
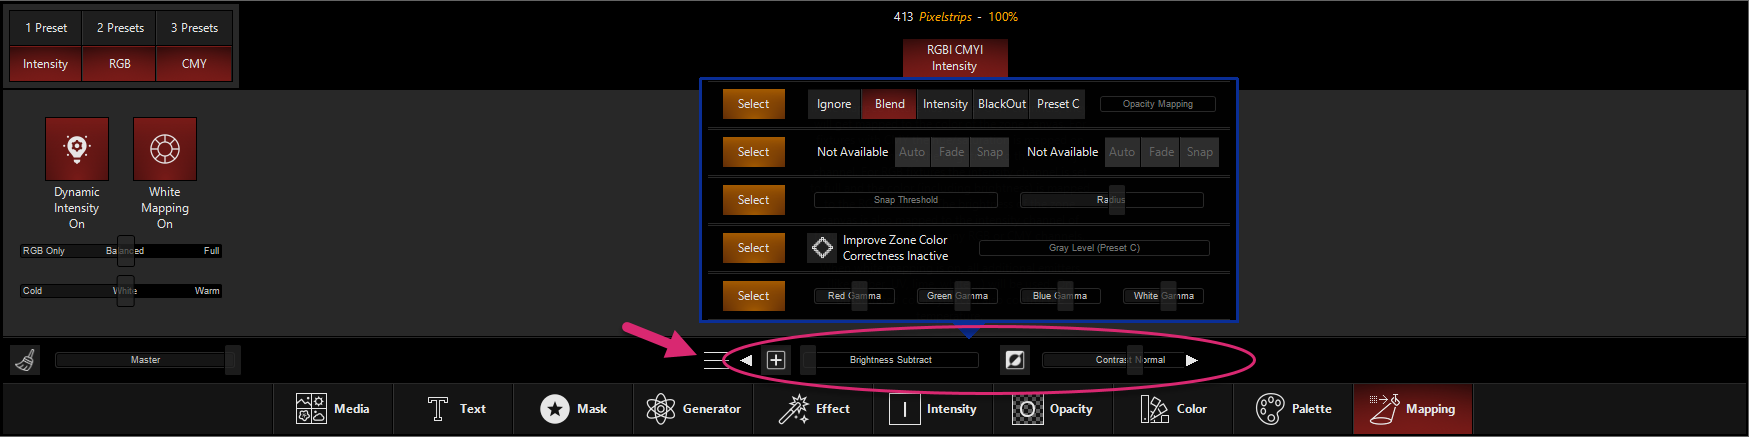
These are also via the parameters when the Mapping fixture is selected (see the linked Mapping page for the full parameters list).
Because these parameters are applied on the Mapping part fixture, they remain independent of content and Effects adjustments.
Think of these like the settings on your TV - you'll adjust them to make your picture look great on the fixtures you have, and you may occasionally tweak them, but you probably don't change them every time you change to a new channel or show.
Before beginning, make sure you first read the Opacity page to get a firm understanding of Opacity and how to control it via DyLOS. It is an integral part of mapping.
The Mapping adjustments are as follows:
Input Filters
The input filters allow you to adjust the colors and brightness of the canvas output.
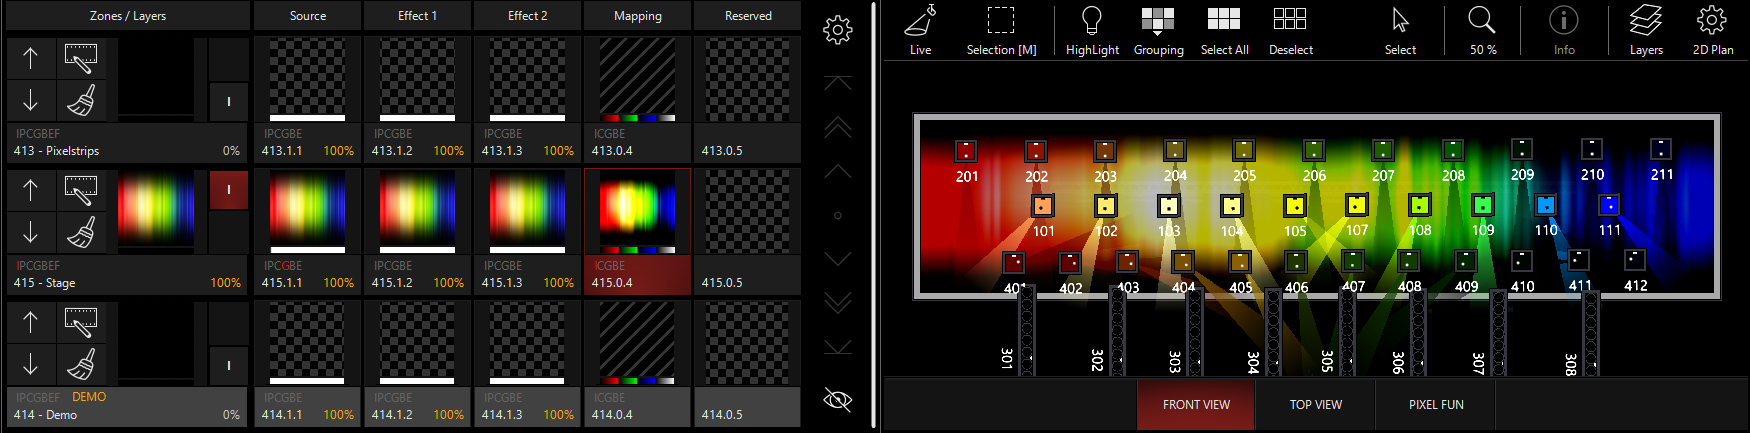
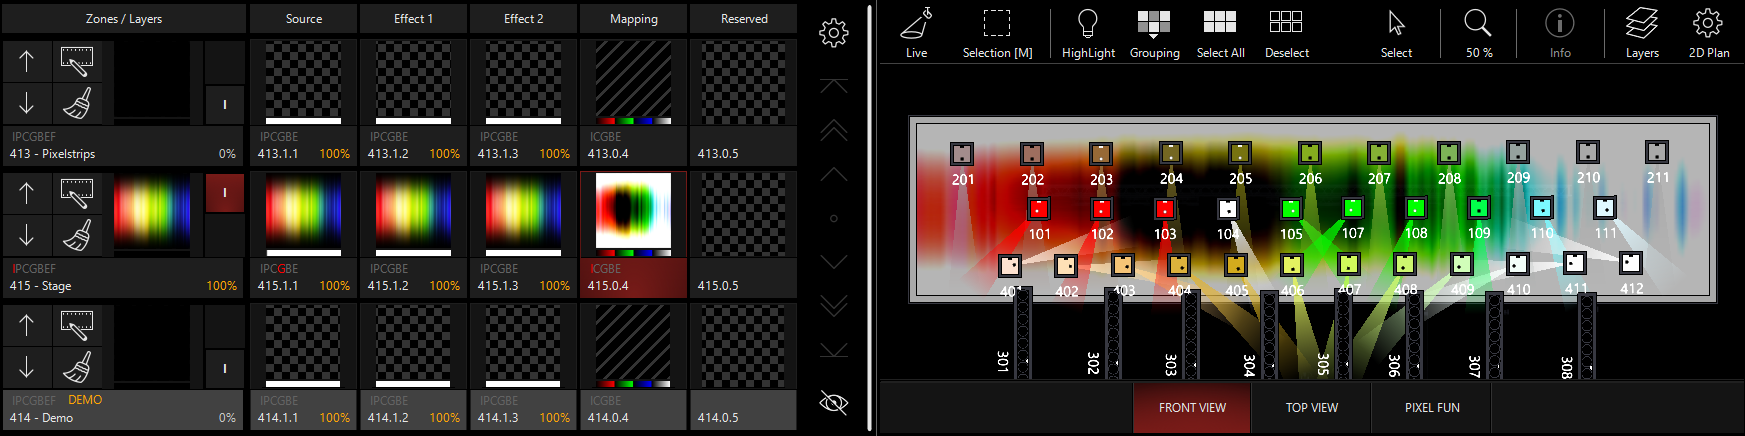
Brightness
Master control of brightness for the final output. Despite the name, it can subtract or add brightness, bringing it to full turns the output fully white.
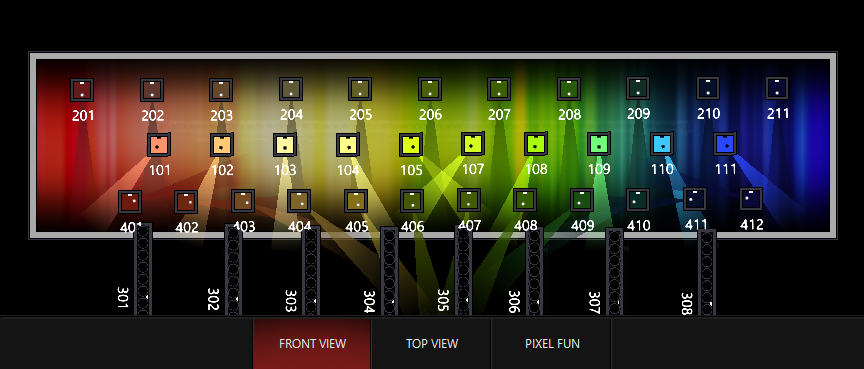
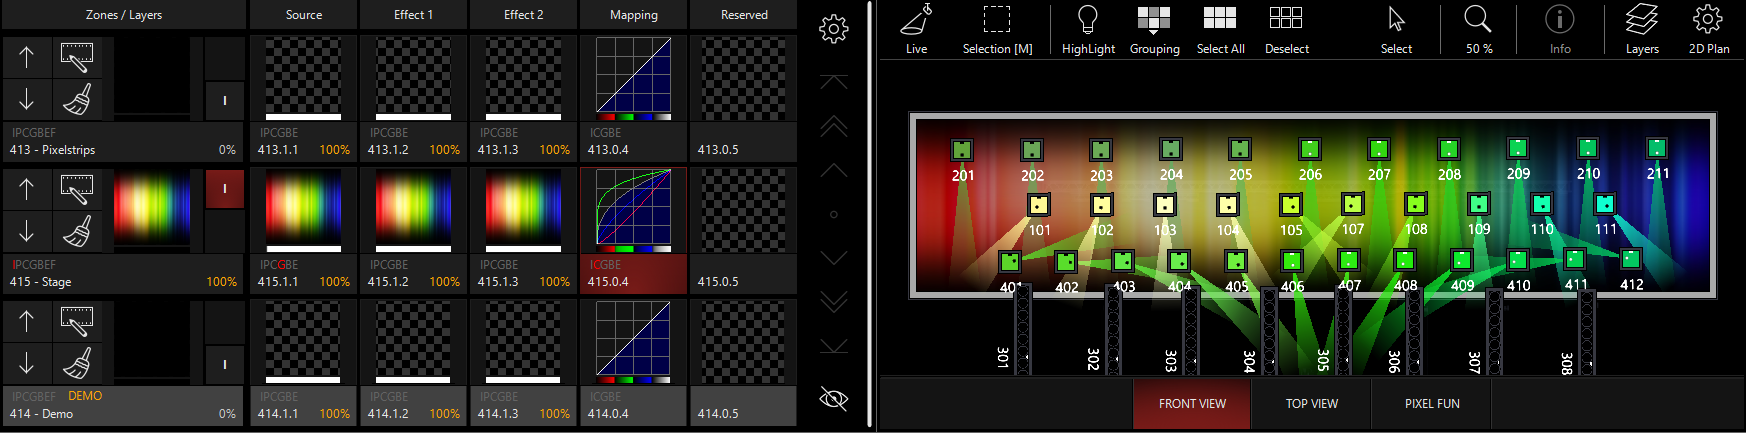
In the examples following, I'll use this image to illustrate because it has many colors, pastels, and black color values:
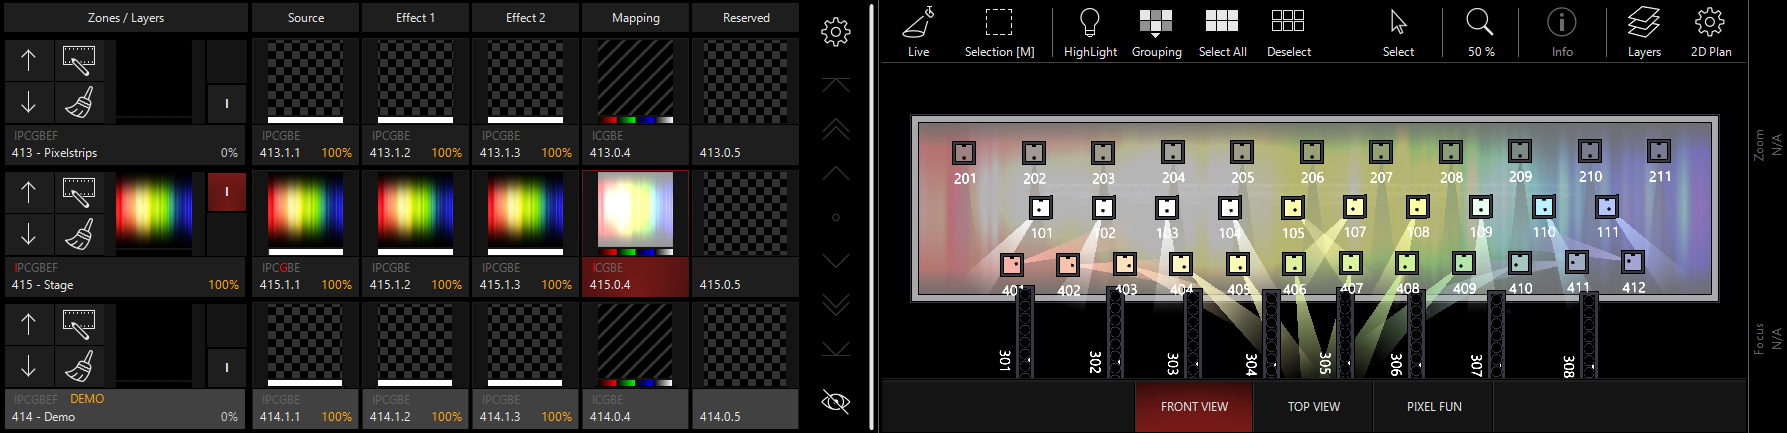
When we bring up the Brightness Subtract, we see the following result:
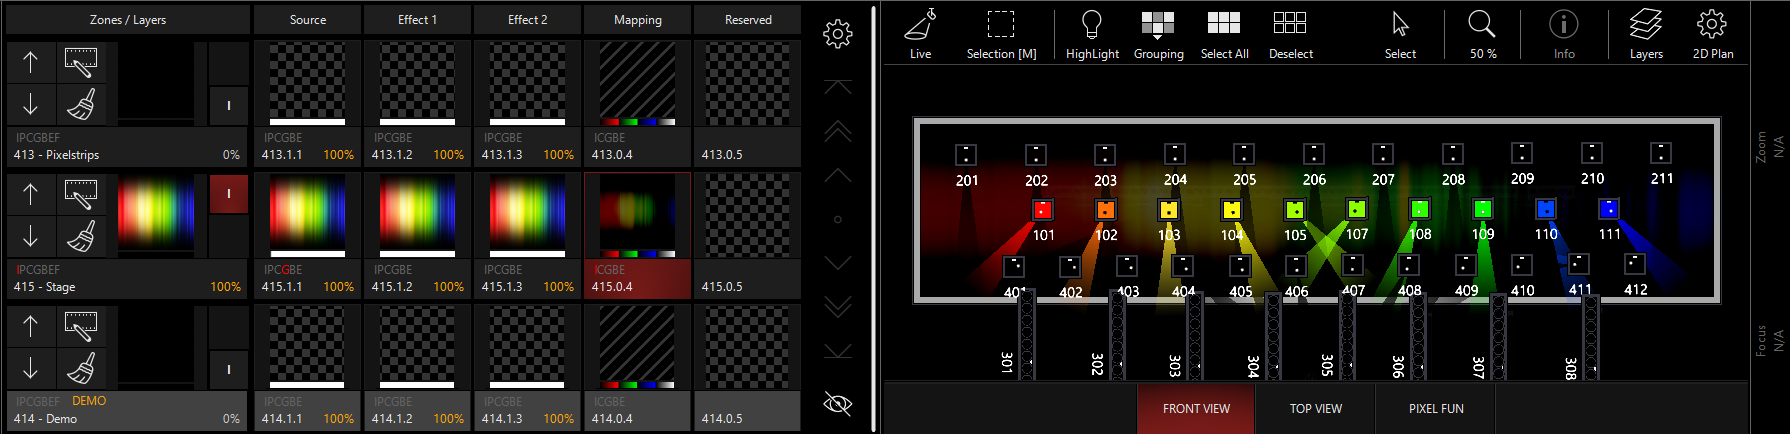
Then, we can switch to the Brightness Add mode by pressing the Icon near the bottom of the Zone Parameters or using the Encoders/Channel Visualization:
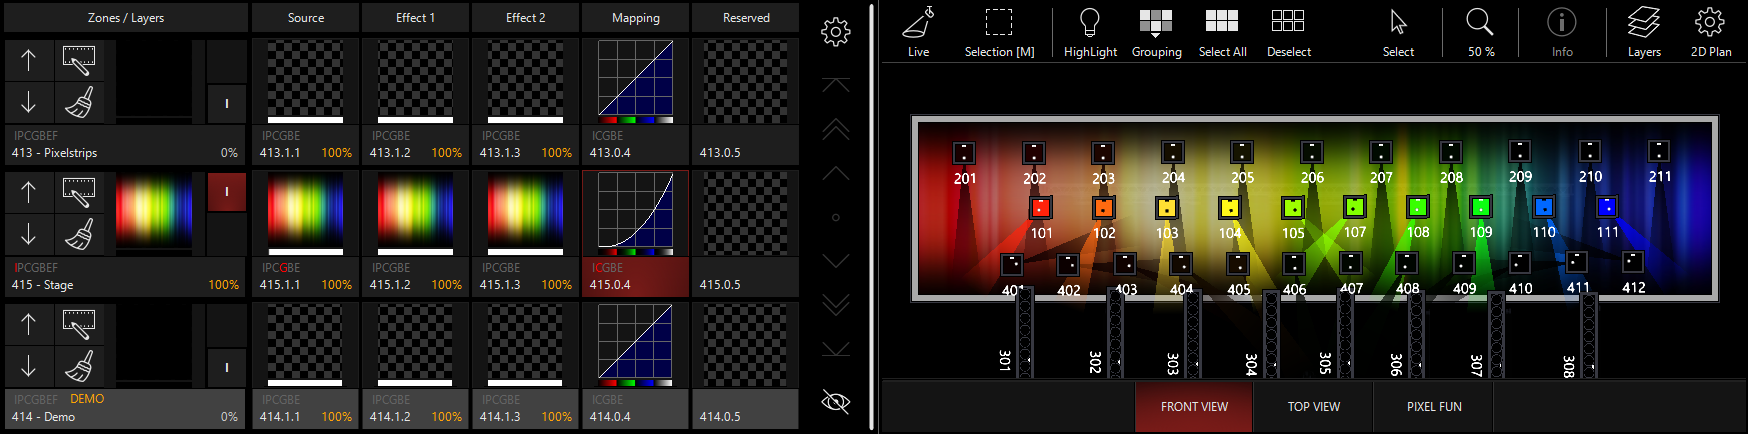
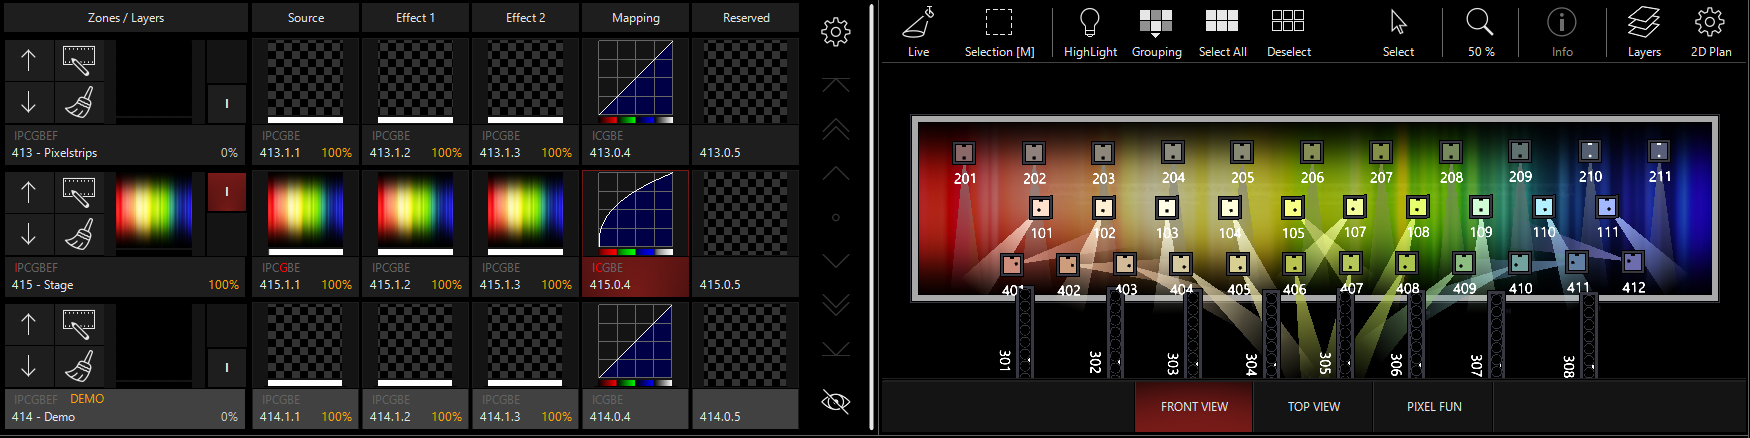
Contrast
Master control of contrast for the final output. Can be set to inverse or normal contrast control.
Normal Contrast Adjustment:
Inverse Contrast Adjustment:
Color
The Color parameters allow you to set adjustable Gamma for each color channel (red, green, blue, and white).
Gamma works by adjusting the color's response curve and can fix the problem of certain LED fixtures interpreting the colors too dark or too light.
If you adjust your Thumbnail mode to turn "Curve Mode" to "Show", you can see the gamma response on a graph.
In this example, we turn up the White gamma, which adjusts all 3 RGB Gamma Curves:

And then turn it down:

Then, the individual colors can be adjusted based off the location of the white curve:

Lower gamma values tend to make darker areas of the image look brighter. Higher gamma values takes the edge off the brightest parts of the image, but can make darker details get lost into black. Ultimately, the control is there to help make the DyLOS pixel mapping translate best to many types of fixtures.
Opacity Mapping
Opacity mapping gives you the ability to use the alpha channel of content that supports it to map it separately from the regular colors. This can take a minute to sink in, as it's a little abstract. But - once it sinks in, you'll see the power in Opacity mapping!
Each mode can be selected, and then there is a "Opacity Mapping" fader and encoder that allow you to set the strength of the Opacity as it affects the color being mapped.

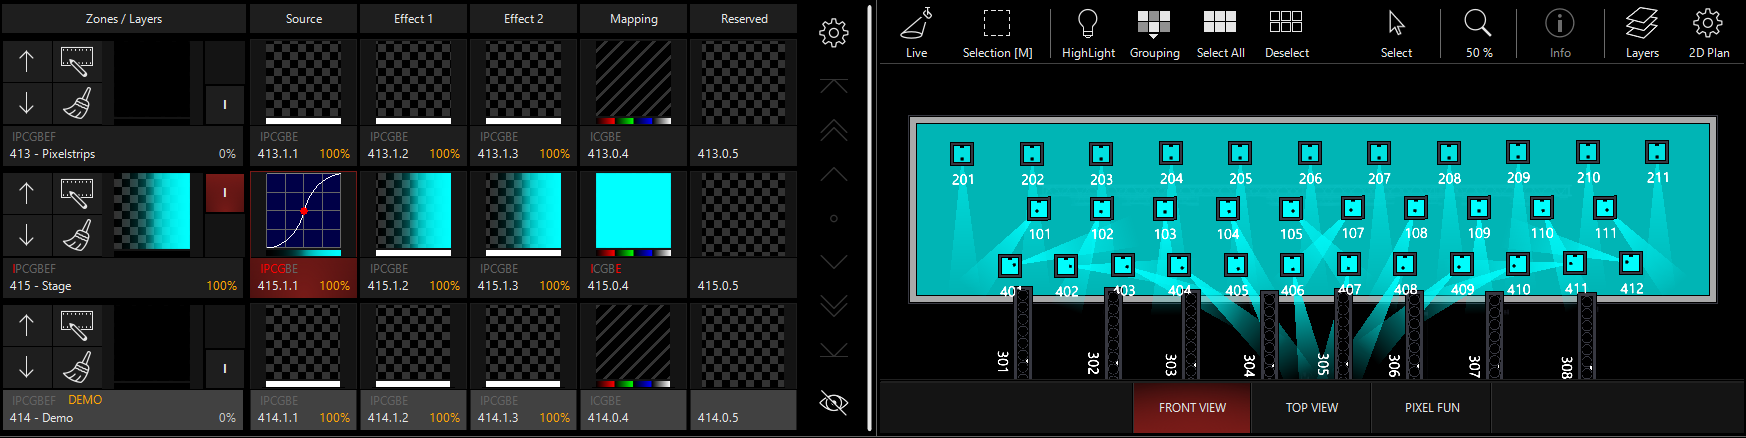
For the examples below, I've set up a Generator with the Source color set to Cyan and Zone Opacity set to 0%:
The opacity modes are as follows:
Ignore
Opacity information is discarded and does not affect the pixel mapping.
Blend
Opacity is used as it appears after the Effects 1 and 2 slots.
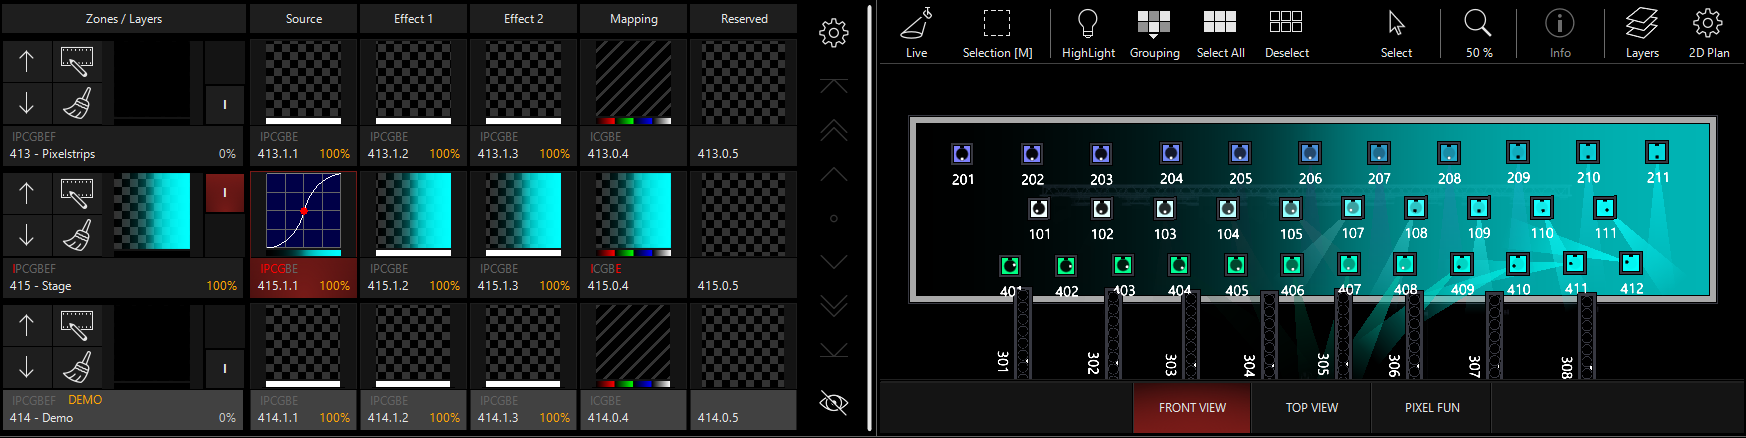
Intensity
The opacity controls the intensity of the lights. If you have color mapping modes on (RGB and/or CMY), then the lights will respond to the color as normal, but intensity will follow the opacity.
This can be particularly powerful when used with the Preset mapping modes.
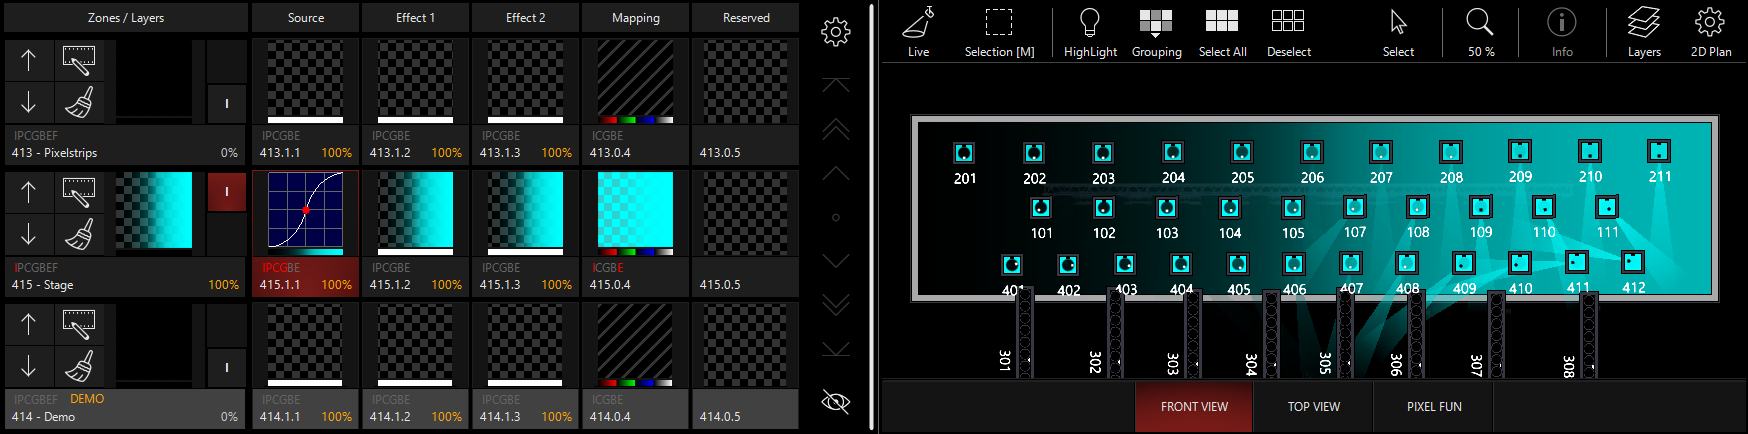
Blackout
This is the reverse of the intensity control - lights that have intensity from another cue will be blacked out at full opacity. In this example, I've activated Cue 5 from "MAIN SHOW" in the demo showfile to give the lights intensity, position, and color:
In this mode, the Mapping Thumbnail shows red/blue boxes to indicate the effect of the blackout Opacity mapping upon the overall canvas.
Preset C
Activates a chosen preset to a variable degree based on the percentage of opacity. It's similar to the 3 Preset mapping, but instead of mapping the 3rd preset to "Gray", this mode maps the Preset C to Opacity and can be used in conjunction with the Color Mapping modes.
See Preset Mapping for more information on how to select presets in mapping.
In this example, I've selected the "Red" preset as Preset C for the Opacity:
Mapping Radius
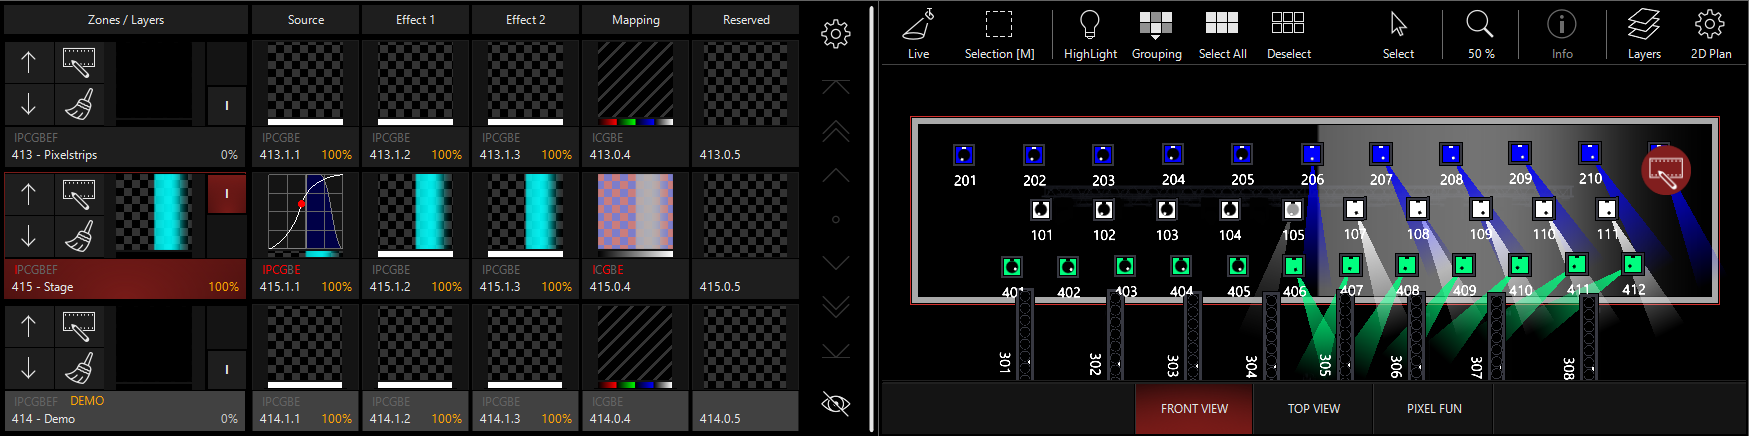
In the parameter group, we see the "Mapping Radius" encoder in the Channel Visualization for the Mapping part fixture. When "Improve Zone Color Correctness" is Inactive, this control allows you to set the size of each pixel on Zone.
The control has 3 presets, though the control is variable across the entire range. In the below examples,
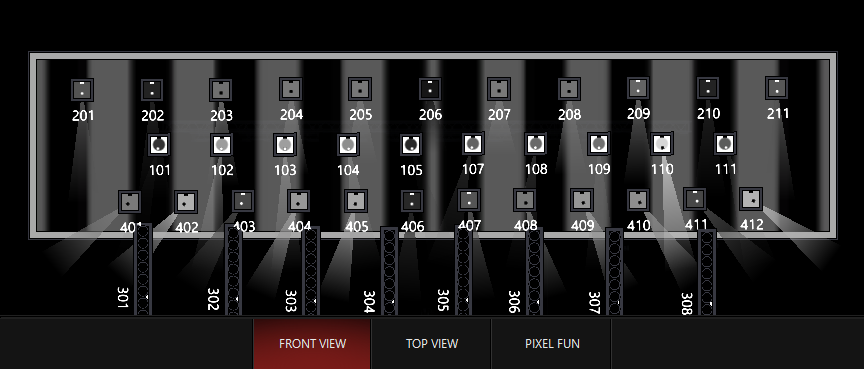
1 Pixel
Each pixel changes the output of the light as it crosses the 2d Plan symbol. This can cause some flickering or abrupt changes, but also clears up softened transitions between hard edges in content.
With this piece of hard-edged content, each light responds to changes in the content very abruptly:
![]()
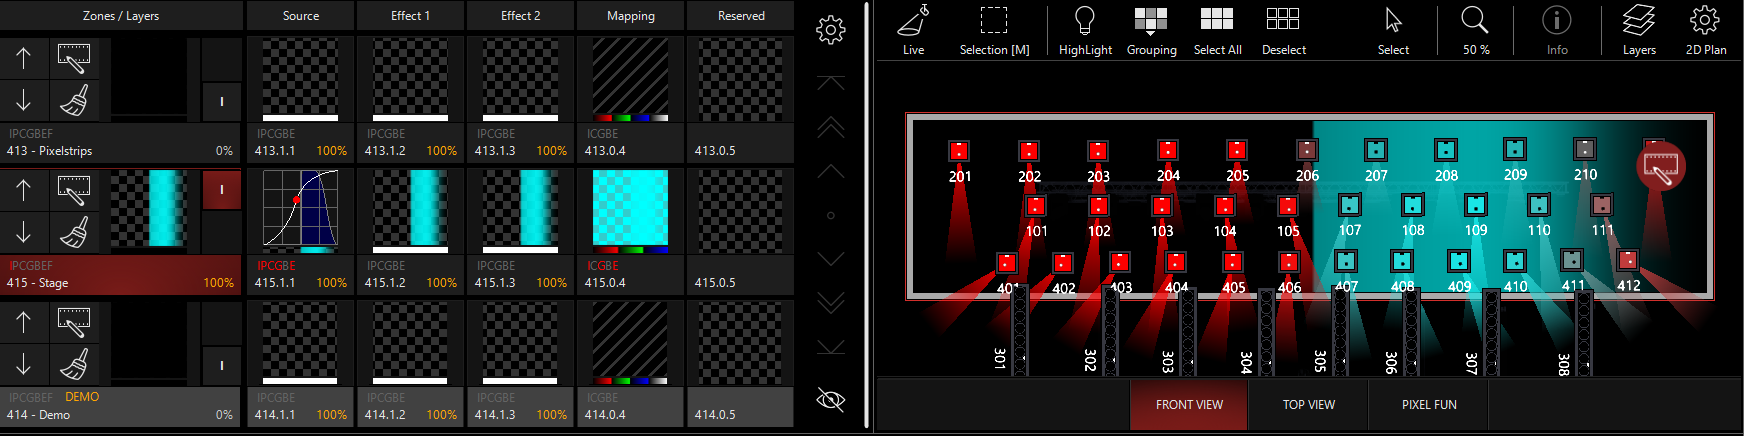
Fixture size
The size of the fixture on the 2d plan determines the output. When multiple pixels are on a fixture symbol, the values are averaged.
With this same piece of content, values are now "softened". They don't go fully to zero or full anymore as the content plays across them:
Whole Canvas
The entire DyLOS canvas is averaged and all fixtures within the zone are mapped to the same value.
This time, the values for this piece of content are averaged, and every fixture within the Zone gets the same value.
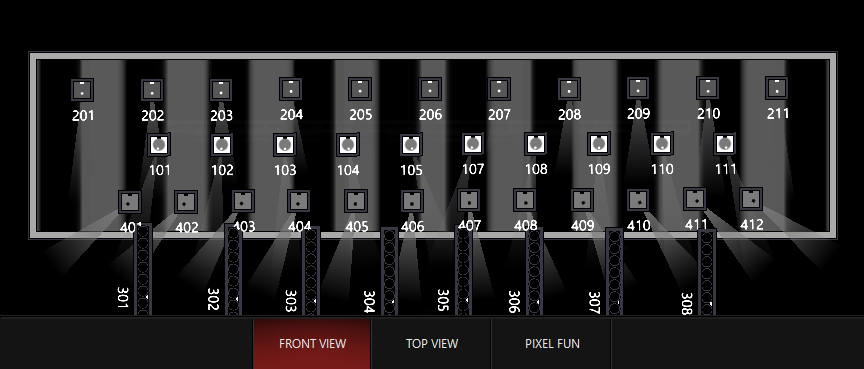
While you may not find yourself using the control set to fully "Whole Canvas", it is variable across the entire spectrum so that you can soften the changes as you move the control in this direction!