Highlight Presets
Similar to the Default Preset, we can define what happens to each fixture in our show when we press HighLight.
These settings are in the HighLight window or popout tab and are configurable to Function Keys or Sidebars.

Highlight/Low-Light Scheme
The default behavior of the highlight function is to force the selected fixture to open white at full intensity.
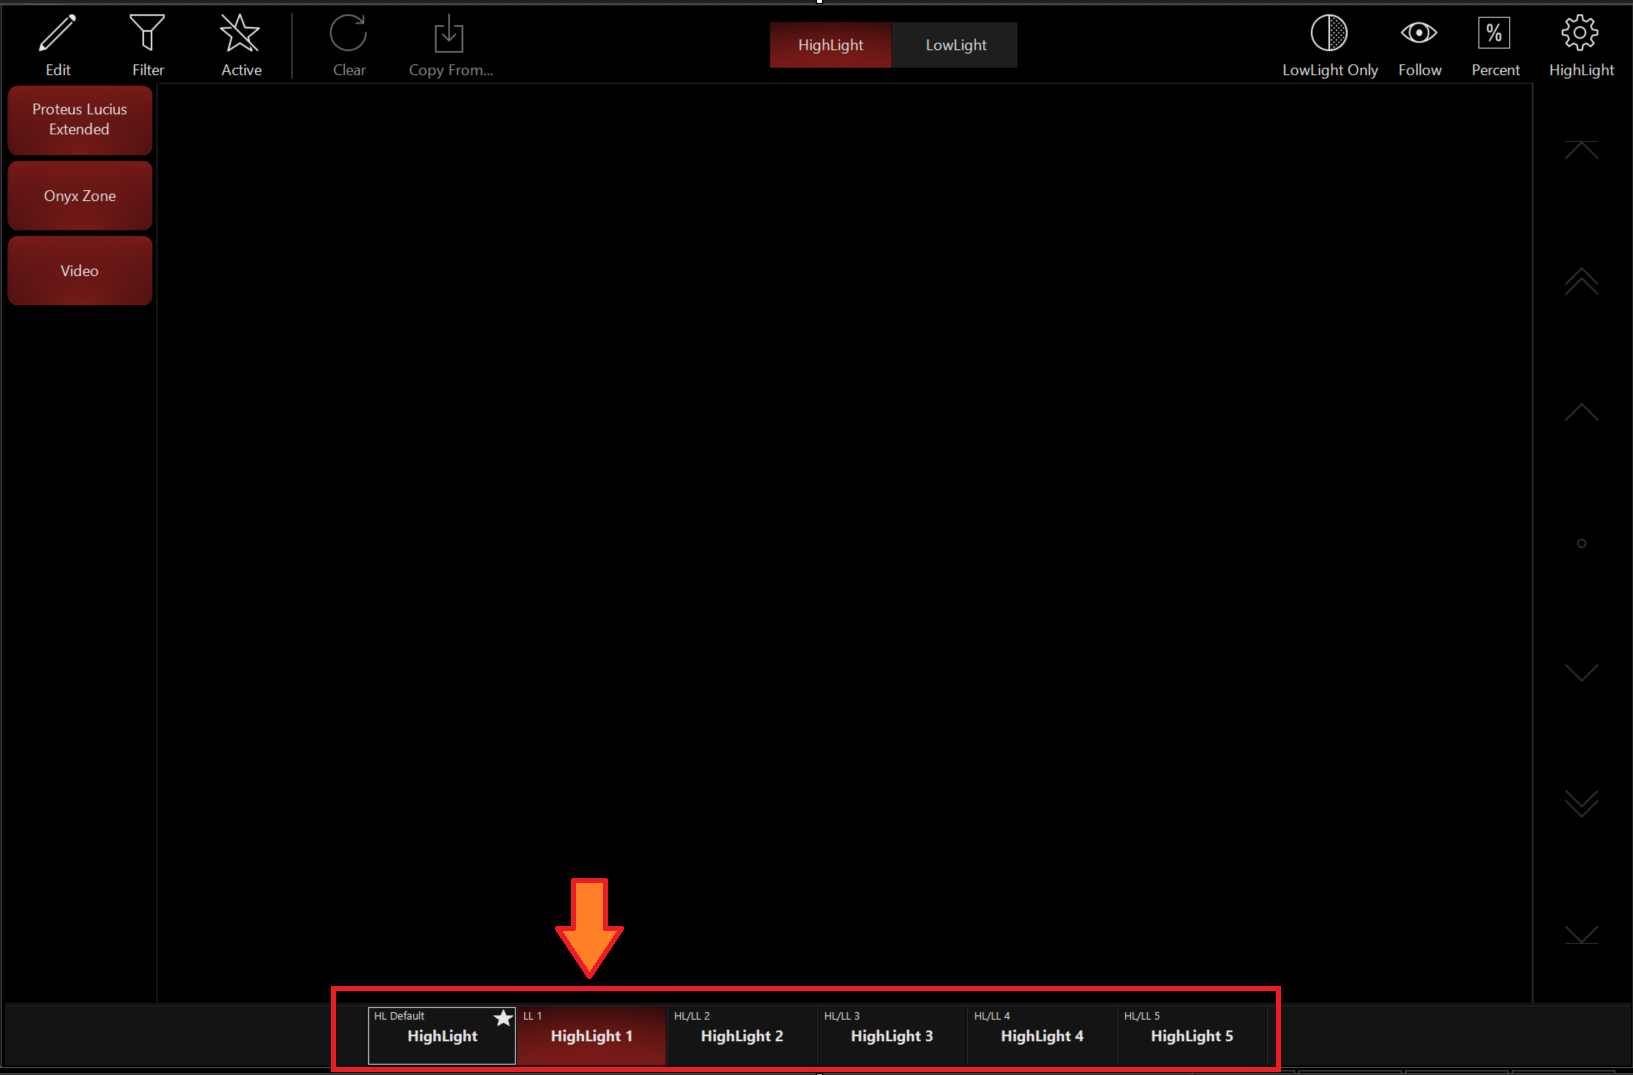
The custom highlight/low-light scheme allows you to define and select five sets of unique presets.
A highlight and a low-light preset can be recorded to each Custom button.
The currently active highlight preset will act on the selected fixture when using the highlight function.
 |
HighLight Preset Active |
 |
HighLight Preset Inactive |
If the “Low-light Selected Only” toggle button is enabled, selected fixtures are forced to the low-light preset.
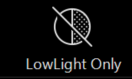 |
LowLight Only Disabled |
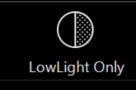 |
LowLight Only Enabled |
Otherwise, all other fixtures (that were included when recording the preset) are forced to the low-light preset values. If no low-light preset is recorded, the default low-light behavior is expressed.
Recording Custom HighLights & LowLights
Setting the HighLight Values
- Open the Highlight Presets window
- Select a Custom Highlight Preset
- Press in the upper left
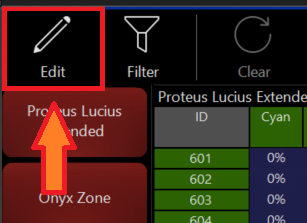
- Select the fixtures that you wish to add/modify
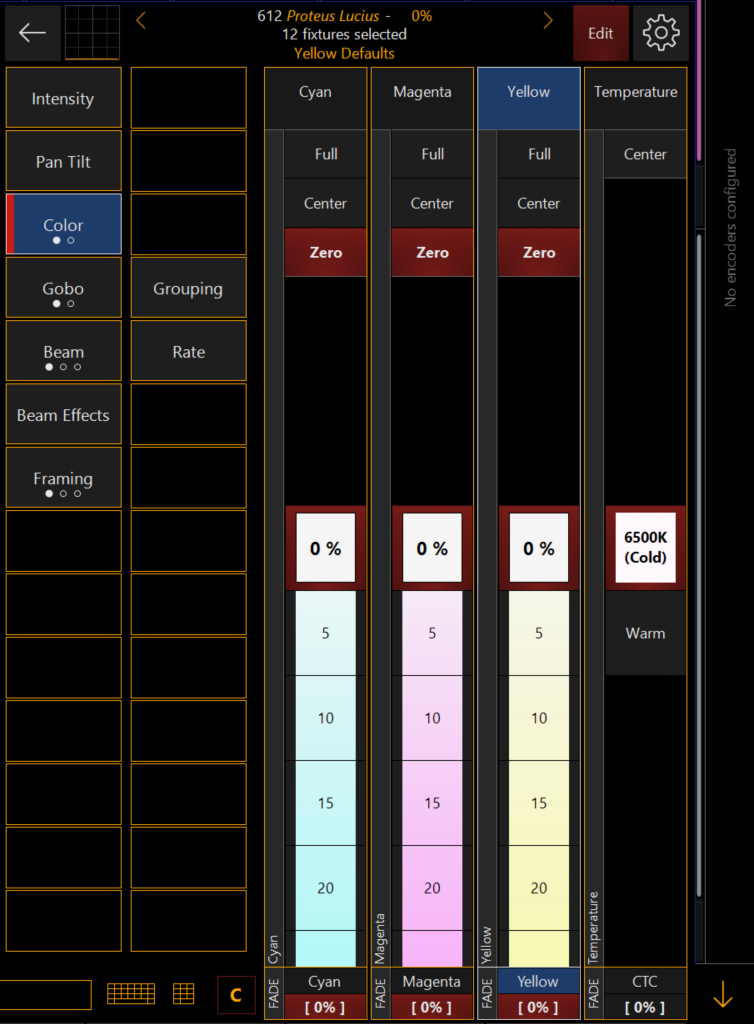
- Change the fixture parameters into the new desired Highlight value using the CV (channel visualizer)
- Press Edit in the Highlight window to exit.
Setting the LowLight Values
- Select LowLight in the center of the HighLight Window
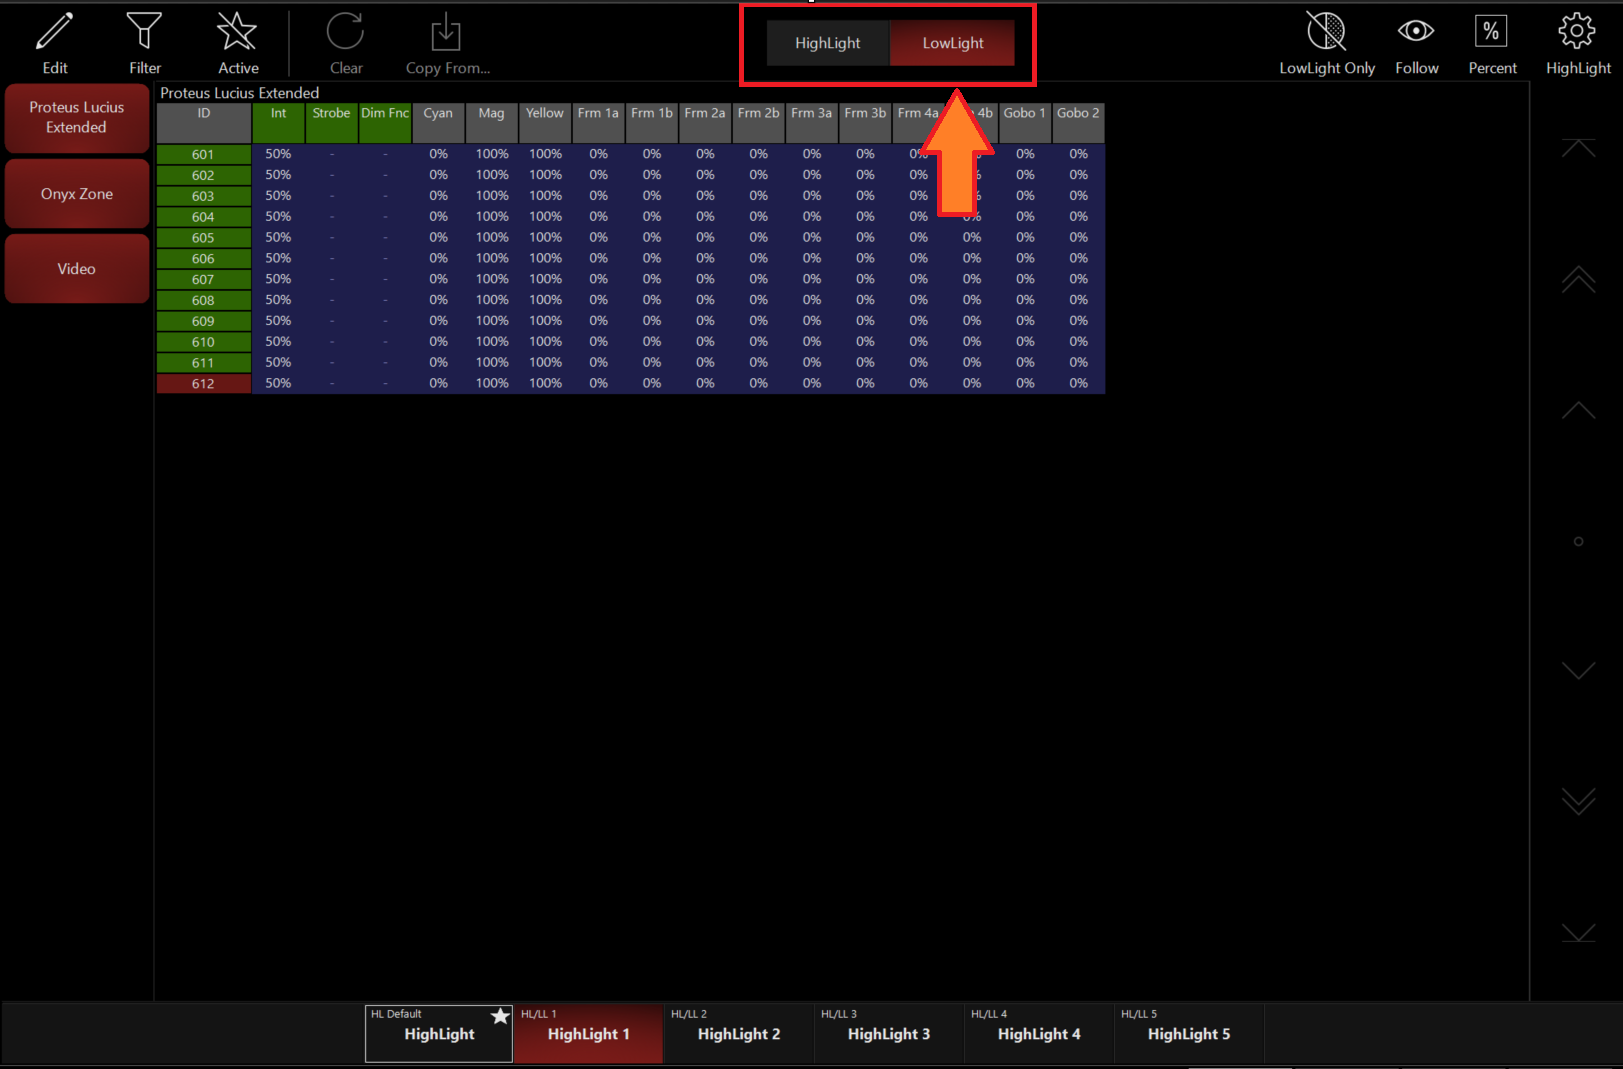
- Press in the upper left
- Select the fixtures that you wish to add/modify
- Change the fixture parameters into the new desired LowLight value using the CV (channel visualizer)
- Press in the Highlight window to exit.