Views
In ONYX, Views are an arrangement of layouts and windows placed in them. With this you can change the content on one or multiple screens at once.
Views are fully scalable to any size screen. This means that the view you create at home on your PC will work in any of the ONYX consoles, as well as any computer running ONYX, no matter what screen size or resolution you are using.
Views also can be stored to work on a single display, multiple displays or all displays - the choice is yours!
When you save your views, they are also shared across X-Net to other connected consoles or computers.
Creating a New View
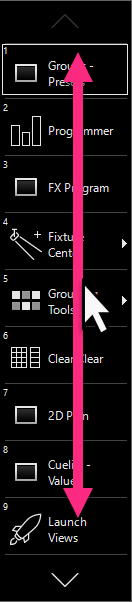
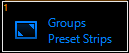
First, swipe up or down on the sidebar to find a blank sidebar button:
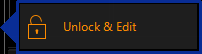
Next, we'll enter into "Edit Mode" by holding and pressing on the blank sidebar button. You may also right click on the blank sidebar key. Then, press from the popup:
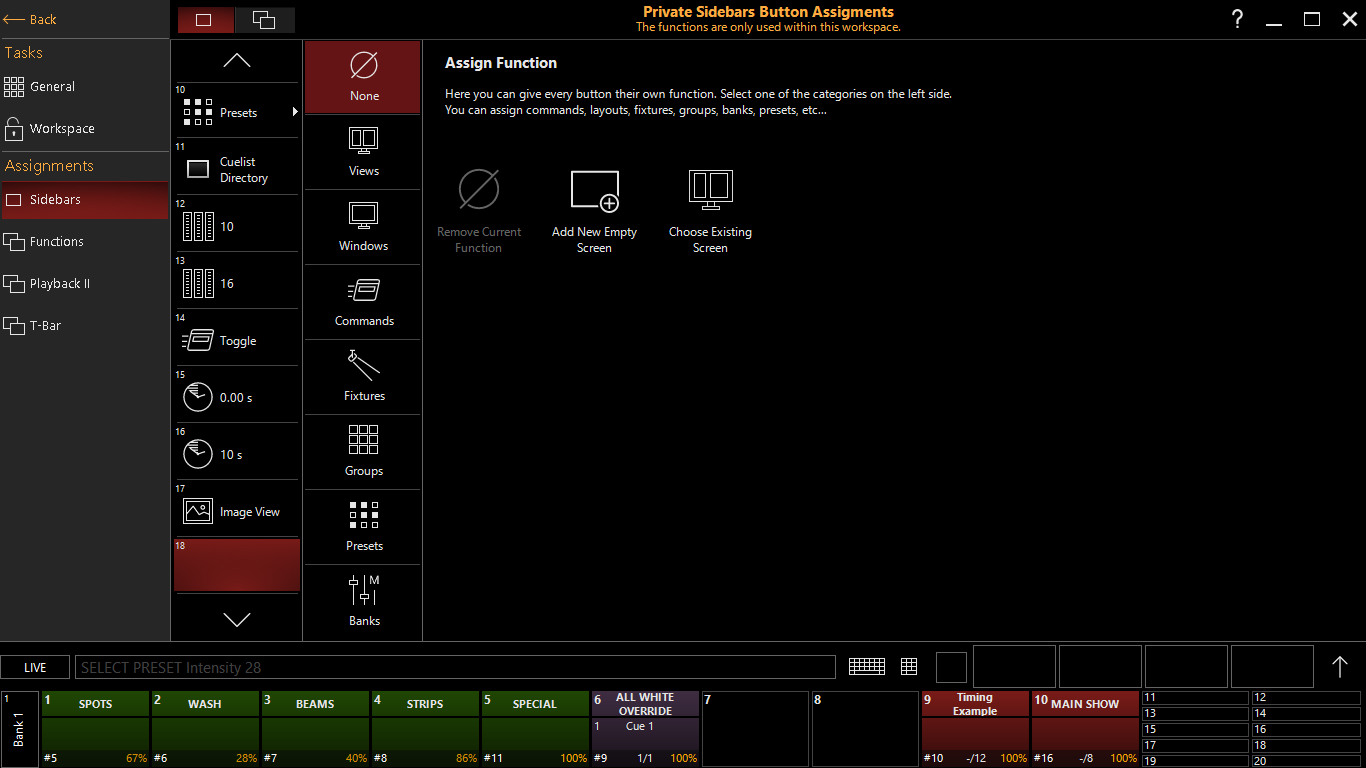
You'll then see the Button Assignments screen:
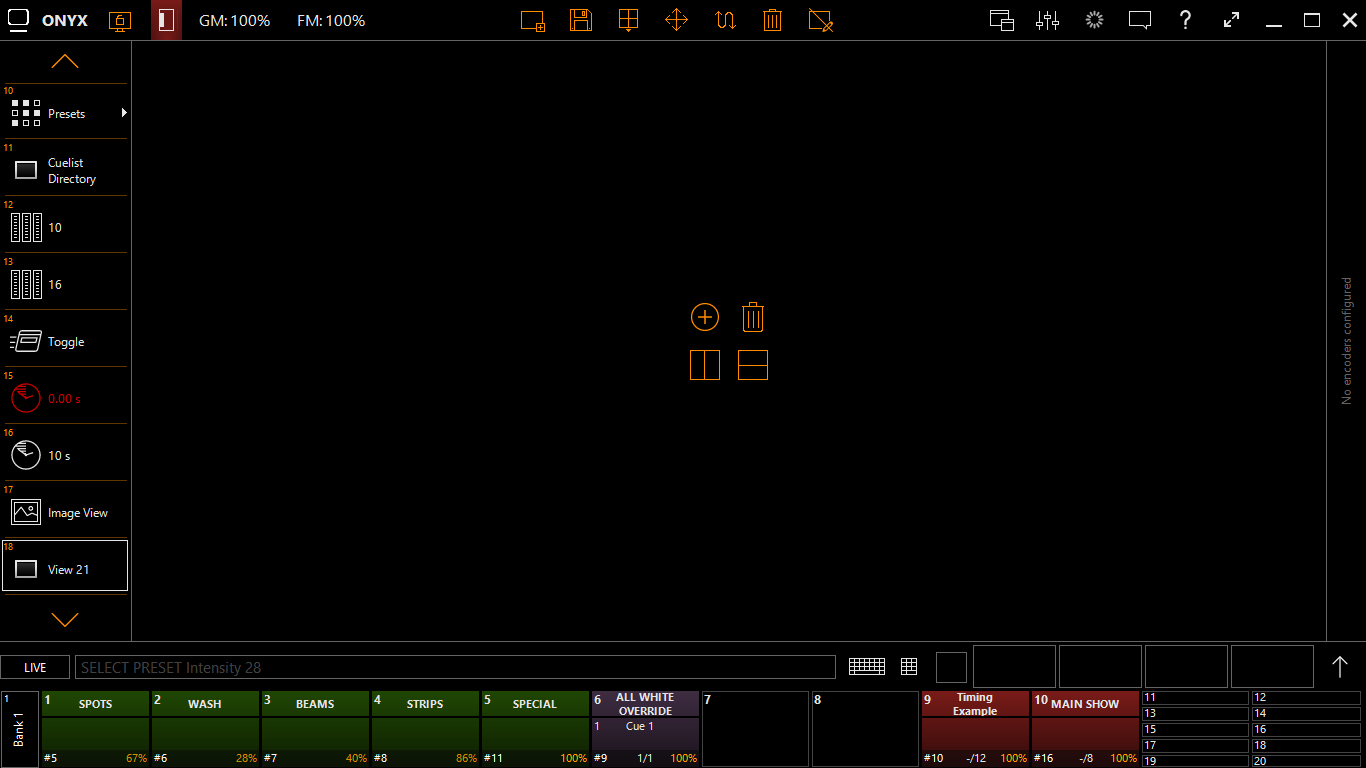
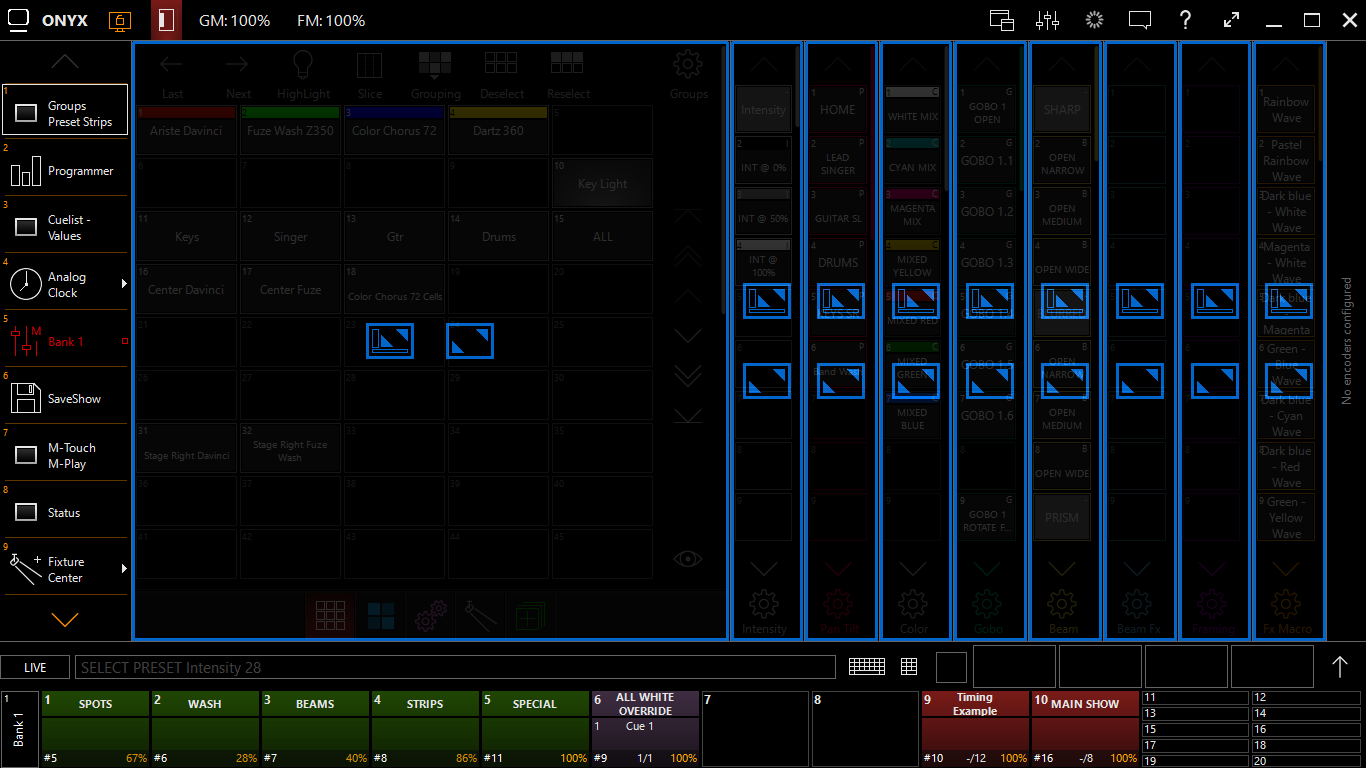
On this screen, you'll want to press to start from scratch, and your screen will then look like this:
![]()
You may now edit these views to your heart's content. See "Editing Views" below for the full details on how to edit views.
Once you've edited the views to your liking, it's time to save your new view. Hold and press the View button or right click and press your view button to save:

Press , and name your view:
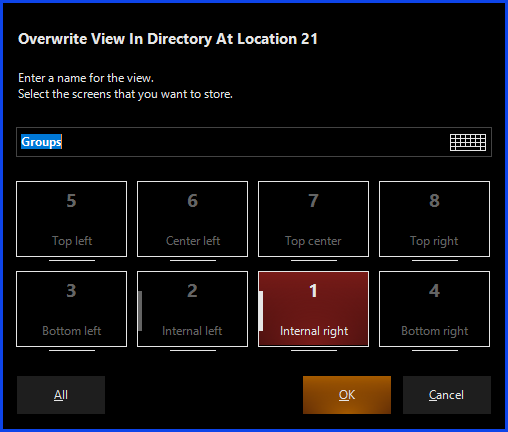
When you are naming your view, you are also able to select which displays you want the view to save with.
There is also a handy button in the lower left hand corner of the popup to select all the displays. Displays toggle when you press them, so you can select and deselect as you please before pressing .
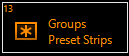
Now, your view is saved in the Views directory, as well as to the sidebar button which you have assigned it to.
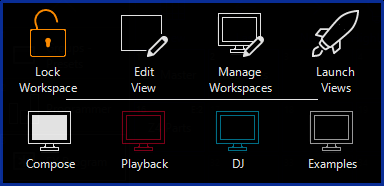
When you're done, it's a good idea to re-lock your Workspaces, so that you don't accidentally get into view editing. Do this by clicking the Workspace browser icon in the top left of your screen, and press .

Editing Views
Just like creating a new view, existing views can be edited, and in this segment we're going to go into full detail of the editing tools.
If you have already unlocked your Workspaces, press on the View button to navigate to the view you desire.
If you did not have your Workspaces unlocked, hold and press the view you wish to edit, or right click on the view you wish to edit.
You'll see this popup and select .
If you did already have your Workspaces unlocked, then you'll hold or right click on your view and press :
You'll now see the view editor icons on the toolbar at the top of the screen:

What do these icons do?
| Icon | Definition |
|---|---|
 |
New View: Create an empty view |
 |
Save View: Save your current view layout over the existing selected view. |
 |
Layouts: Choose one of the stock window layouts to speed up the view creation process. |
 |
Resize Window: Resize windows in the current view. |
 |
Swap: Swap 2 windows by pressing them both in the current view. |
 |
Delete Window: Delete one or more windows in the current view. |
 |
Exit Edit Mode: Exit the edit mode for the views. Note that this does NOT save your view, please be sure to use the button to save. |
Once you've edited the views to your liking, it's time to save your new view.
There are 2 ways to do this. If you haven't exited Edit Mode yet, press the Save icon on the toolbar.
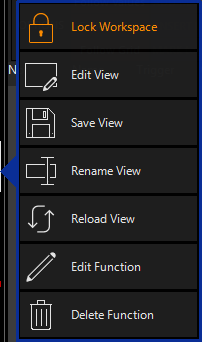
If you did exit edit mode, press and press the View button or right click and press your view button to save:
This view popup now shows, and besides saving, also gives you the options to rename, reload the saved view, or edit/delete the function of the button.
Press , and name your view.
When you are naming your view, you are also able to select which displays you want the view to save with, There is also a handy button in the lower left hand corner of the popup to select all the displays. Displays toggle when you press them, so you can select and deselect as you please before pressing .
Now, your view is saved in the Views directory, as well as to the sidebar button which you have assigned it to.
Un-Doing Changes to Unsaved Views
If you begin working on a view, and then decide you liked what you had before, you can revert to your previously saved view by double-pressing the view icon (which is now amber).
Relocking Workspaces
When you're done, it's a good idea to re-lock your Workspaces, so that you don't accidentally get into view editing. Do this by clicking the Workspace browser icon in the top left of your screen, and press .
Assigning Views to the Sidebar or Function Keys
To assign views to the Sidebar or Function keys, follow the guide found here.
Temporary Maximize
If you need to quickly maximize one of the current windows to full screen, you can easily do this with the Maximize View icon:

Pressing this icon will bring up the following overlay to your current view:
You now have 2 options to maximize - Maximize in the current work area, keeping the Sidebar and Main Playback Indicators, or Full Screen;


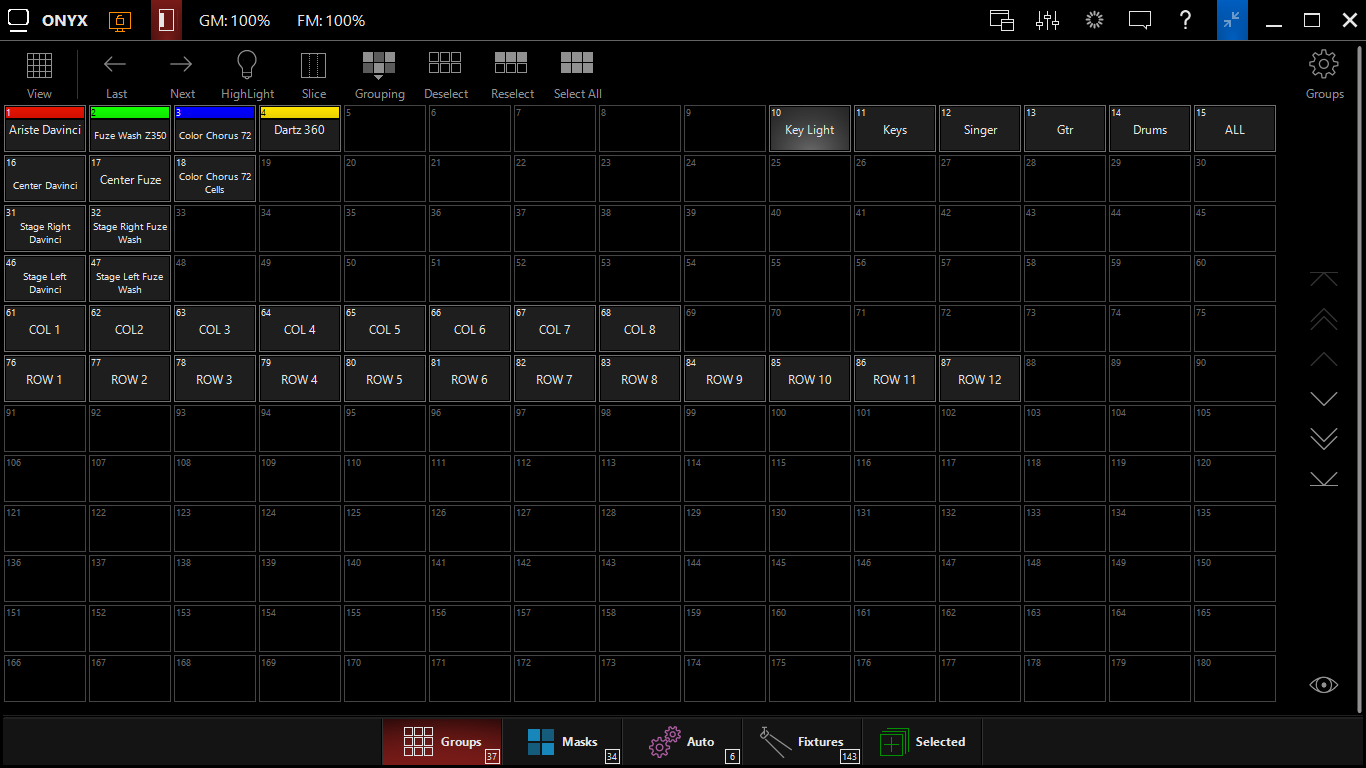
When you maximize to the current work area, you'll see something like this:

Full Screen maximize looks like this:
When a Window is maximized, you'll see 2 indicators - first, the maximize icon will have a blue background:

And if you have maximized to the current work area, and still have your sidebar in view, you'll see this on the sidebar button that corresponds to the current view:
To stop maximizing, press the maximize icon in the upper left hand corner, or if you have not gone full screen, double press the current view button on the sidebar.
Hiding the Sidebar
If you desire to hide the sidebar (perhaps on a second display), you may do so by pressing this icon in the top left of your screen:
