Installing/Updating Onyx on a PC
This installation guide covers installing or updating Onyx on a PC system. For instructions on how to update Onyx on a console, please see: Updating Onyx on a Console
Before starting, please confirm your system meets the Minimum PC System Requirements. And your system is fully up to date with all Windows Updates.
Installing Onyx 4.32
- Download the latest Onyx installer for PC. This can be found on the Downloads page.
- Open the installer from your downloads folder. (Onyx needs to be installed from an administrator account)
- Follow the onscreen instructions.
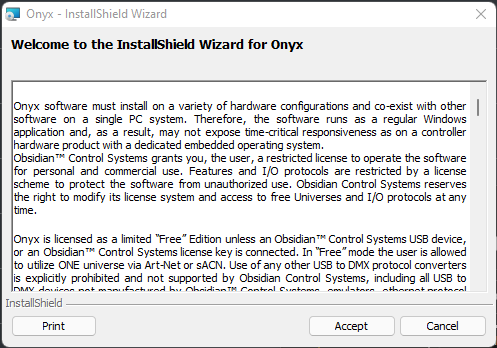
- Press "Accept"

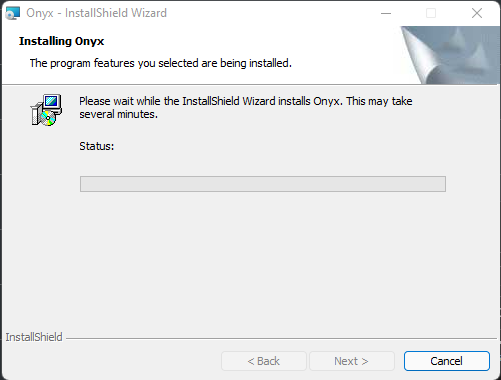
- The Installation will start. (This may take several minutes)

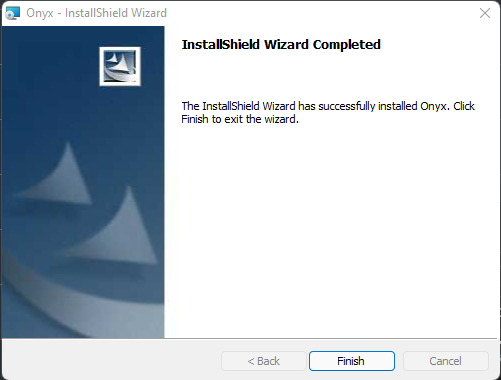
- Press "Finish" to complete the installation.

- Once the install is complete, please download and install the most recent Fixture library
- Fixture Library Download
- How to Install the Fixture Library in Onyx 4.32
- Once the install is complete, please download and install the most recent Fixture library
- Press "Accept"
Uninstalling Onyx 4.32
To uninstall Onyx, please follow the steps below.
- Open the "Add or Remove Programs" menu
- Navigate to "Onyx" and select "Uninstall" then follow the onscreen instructions.

- Navigate to "Obsidian Control Systems Drive Package" and select "Uninstall," then follow the onscreen instructions.
