Installing Onyx OS on a Console
| !! WARNING !! |
|---|
|
Onyx OS should NOT be updated on or before a show unless ABSOLUTELY necessary. |
Intro
This guide will cover installing Onyx OS 4.32 on a console running a previous Onyx OS.
If you are already running Onyx OS 4.32 and need to update to the latest Onyx 4.32 version, please follow Updating Onyx on a Console
| !! Notice !! |
|---|
|
NX1 and M6+ consoles require a one-time update per device before installing OS 4.10 or later, if currently running version 4.8 or earlier. Please follow the instructions on how to update BIOS on NX1 before continuing with the OS install. |
Required Items
Windows Computer (Windows 10/11)
(1) - USB 3.0 Thumb drive (32 - 64GB)
Downloading the OS
The Onyx OS is available on the Obsidian Support Download page
Create an Onyx OS USB stick
The Onyx OS is provided as a .zip file. Extract the file by right-clicking on it and use "extract all".
A folder will be created with the contents of the zip folder, which are at least the actual OS file ending in .ISO and the ONYX OS Tool.
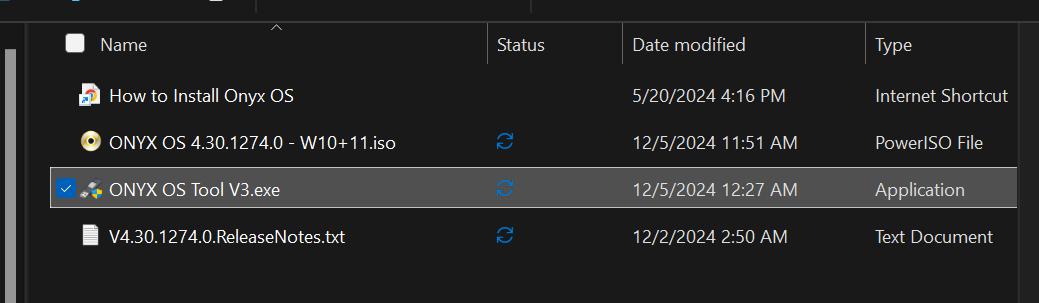
1. Open the Onyx OS Tool v3.exe
2. Insert your USB Flash Drive (min 32 GB)
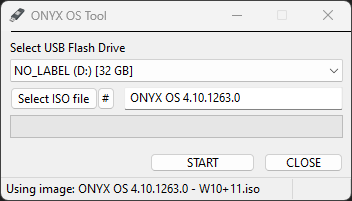
3. Select the USB Drive. Be careful not to select the wrong drive letter (sd card, external hard drive), this tool will format it completely.
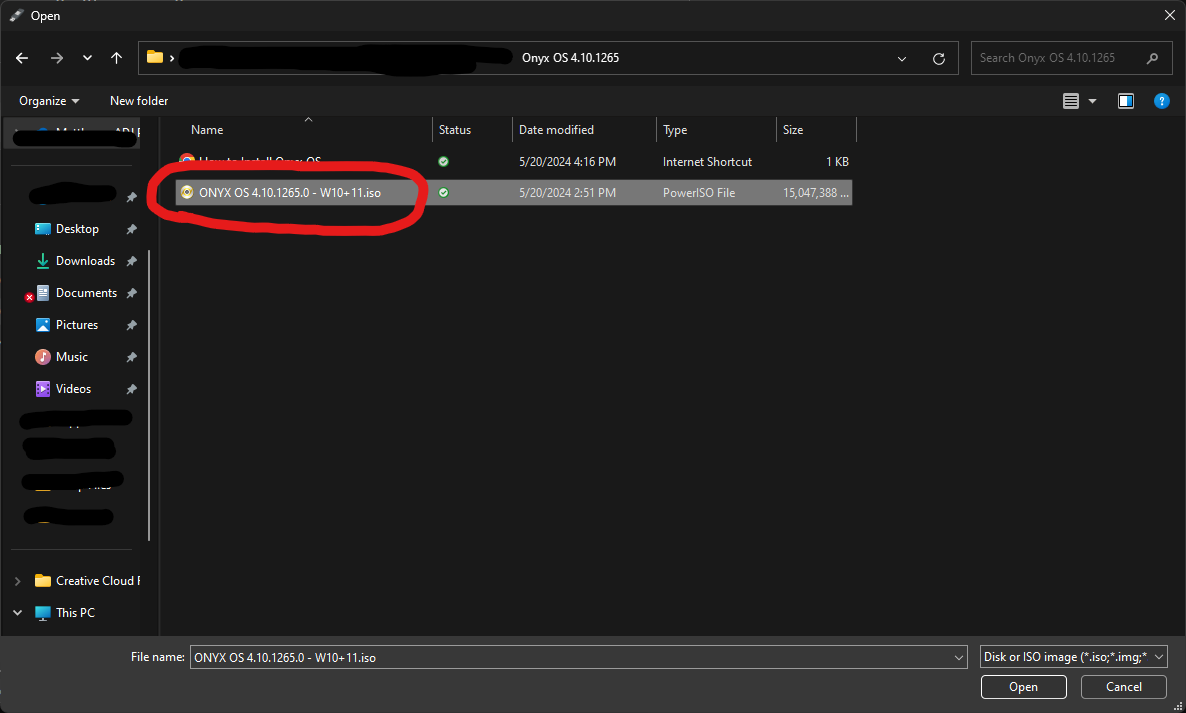
4. Select the ONYX OS ISO file from the extracted folder
5. Click "Start"
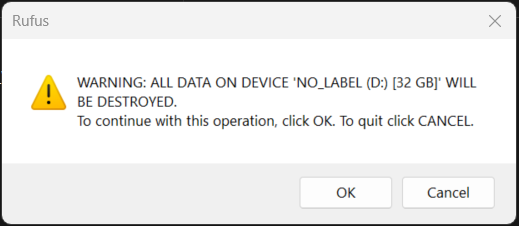
6. Press "OK"
7. The tool will take approximately 20min to complete. However, it may take longer, depending on your system.
Preparing the Console
| !! Important !! |
|---|
|
Please backup your show files to an external USB drive before installing the OS Update. *** Disconnect all Display and USB connections from the console *** |
Installing the OS
NX4, NX2, NX1, & M6 (Onyx Upgrade Kit):
- Turn the console OFF.
- Insert the OS USB Drive into a rear USB 3.0 port (Blue Port).
- Turn ON the console.
| !! NOTICE !! |
|---|
|
Please be patient. Some of these steps may result in a black screen for several minutes as the OS is installed. Do not shut down the console until the whole procedure is completed. Interrupting the process means to start over from the beginning. Your screen may be upside down or show "Installing Windows." this is Normal. |
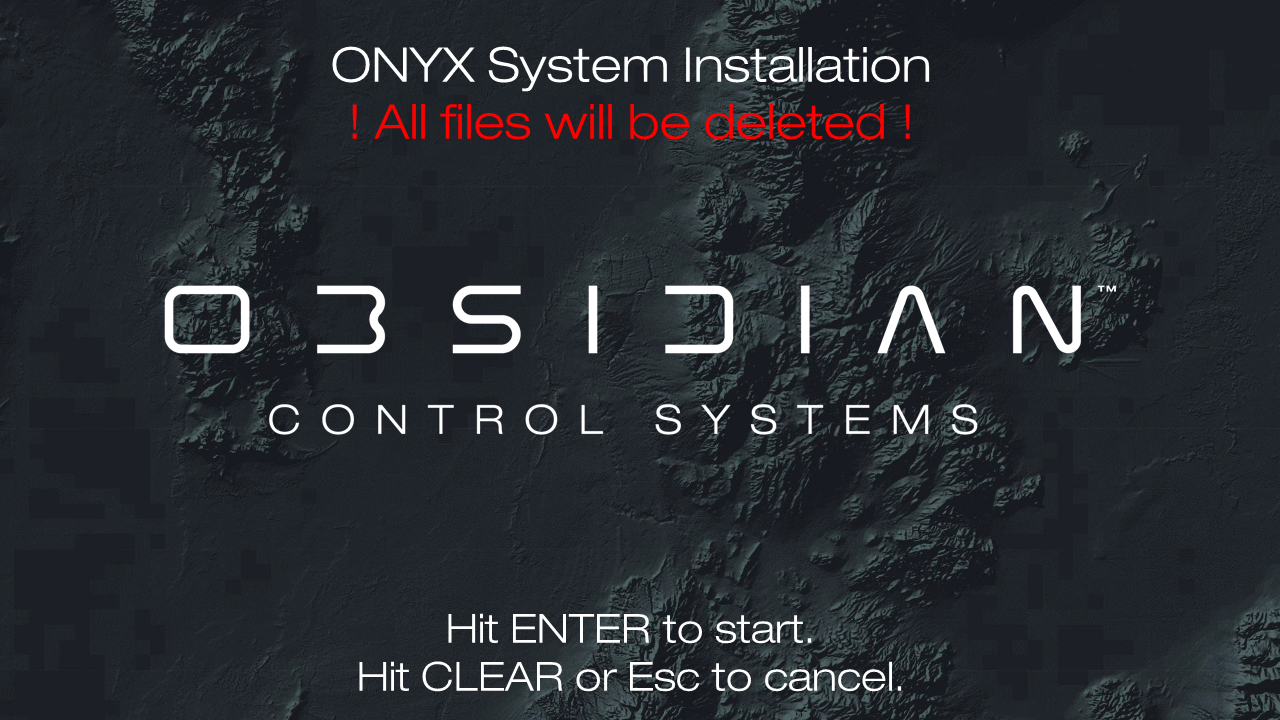
The console will show this screen after booting from the OS USB drive.
Press to start the installation.
The console will show many screens during the OS installation process; please wait until you see this screen before continuing.

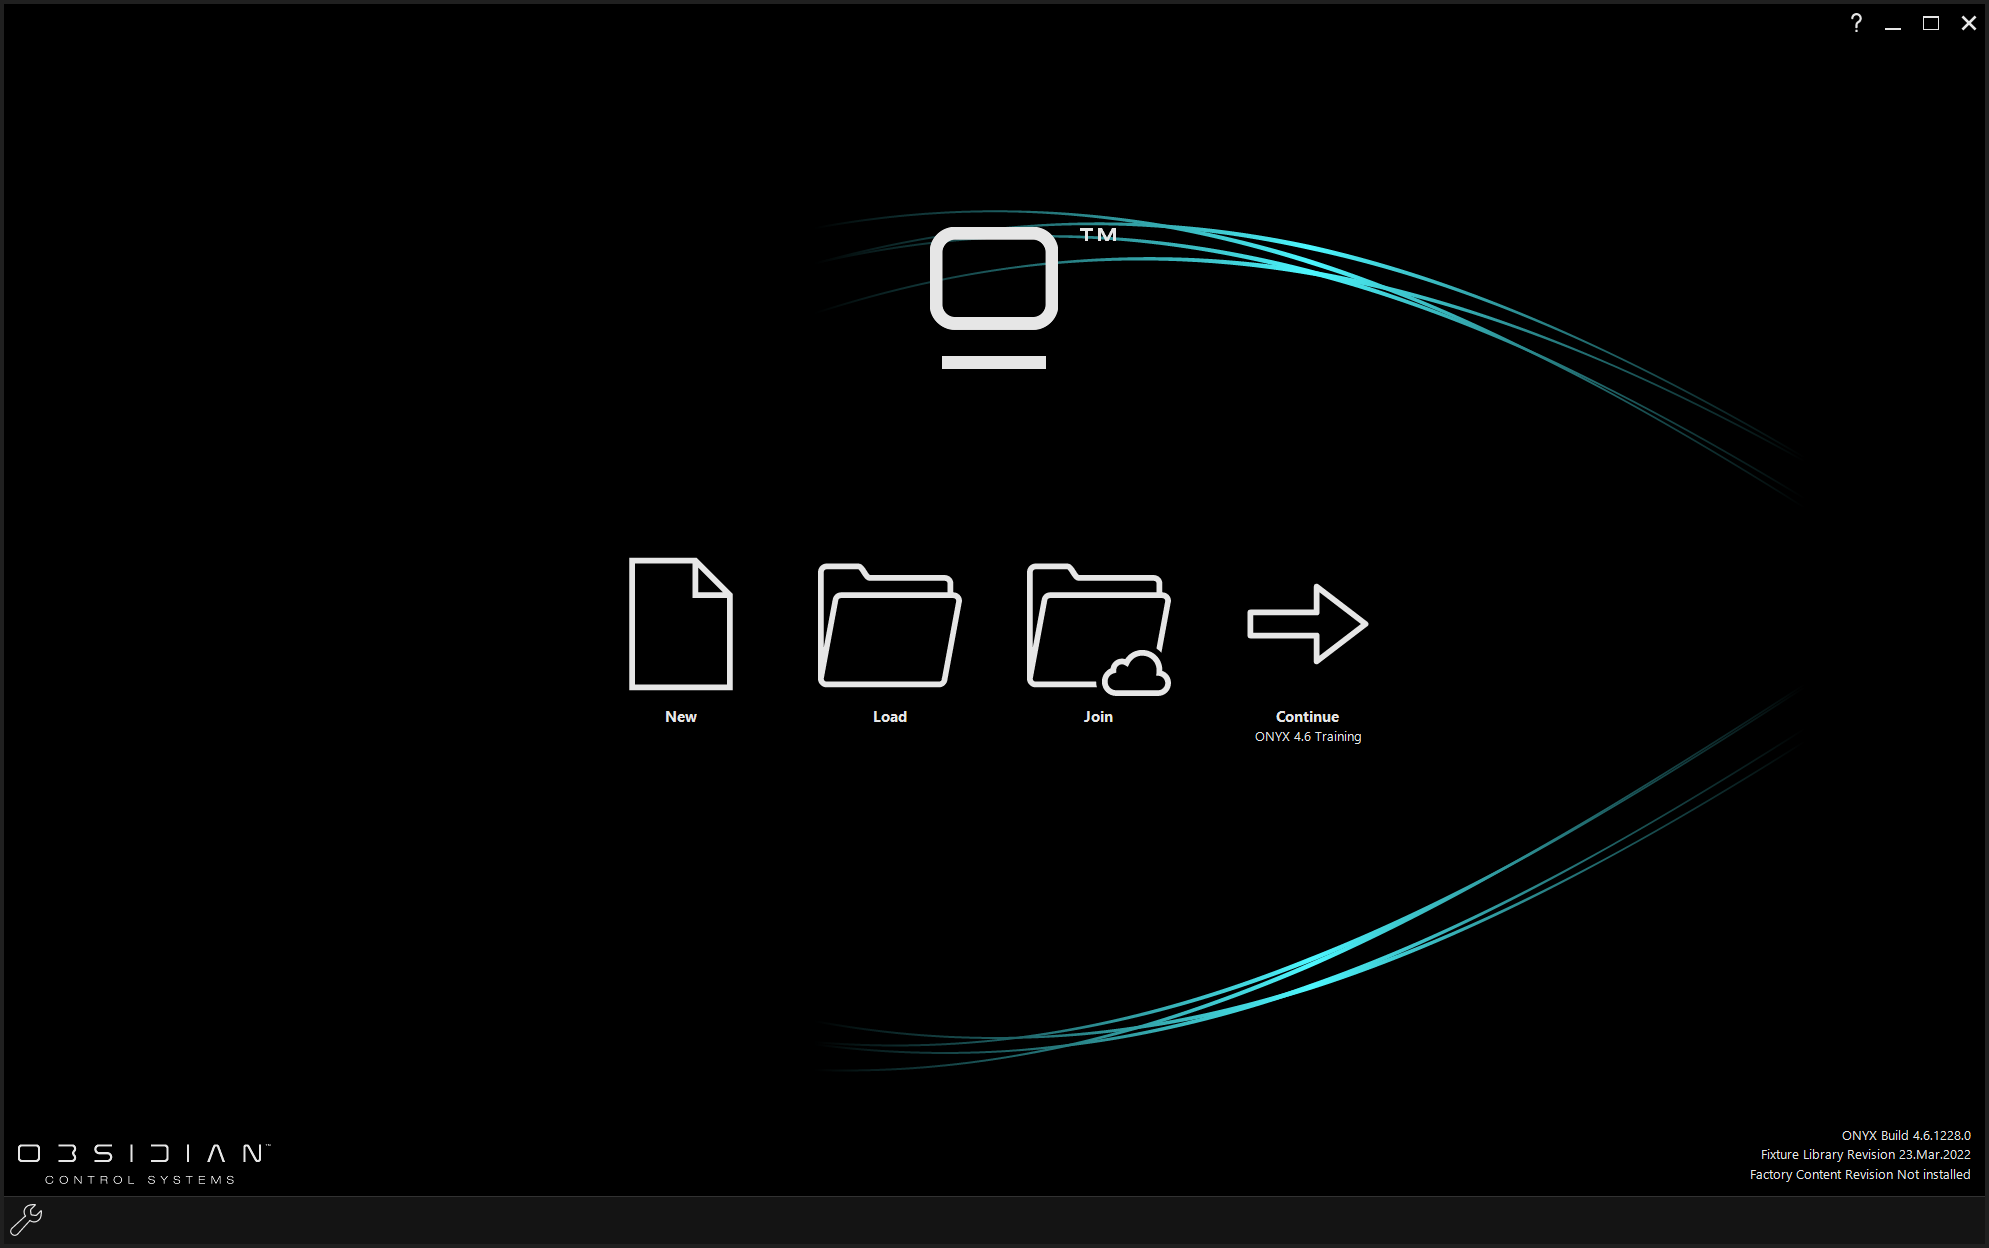
After the console reboots, it will start installing Onyx; please wait for this process to finish. It will be complete when you see the Onyx Launch Screen shown below.
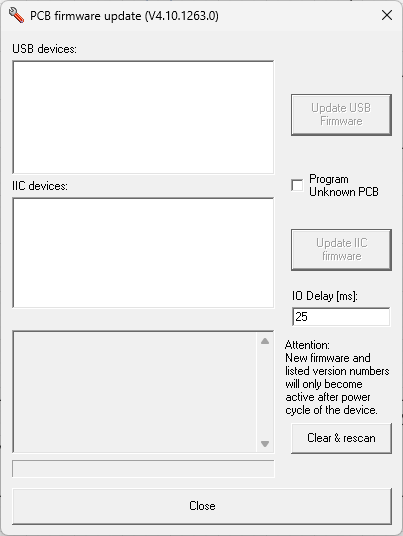
The console may report out-of-date firmware; this is normal and unrelated to the NX1 BIOS Update. Please use the "Firmware Update" tool located under Menu > Tools > Diagnostic > Firmware Update
Troubleshooting a console OS install
In the event your OS install is unsuccessful or the console reboots and shows "Reboot and Select proper Boot device or Insert Boot Media in select Boot device and press any key" please follow the following steps.
1. Turn the console off.
2. Move the USB to a USB2.0 Port (White Port)
3. Turn the console on and follow the instructions on screen.
If the issue persists, please contact Obsidian Support at Support@Obsidiancontrol.com