DMX Input
ONYX allows incredibly advanced DMX input capabilities. Using the DMX input capabilities of the ONYX consoles, you can:
- Add Submaster faders using a conventional console
- Merge DMX data from another console
- Assign fixtures or Cuelists to DMX channels and control them with an external DMX device
- Precisely control Cuelists assigned to playback buttons, even sending them to specific cue numbers using only DMX values.
Assign a Virtual Input Port
To assign a virtual port, let's first navigate to the Main Menu by pressing in the upper left hand corner and then press . We'll then head down to under "System".
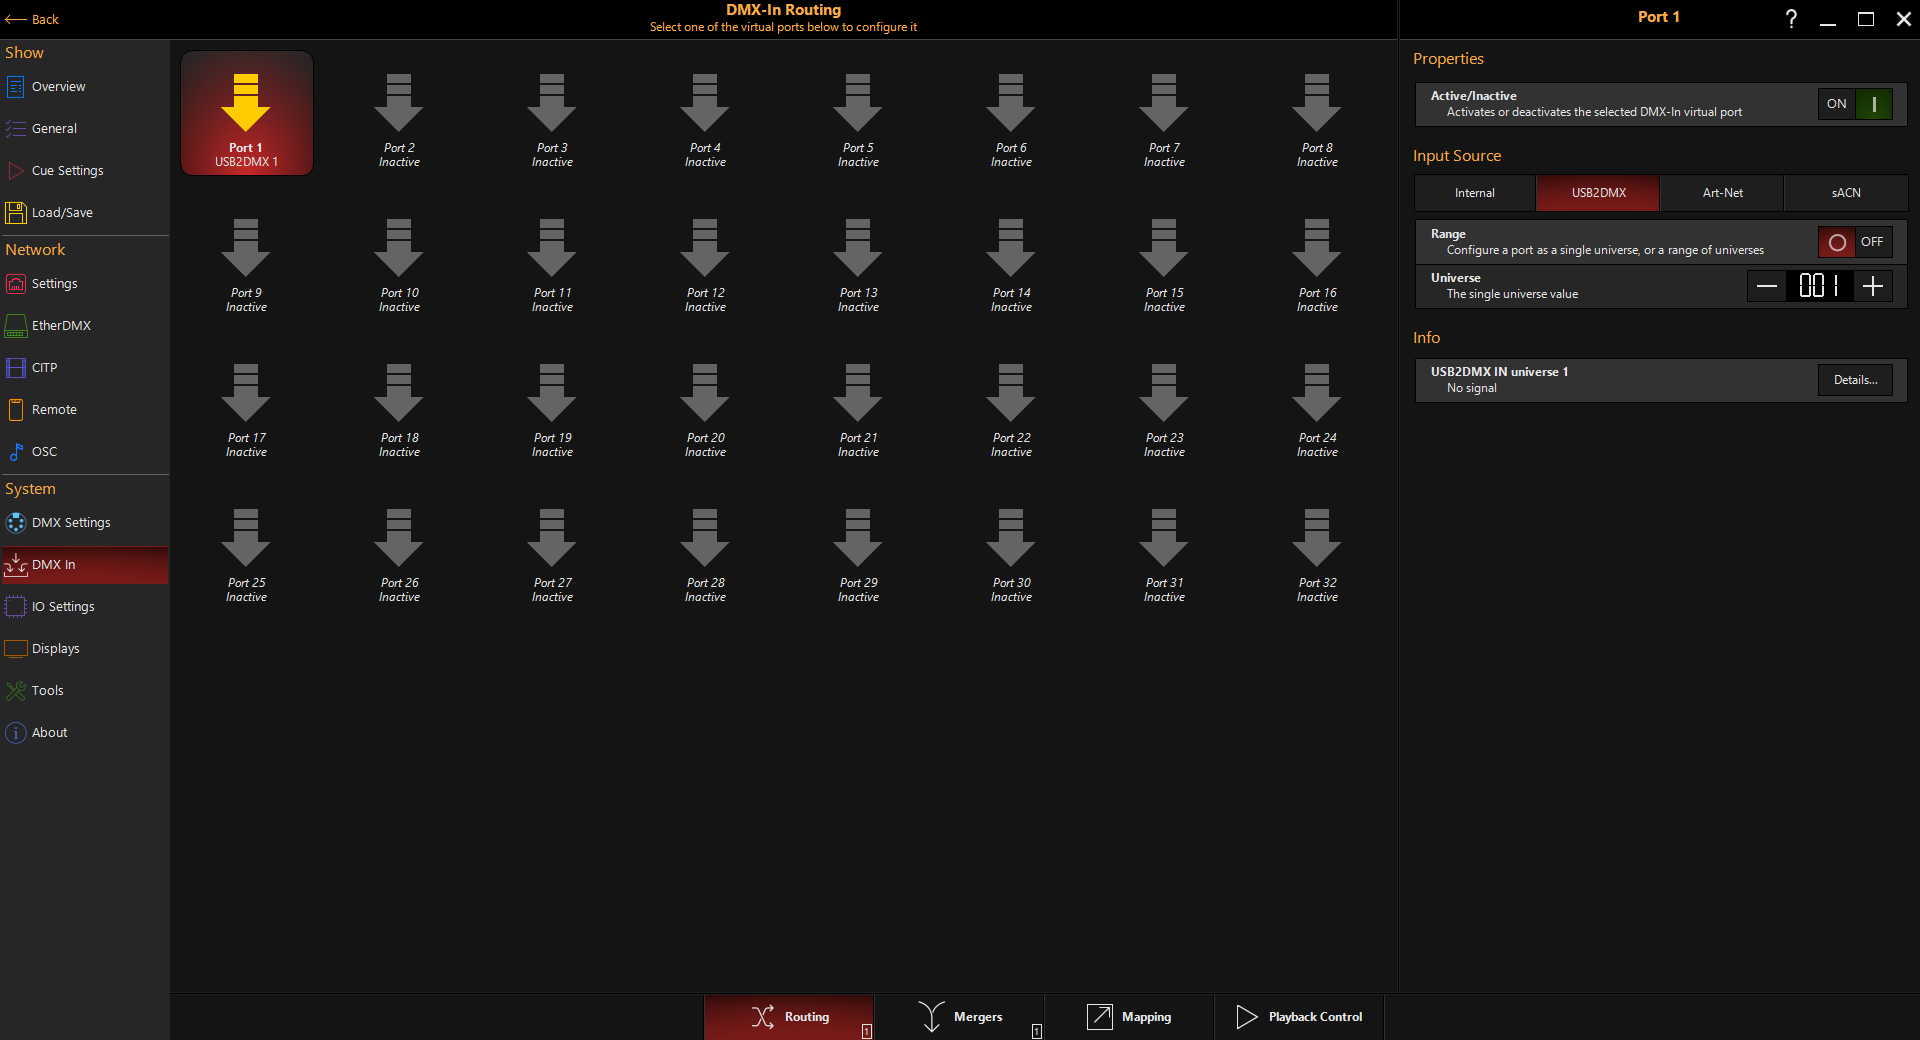
In from the bottom navigation, you have 32 Virtual Ports available.
You can map a physical DMX Port on the back of a console or on an external USB NX-DMX (or M-DMX) box to a virtual port. You can also map Art-Net or sACN universes for input.
Activate and Configure Your DMX Input Port
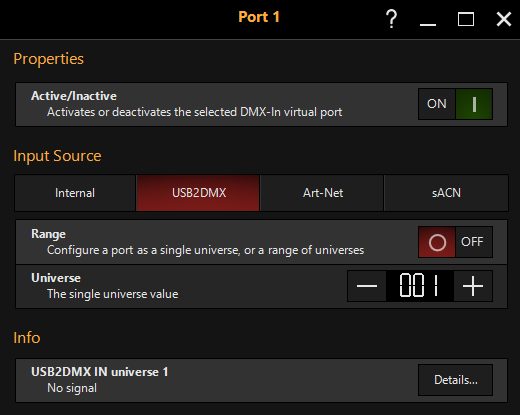
On the right pane of this window, we see the settings which are unique for each virtual DMX input port:
| Item | Explanation |
|---|---|
| Active/Inactive | Activates or deactivates the selected DMX-In virtual port. |
| Input Source | Choose which input source to draw from. |
| Range | By default this is OFF, and only a single DMX universe is set. Turning this ON enables a range of multiple DMX universes. |
| Universe | Set the universe, or range of universes for the input port. |
| Info | This section lists out all the universes set for input in the Universe field(s) and indicates signal presence. |
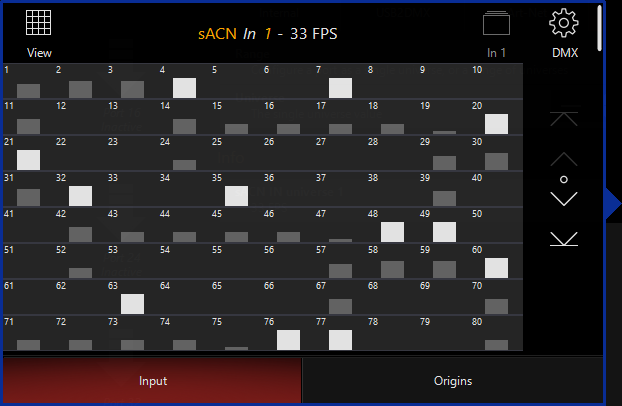
In addition, the button allows you to see an input monitor and see the source(s) of the input:
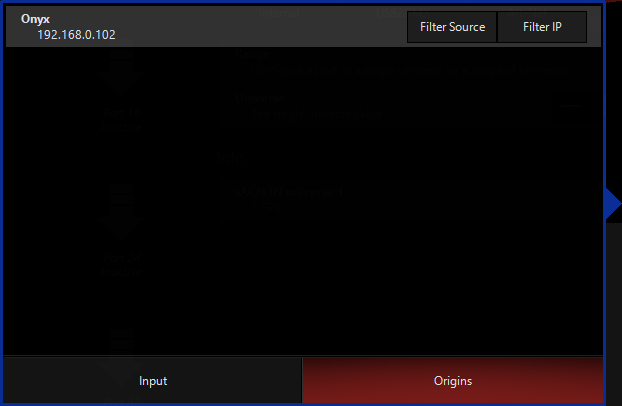
And the tab allows you to see where the input is coming from, in the case of Art-Net or sACN input.
Pressing will exclude the selected sACN or Art-Net source from the DMX input.
Pressing will exclude the selected IP address from the DMX input.
Filters are adjustable via the EtherDMX settings.
Set DMX Input Options
On the bottom navigation bar, we see 3 options - Mergers, Mapping, and Playback control. These are the 3 different ways that we can map a DMX input to ONYX.
Merger
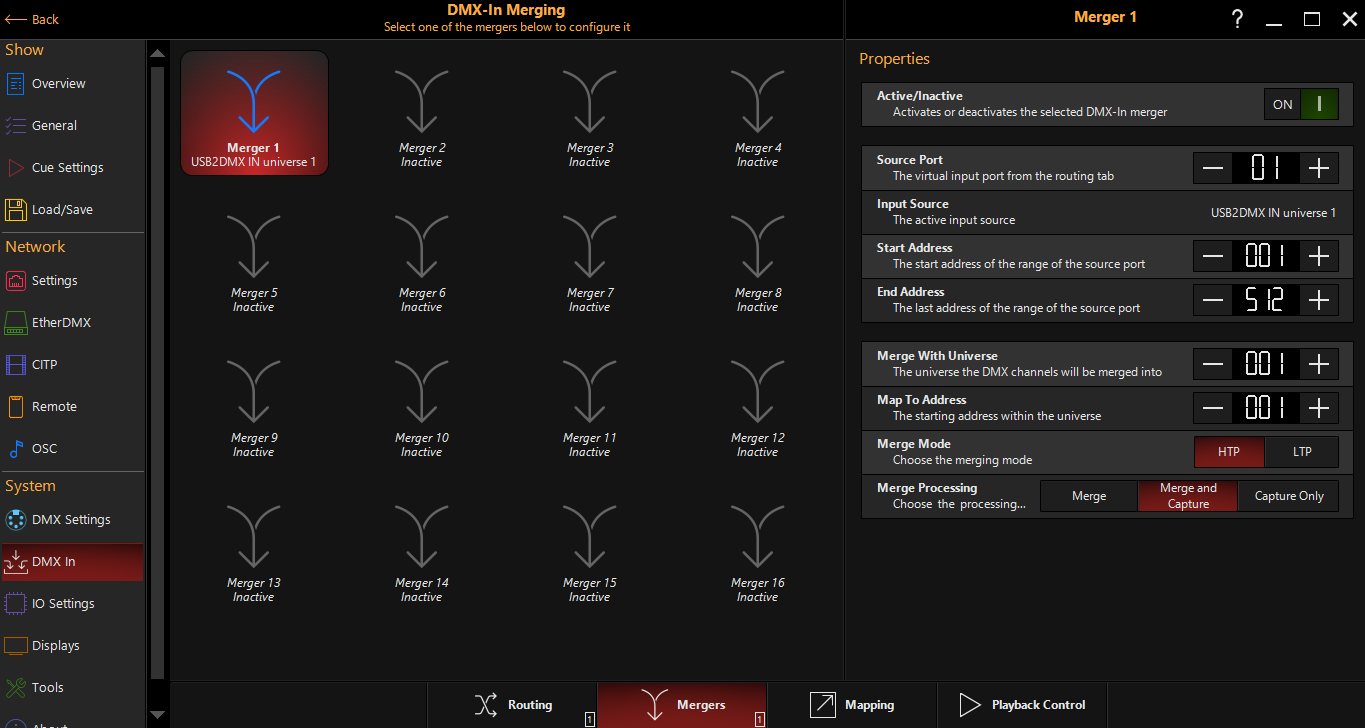
- Activate the port (see above - "Assign a Virtual Playback Port").
- Select the Source Port on the screen.
- Modify the Input channel range.
- Select the Merge Universe of the console and the start address
- Select Merge Mode LTP or HTP (calculated per channel)
- Select the Merge processing type:
- Merge: The incoming value and the value on the output are combined
- Capture: The incoming value can be captured into the programmer with the LOAD function.
- Merge and Capture: The incoming values are both merged to the output and able to be Captured via the LOAD function.
Mapping
Mapping allows you to map DMX channels from another console to control specific cuelists or fixture intensity controls.
For example, you have a 24 Channel DMX Desk outputting DMX to Input Port 1 on the console, you can then map fixtures to the 24 channels so the dimmers of the 24 fixtures are available on the external console for control.
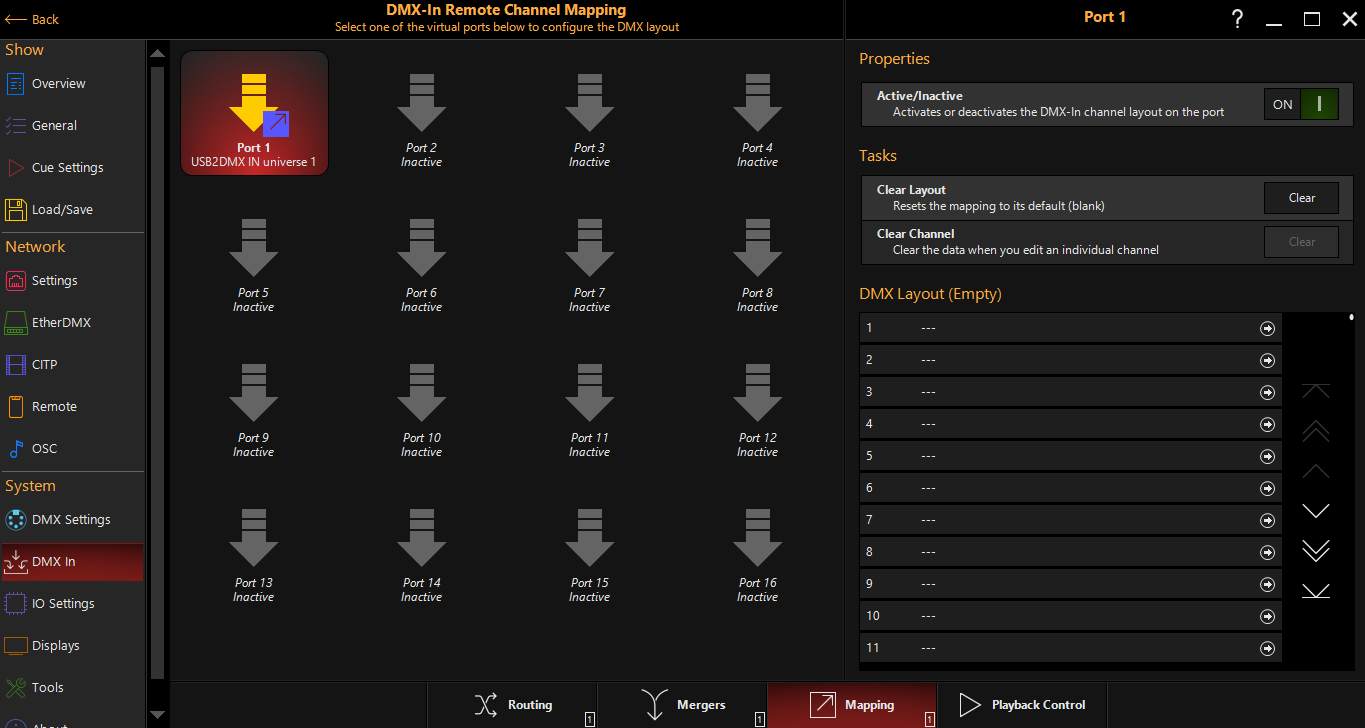
- Navigate to the tab.
- Select the DMX port that you have previously configured via the Routing tab.
- On the right we see "Properties". Here you first need to set the port to ON.
- Under DMX layout, press the DMX channel number that you wish to map. Then, the window will slide over and you can assign a fixture's intensity to the channel, or a cuelist.
Cuelists will use this mapping to control both level and "Go":
| DMX Input Value | Cuelist Function |
| 0>200 | Fader level 0>200 (0>100%) |
| 201>230 | Safety (Buffer - No Function) |
| 231>255 | GO |
Multiple Fixtures and or Cuelists may be assigned to the same Virtual Input port for control.
Playback Control
The DMX In is used to remotely control the on screen playback buttons.
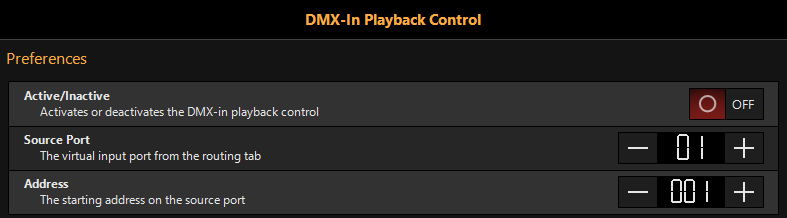
Select the input port and start address, and the playback control is mapped as such:
| Channel | Value | Function |
| 1 | Playback Page | |
| 1 | Page 1 | |
| 2 - 100 | Page 2 - 100 | |
| 2 | Playback Button | |
| 1 | Page 1 | |
| 2 - 100 | Page 2 - 100 | |
| 3 | Cue Number | |
| 1 | Cue 1 | |
| 2 - 255 | Cue 2 - 255 | |
| 4 | Command | |
| 0 - 9 | Idle | |
| 10 - 19 | Go | |
| 20 - 29 | Pause | |
| 30 - 39 | Release |