DyLOS Examples
The DyLOS pixel composer is a very powerful tool included with ONYX which can be used in many different ways.
Below are just a few examples on how we can use DyLOS to create an interesting show! Press any of the titles to expand the example.
Like other examples, these use the ONYX Training showfile which is found in the "Samples" subfolder of the ONYX showfile folder. (Which can also be used with the Capture 3D Training File for free - more info here!)
I'll be creating these examples in view #4 of the default "Compose" Workspace, which is called "DyLOS". Press the titles below to expand each example and be sure to use the examples alongside the examples within the pages for each different DyLOS concept.
Example 1 - Generator Effect
If you have any lights selected or activated, please press twice to fully clear your programmer.
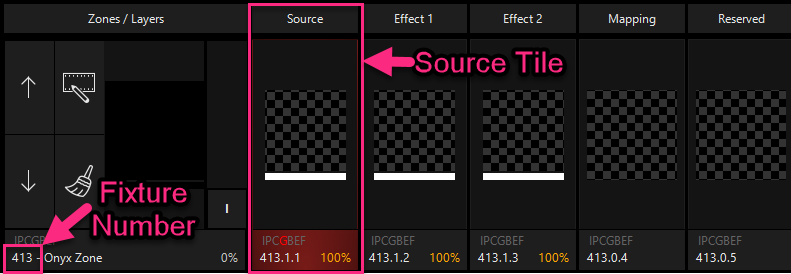
Now, select the Source by pressing the Source tile, or type the Fixture Number for the Zone:
In the bottom half of our view, we can see the Zone Parameters window. Let's select from the bottom navigation and then select the first option - :
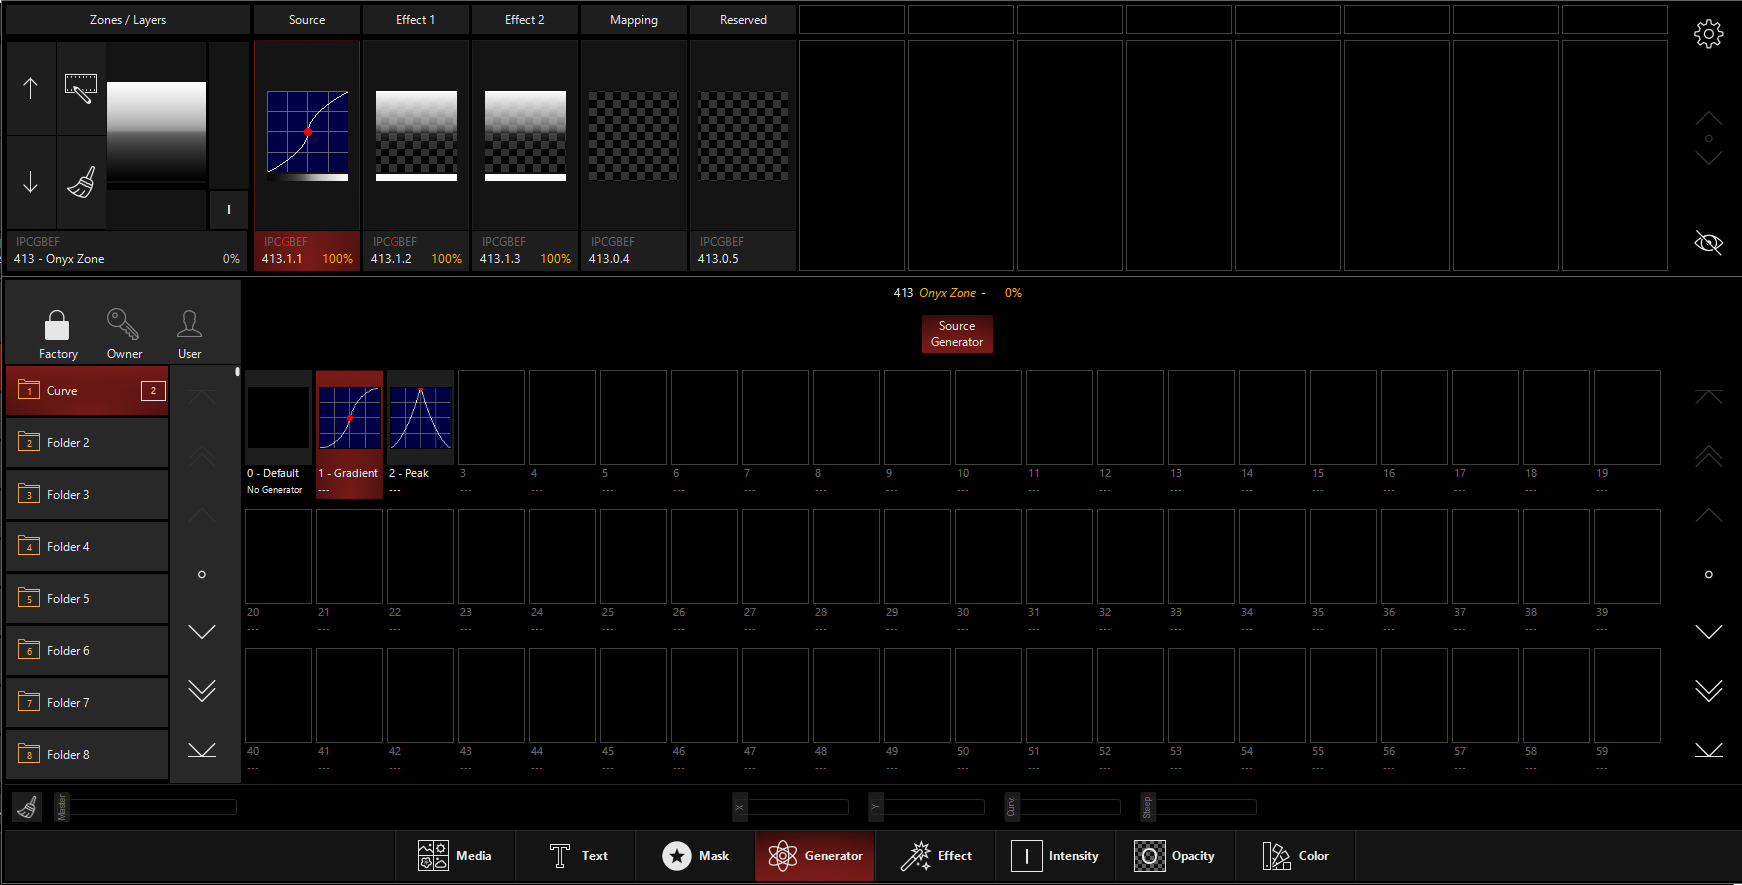
Now, let's go to the on the bottom navigation and select :
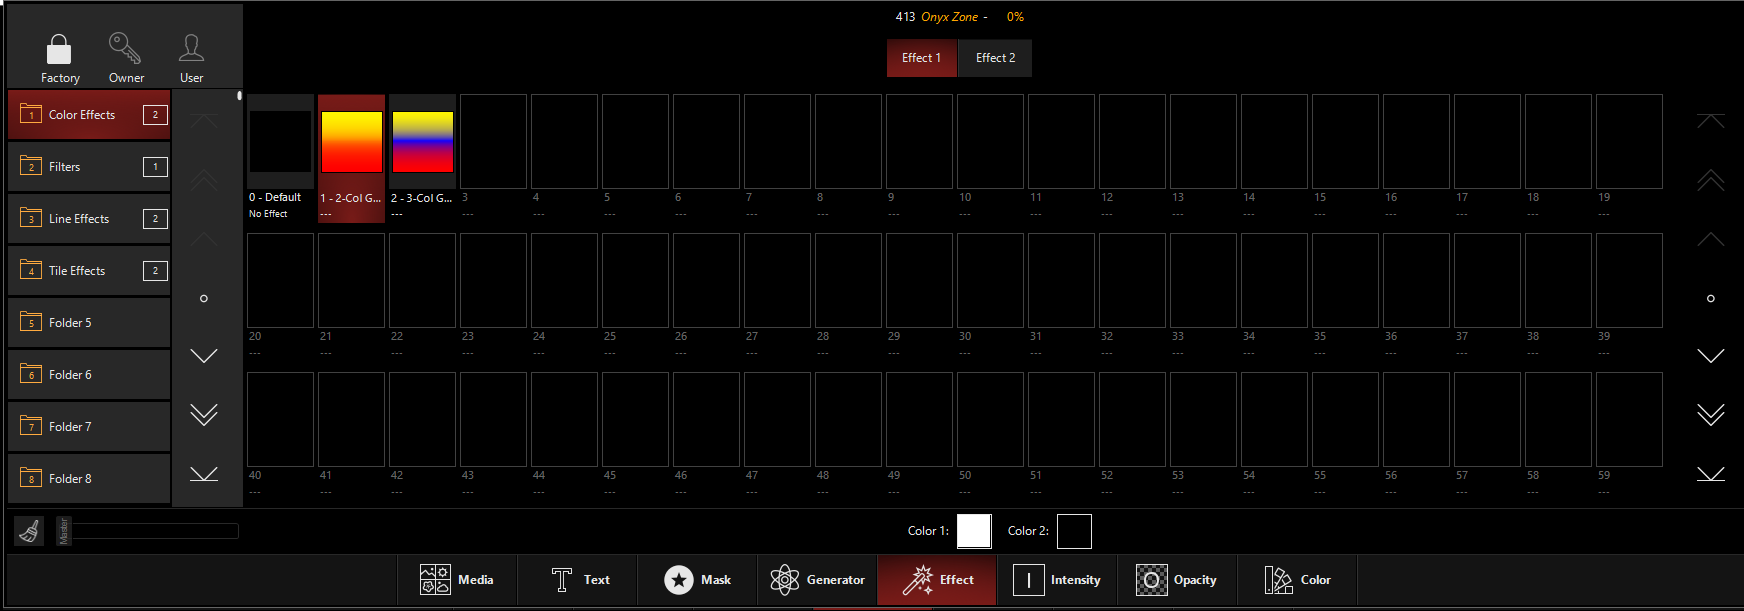
At the bottom of this sub-window, we can see our color options - right now they are set to black and white.
Press the box next to , and a color picker will pop-up:
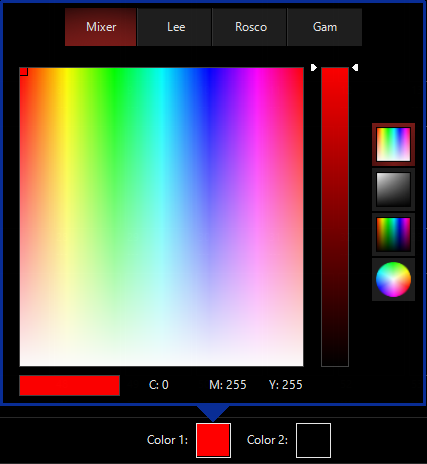
Choose a nice red, and then repeat with the box. Note, when the color picker is at black, you'll need to use the intensity fader on the right side of the color picker to "lighten up the mood". Choose a nice violet for the 2nd color.
Now, you're Zone Composer should look like this:
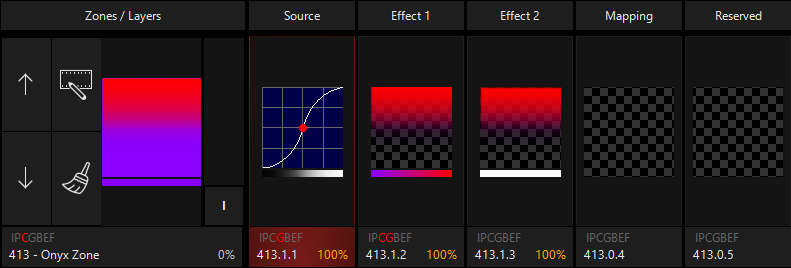
Note that we're still not live to our fixtures yet - we'll activate that once we have a nice effect built!
Let's use our encoder wheels now. I'm going to pop up the encoder wheels using the "Up Arrow" near the bottom right corner of the window, and then press to work with these parameters:
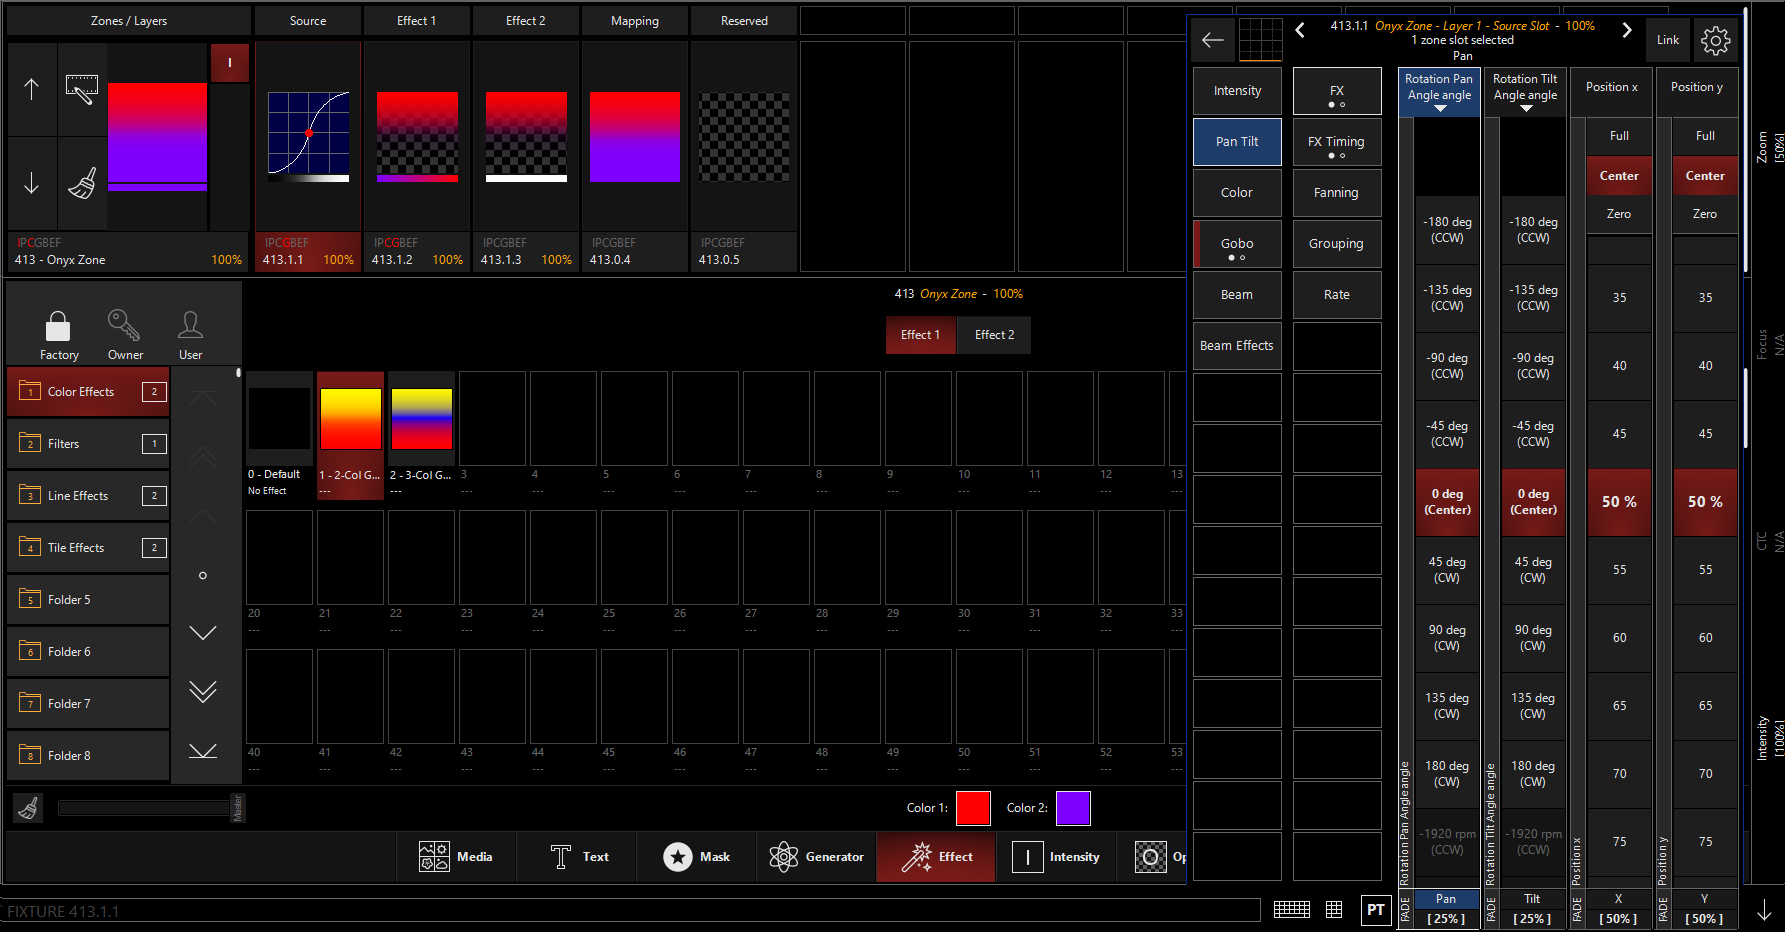
By default is selected. Experiment with running that encoder wheel up and down, and see how it affects our content.
Now, press the header of the encoder and change the function to :
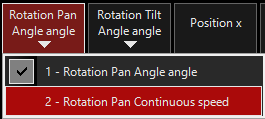
Great! Now's it rotating on it's own. Let's bring up that Intensity Fader on the Master Fixture, and head over to our 2D Plan:
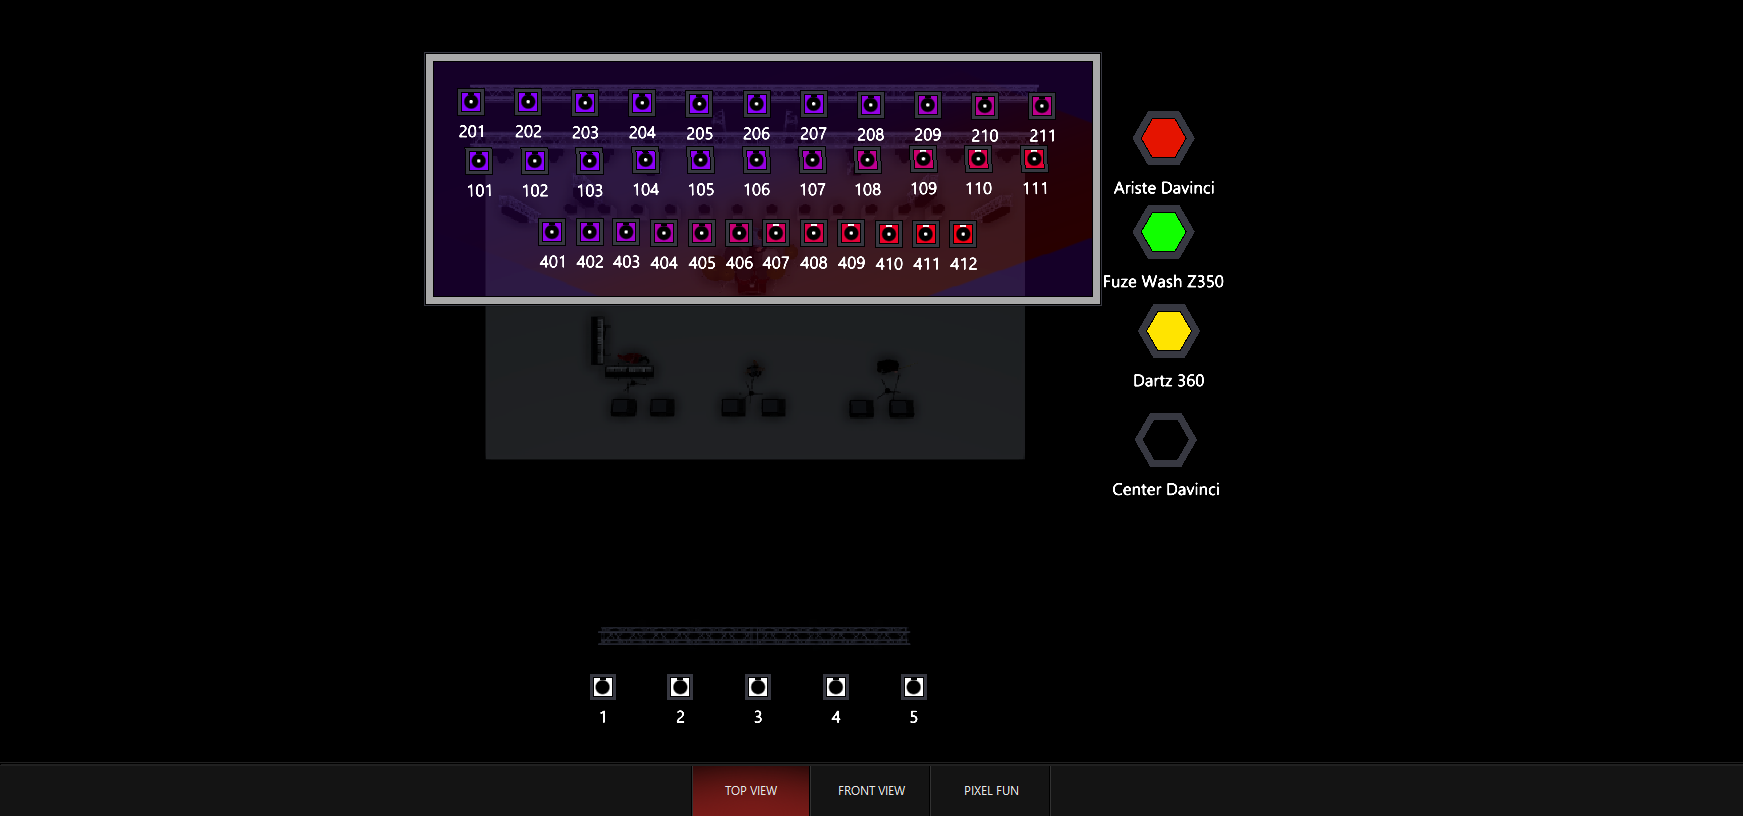
Watch it rotate these colors across your whole lighting rig! You can now this DyLOS effect to Presets and Cues - just like any other attribute of your lights! Enjoy!
Example 2 - Video with 2 Slots
If you have any lights selected or activated, please press twice to fully clear your programmer.
Now, select the Source by pressing the Source tile, or type the Fixture Number for the Zone:

In the bottom half of our view, we can see the Zone Parameters window.
Let's select from the bottom navigation (it should already be selected), and under we will choose folder . Let's activate the content number 17 - 017:
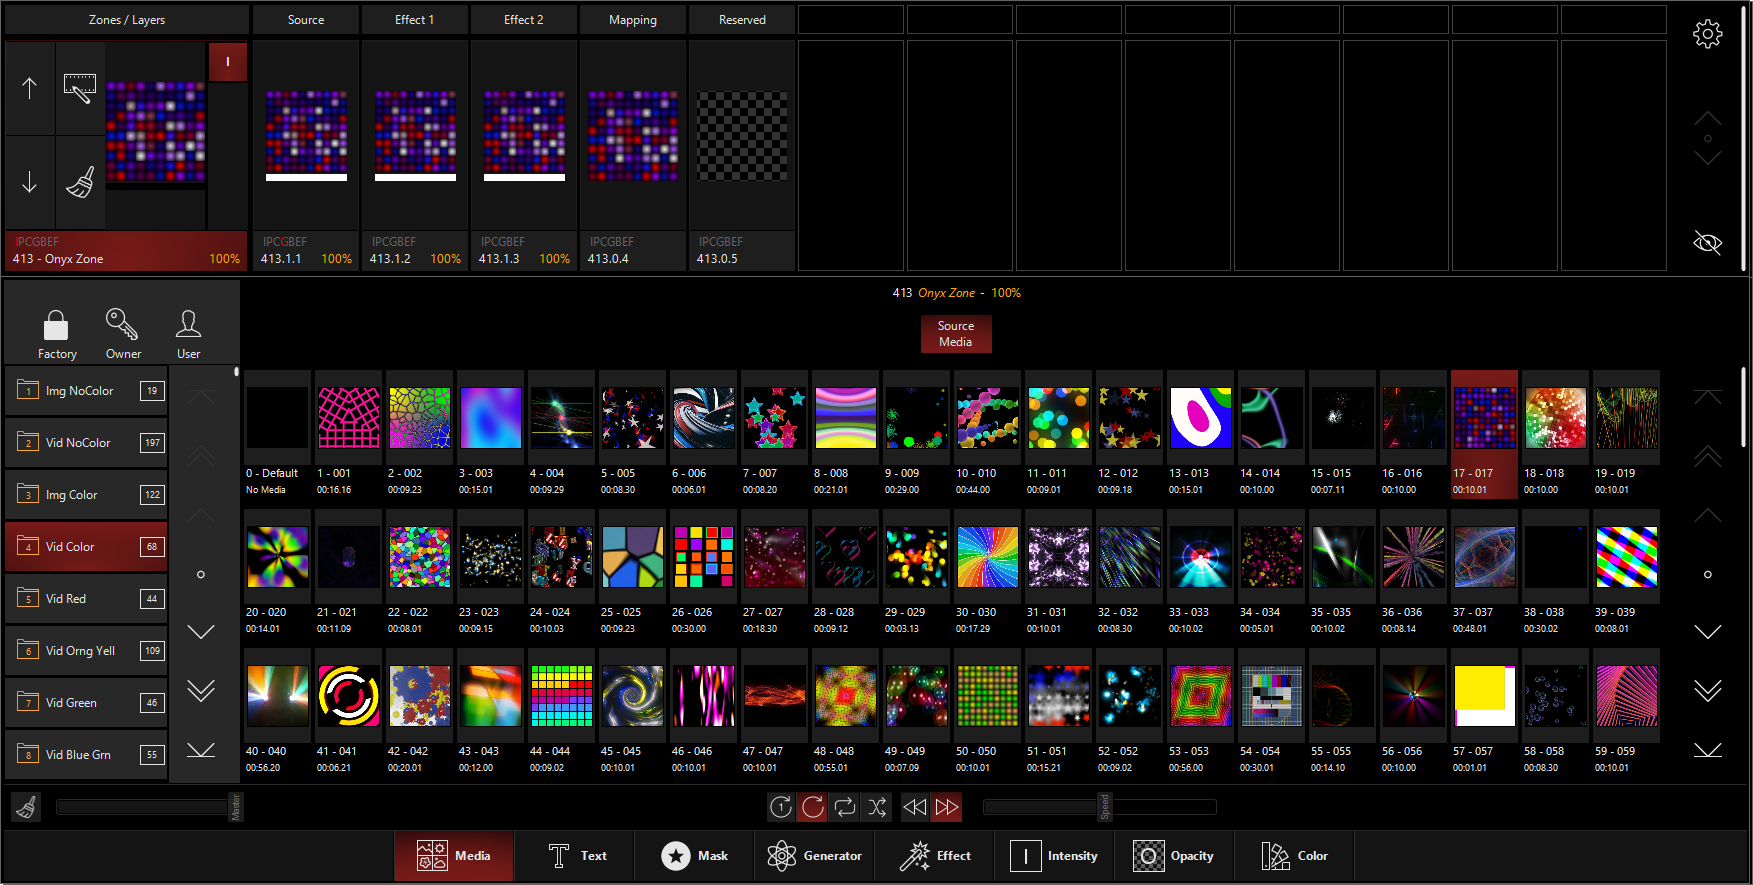
This time, we'll bring up the intensity of the Zone fixture - we can do this via the intensity indicator on the Zone fixture, or by typing (Fixture Number) At FULL.
Now, let's select from the bottom of the Zone Parameters window (the bottom half of the DyLOS view in the default Compose workspace) and then press from the top of the Zone Parameters Window. We'll choose the mask from folder and press media content number 3:
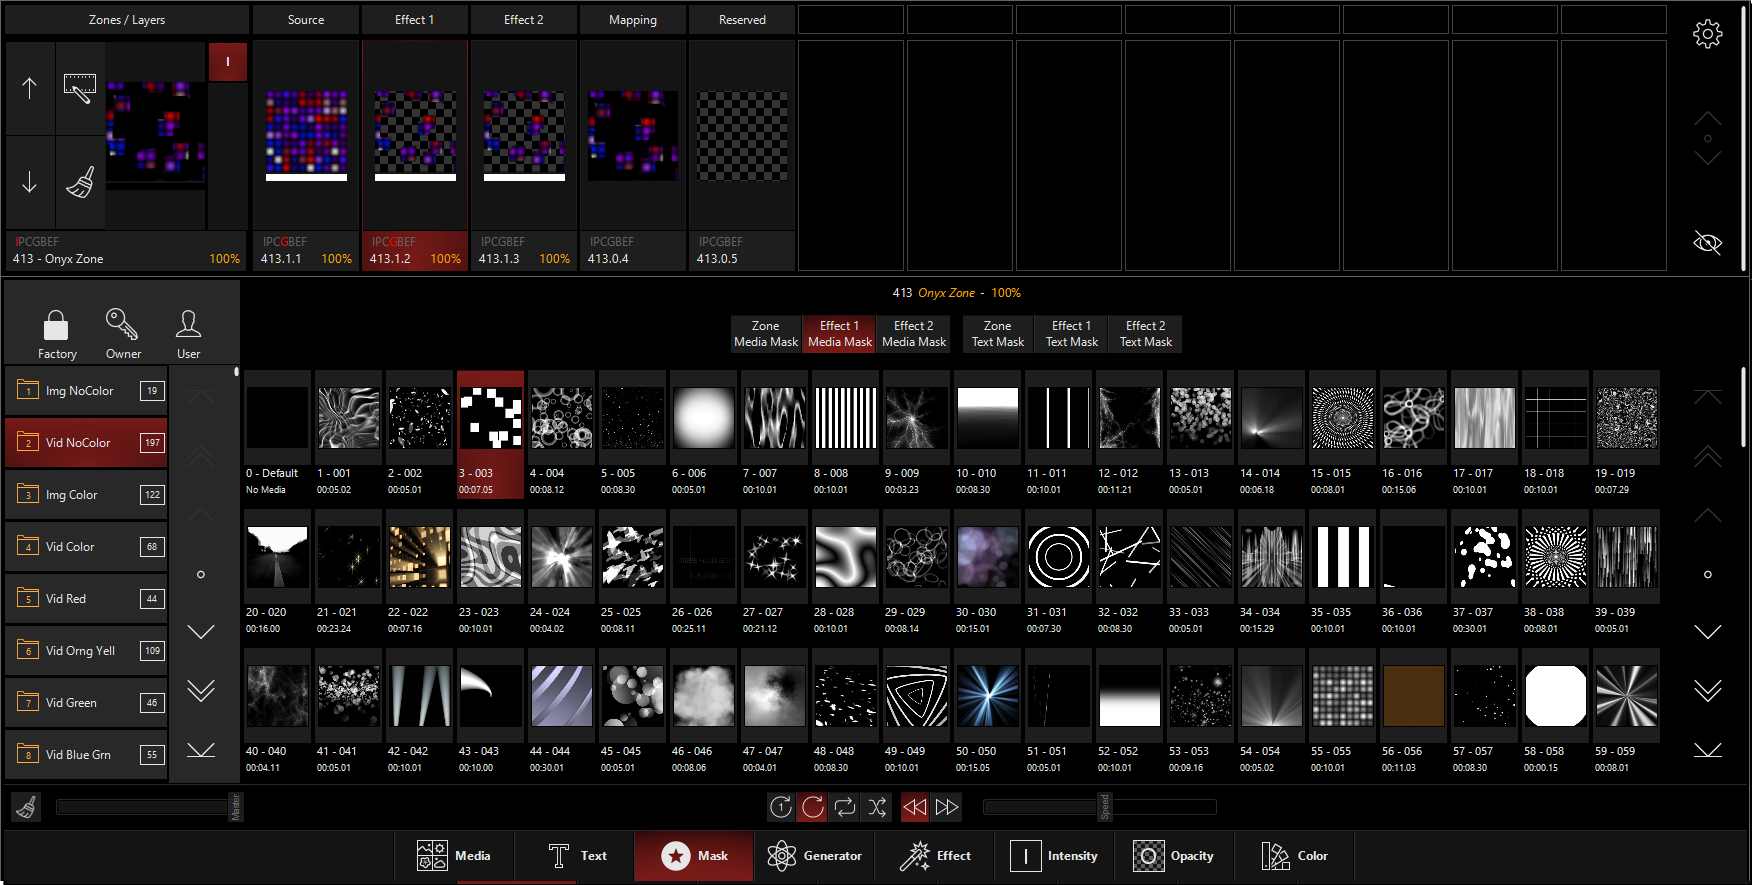
Watch how the monochromatic "mask" is applied to the initial clip for a really cool output that has some great negative space!
Select from the Zone Composer at the top and the bring the intensity of only the "Effect 1" slot up and down:
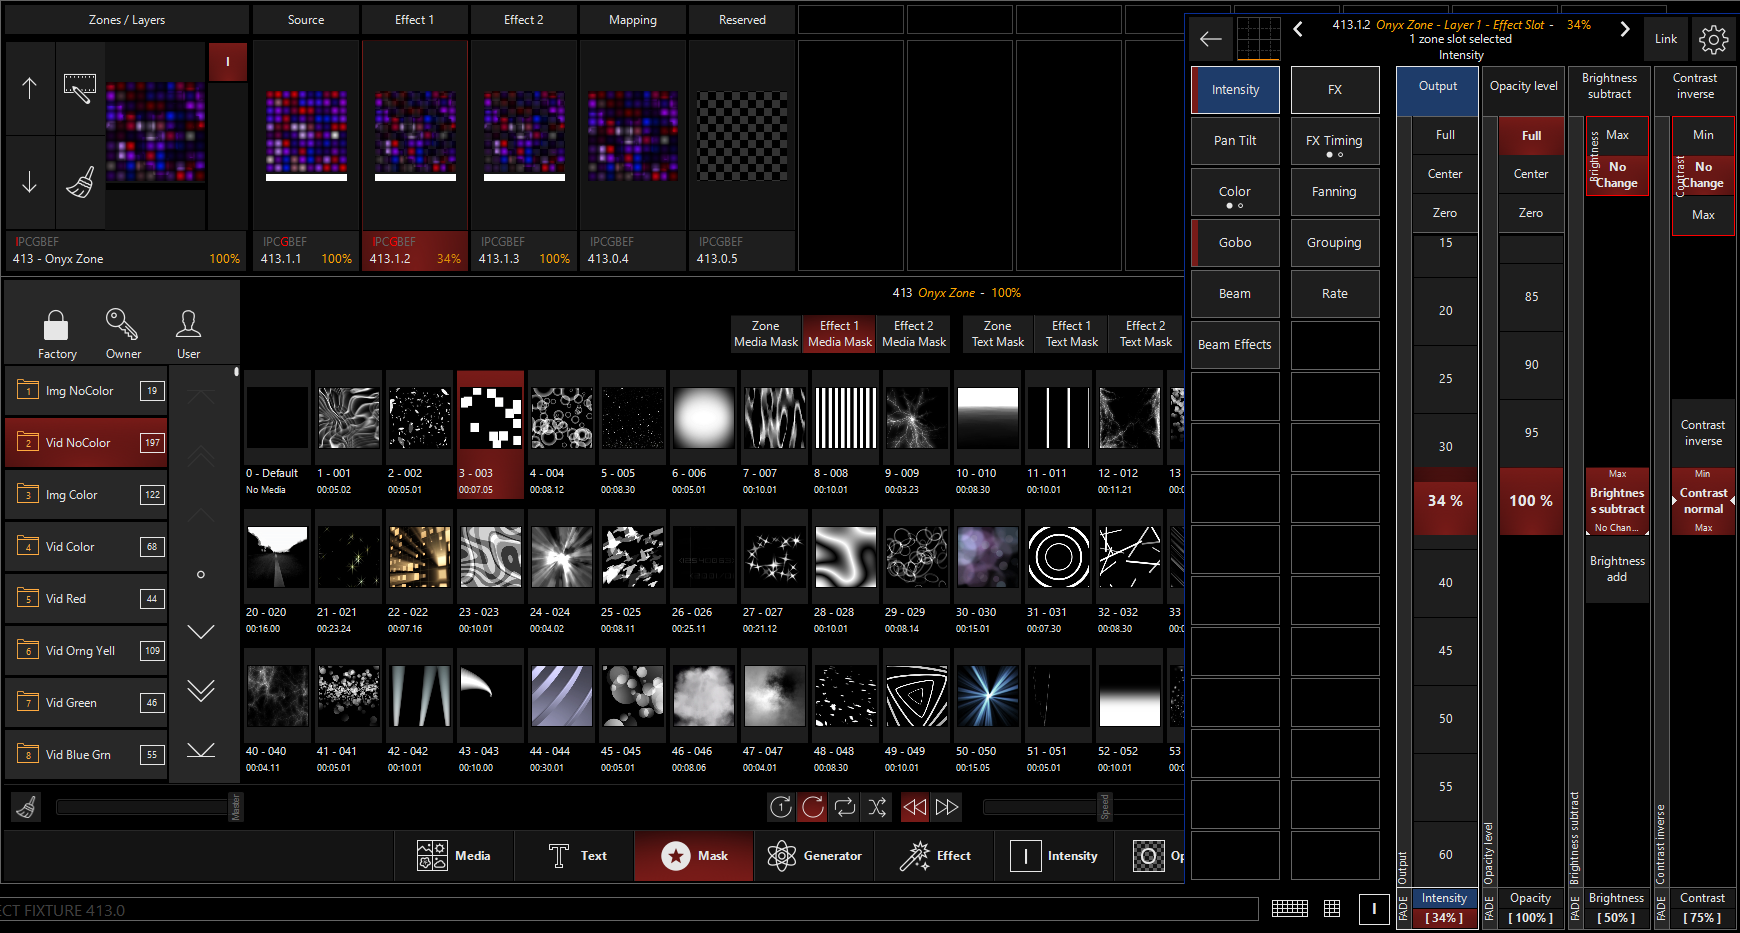
Watch the mapping tab as well as the output on the master fixture as you do this. If you have lights attached or the Capture Visualizer demo file open, you'll see the changes live on your fixtures!
this to a preset or cue, and have fun learning how to use DyLOS!
As you work with the different steps in these examples, consider saving different parts of the tutorial onto different cues.
For example, the Intensity of the Effect 1 could be saved to an Override type fader for a neat result, and highly flexible live control over this slot in DyLOS...
Example 3: 2-Color Chase
The 2-Color chase based your choice of preset colors has long been elusive in ONYX - no more!
To begin, I chose a Generator from the 2D Shapes folder and applied it as the Source on one of my Zones:
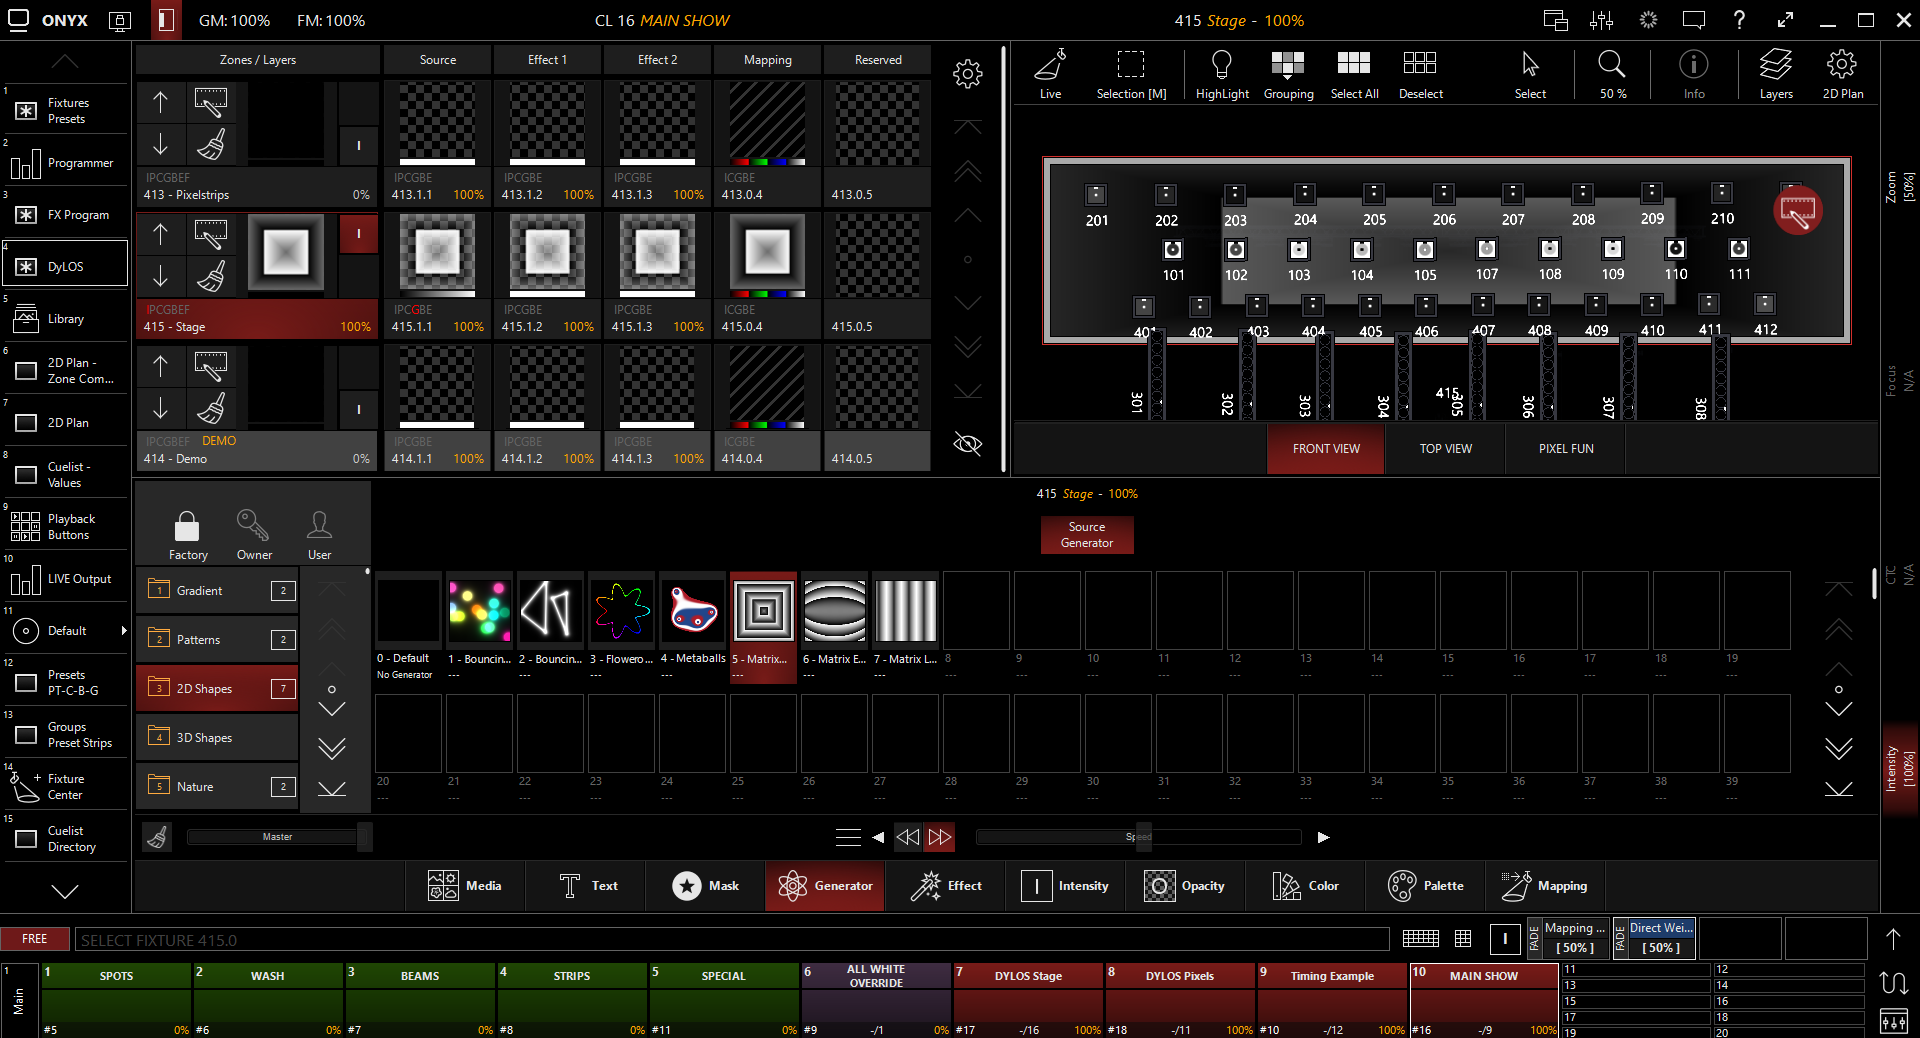
Next, I went to the "Mapping" tab and chose the 2 Preset Mapping and selected (2) presets from the Zone Parameters:

Which then gives me this result, with the colors fading between the 2 presets in accordance with the content:
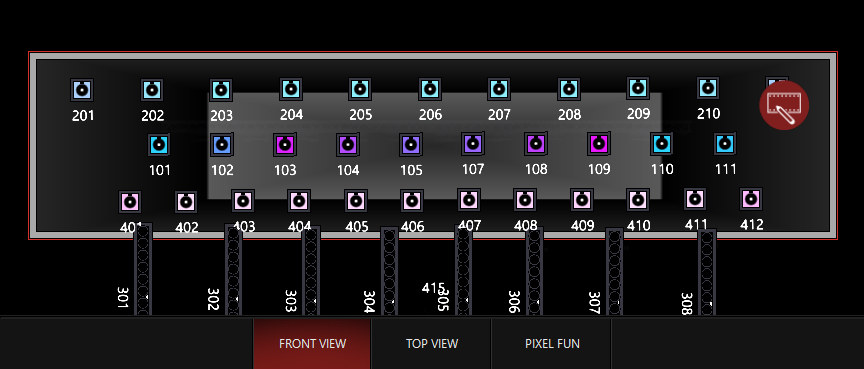
Next, I use the menu at the bottom of the Zone Parameters to toggle the "Snap Mode" to Snap:
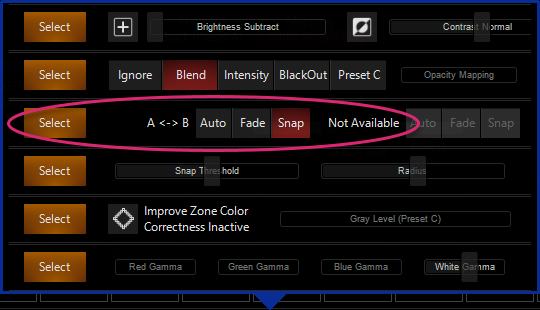
Which then gives me hard changes between my (2) color palettes selected.
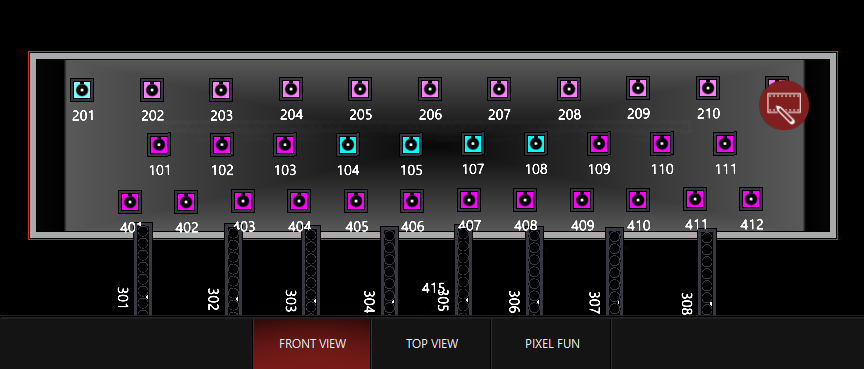
I can this into a cue, and/or change presets, content, or any of the DyLOS parameters on the fly in the programmer to change the look I receive with just a few presses:
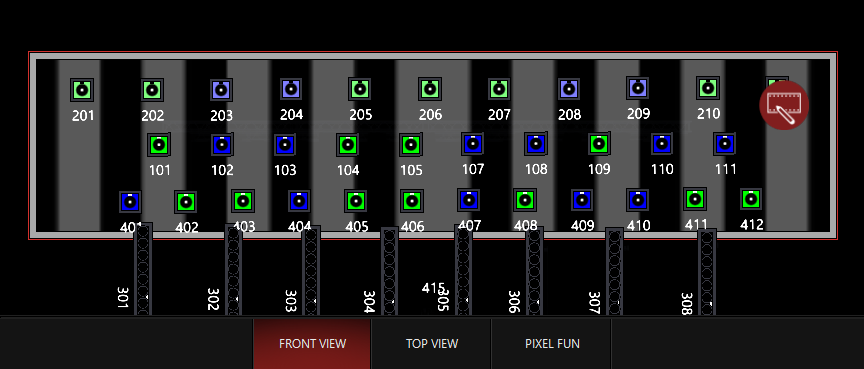
Example 4 - Generator Controlling Position and Intensity in a Single Zone
Using the Opacity Mapping, we can create a DyLOS cue that has only (1) Zone but controls (2) different parameters at the same time.
1. We'll use the "Stage" Zone in the demo showfile and create a Generator Source with the "Matrix Lines" Generator on the default settings:
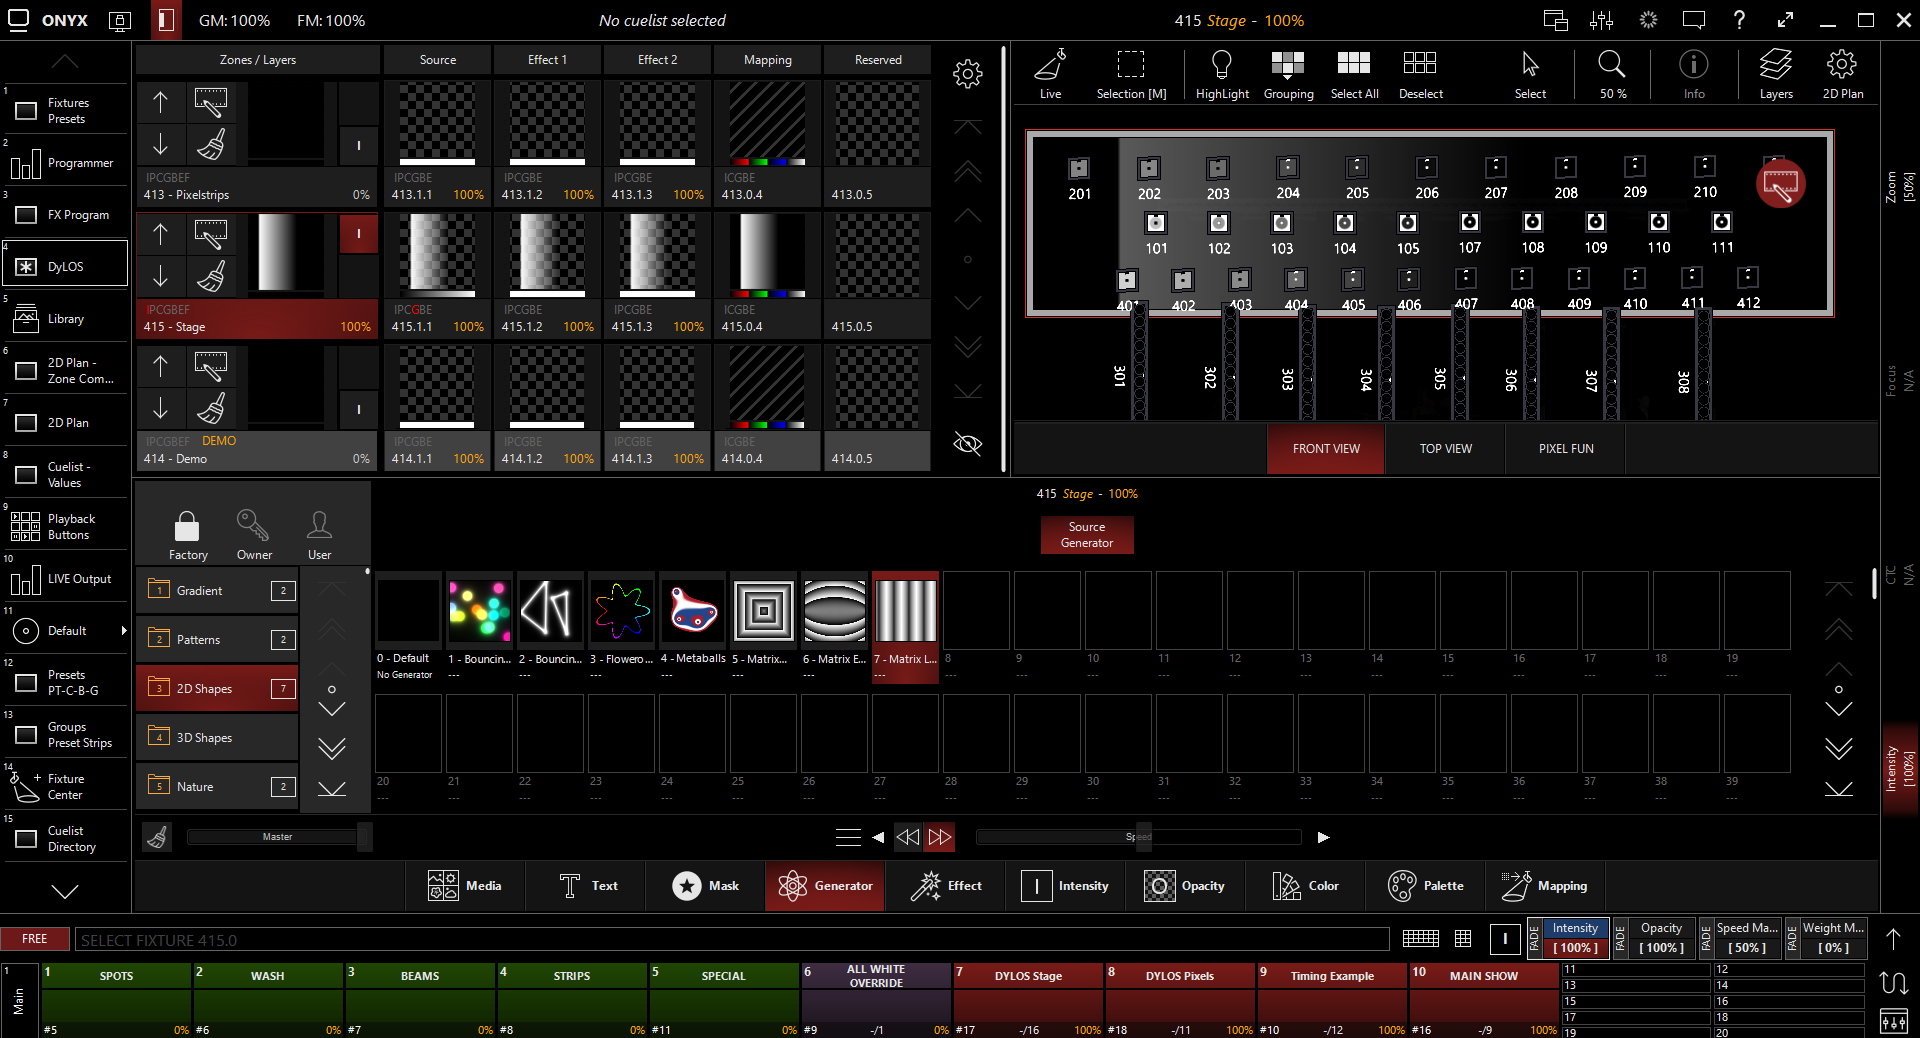
2. Now, set the Source Opacity to 0%:

3. We'll now go tab to the select 2 Preset Mapping mode. For this example, I have Preset A set to "DOWN 1" and Preset B set to "UP EVEN". All of the other settings are at their defaults:

4. Now, we'll set the Opacity Mapping mode to "Preset C":

5. Then choose the Intensity preset "INT @ 100%" and "Alpha" from the Mapping key at the bottom. Changing the key to Alpha is very important because the Preset Mapping and Opacity mapping sections need to be using a different key for this example to work well. If they use the same key, you lose the 2 preset mode.

Now you'll get this result:
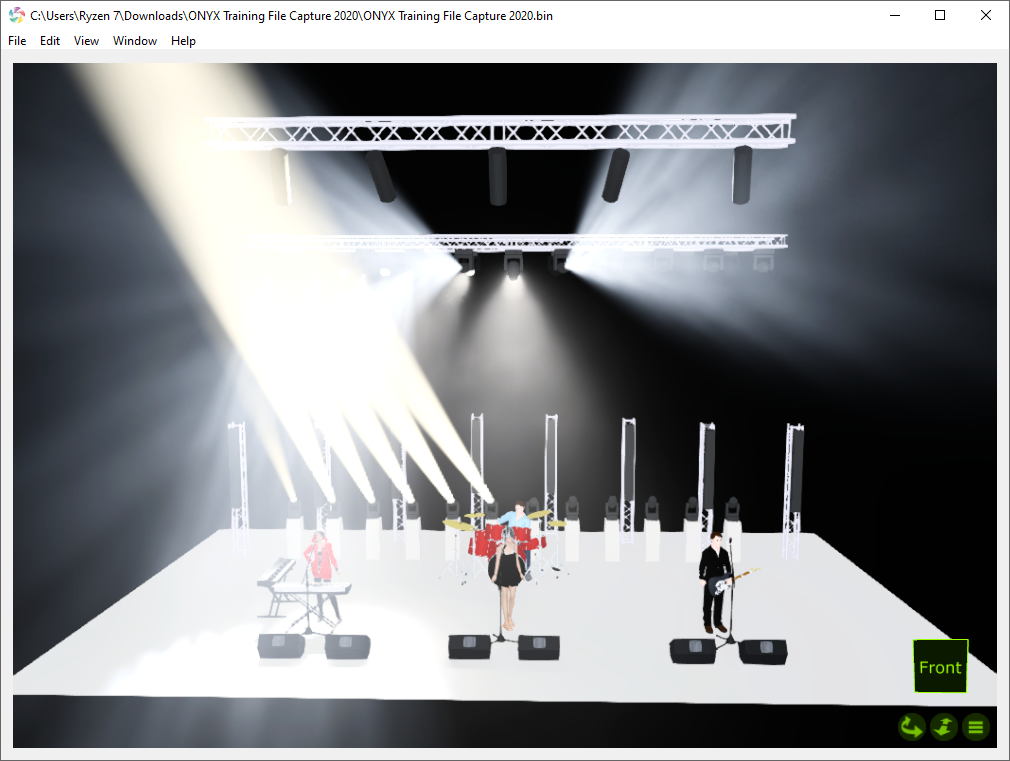
While a still image isn't as good as video, you can probably see that here we have a "waterfall" type effect where the lights come on, transition from Preset A to Preset B, then turn off while they return to Preset A.
But we can tweak the Opacity map at little further by using the Opacity Curve. For example, at the settings I currently have, the lights don't fade in and out as smoothly as I'd like.
For the Opacity Curve, we select the Source sub-fixture and then go to the parameter group, and go to the 2nd page of parameters (FX5-8):
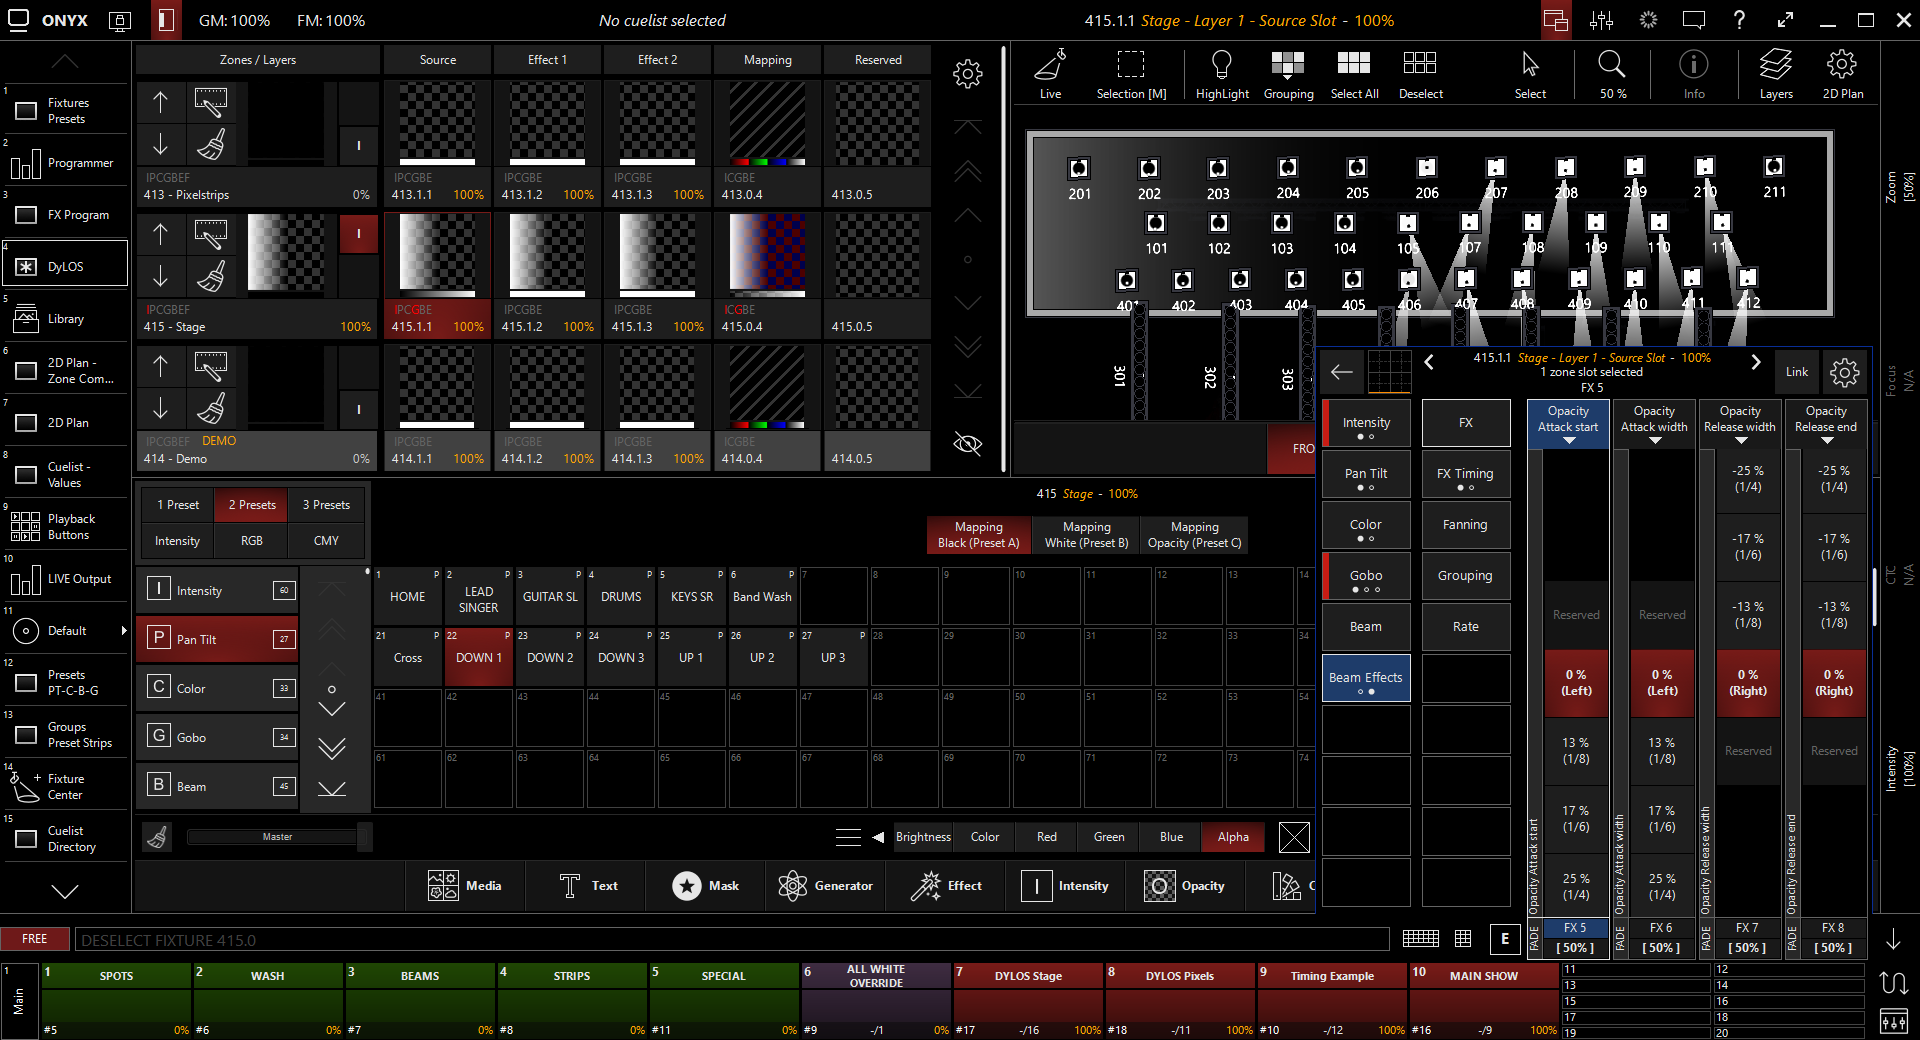
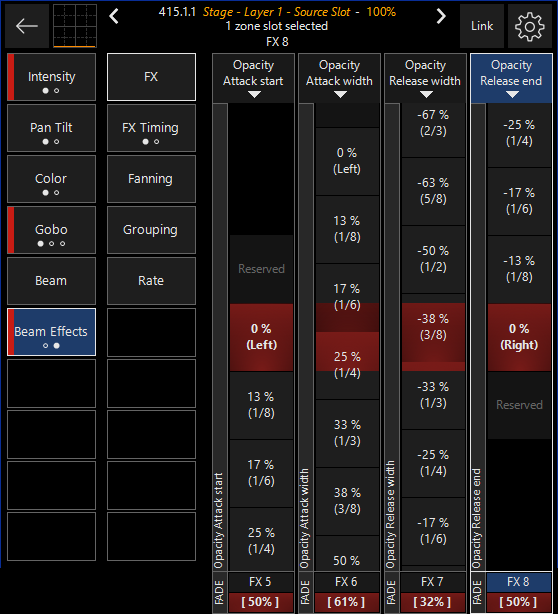
I then use these settings to smooth the intensity transition:
The best thing about this approach is that it can work with many of the generators and also a lot of the factory content with black backgrounds - these backgrounds turn transparent when the Zone Opacity is set to 0%!