The User Interface
Before we delve into the core of ONYX operation, lets discuss some of the important concepts you should know about when dealing with ONYX.
Navigating the Interface
The user-interface has been optimized for touchscreens, which allow the user to work in an environment where everything is accessible from a single finger touch. Whether you're on a console or using ONYX on a PC, the user interface is the same.
Users can simply swipe to move from view to view, access other playback banks quickly or change parameter selection:
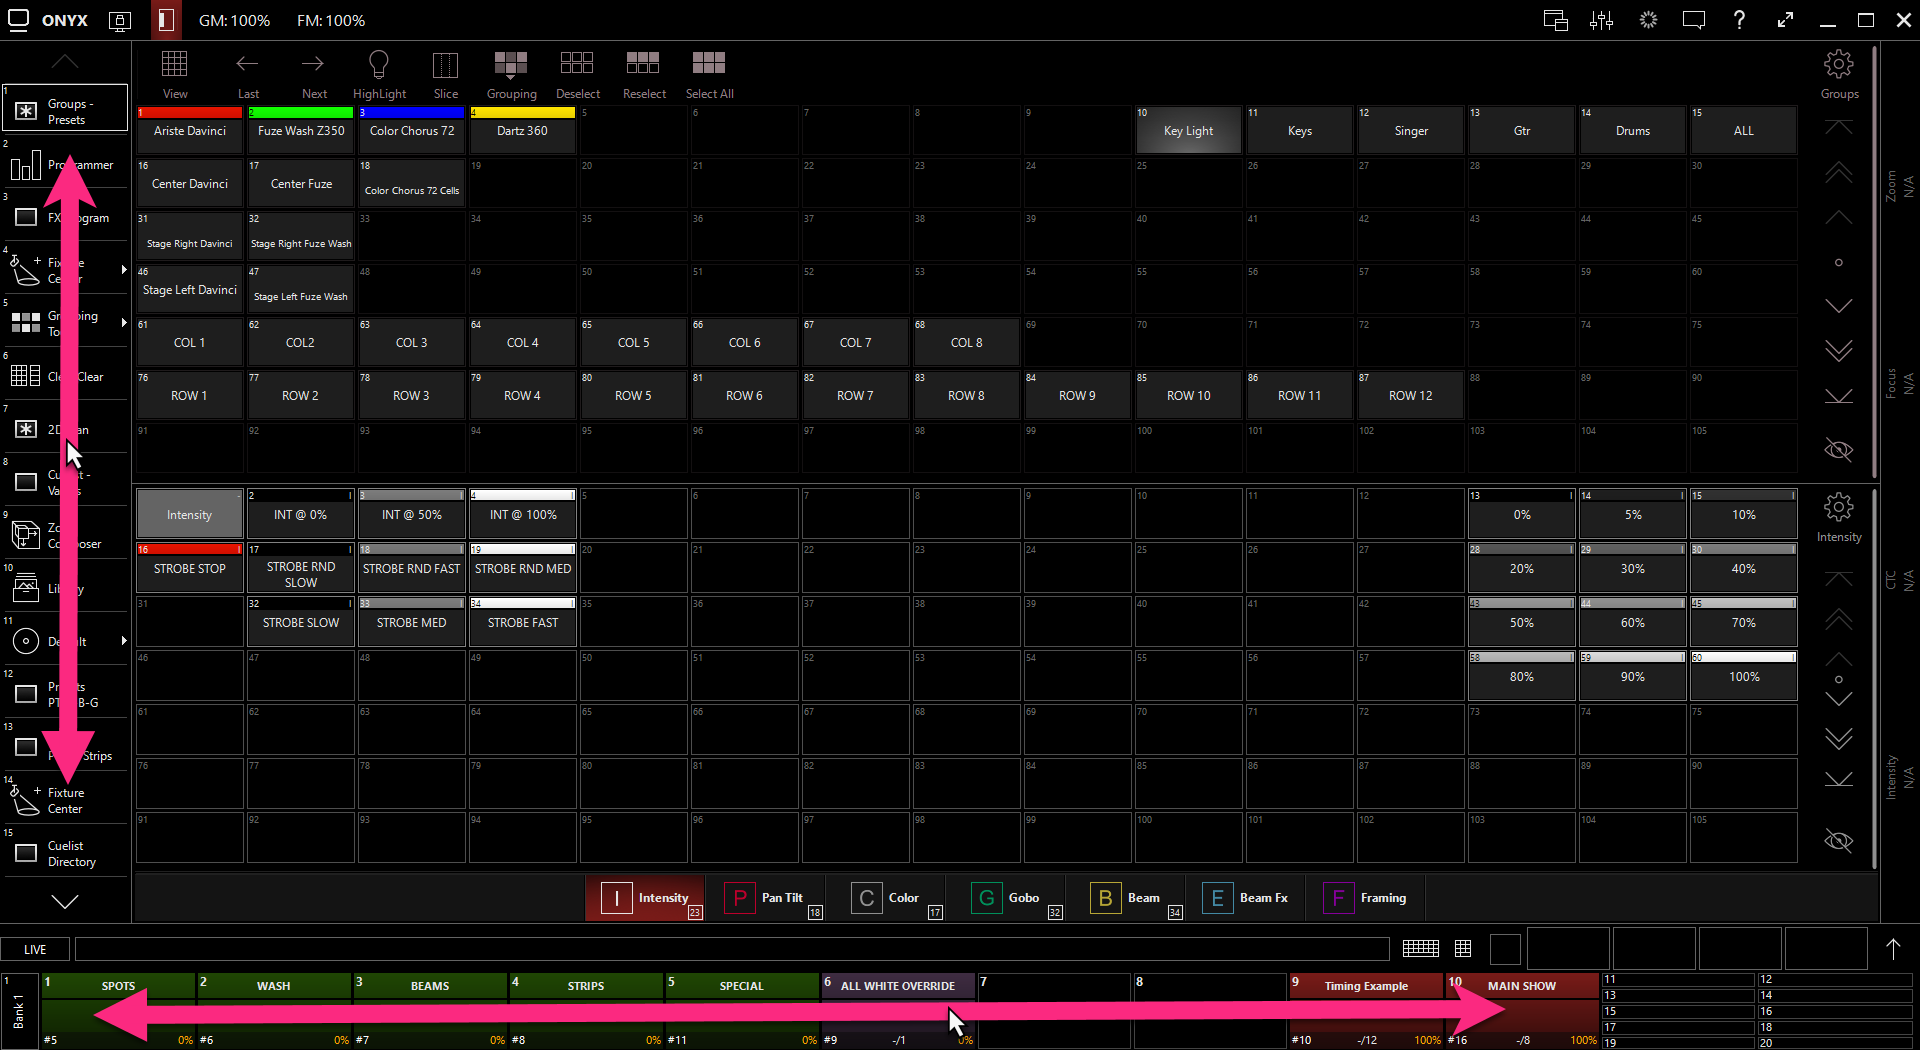
Playbacks
Swiping your finger (or clicking and dragging with the mouse) on the Main Playback indicators will advance through playback banks (pages). Swiping from right to left will go forward one bank, and left to right will go back one bank:

Double-tapping on main playbacks 11-20 will switch them to the main playback faders. You can also use the fader flip icon to switch playbacks:
![]()
On consoles with motorized faders, the playback level with also move to match it's level:

Double tapping on playback status accesses its functions and options, including Play, Pause, Back, Skip Ahead, Reset Cuelist, Stop, and Direct Cue View, among others.
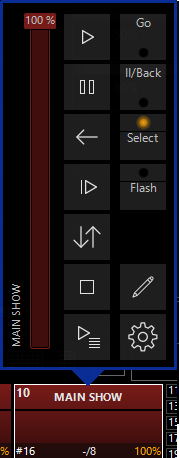
The fader view icon enables you to open a more robust fader view at the bottom of your screen, including a programming keypad:
![]()

The Sidebar
Swiping your finger (or clicking and dragging with the mouse) on the sidebar will allow you to access additional pages of sidebar tabs.

The sidebar can be hidden/shown with the sidebar toggle button.
![]()
The Top Bar
Let's begin by taking at tour of the top-bar icons. Take a minute and draw your attention to the "question mark" icon in the upper right hand corner. Clicking or touching this button activates "Information Mode" which allows you to then click any element in ONYX to reveal its function.
![]()
The Button in the upper left hand corner allows access to the .
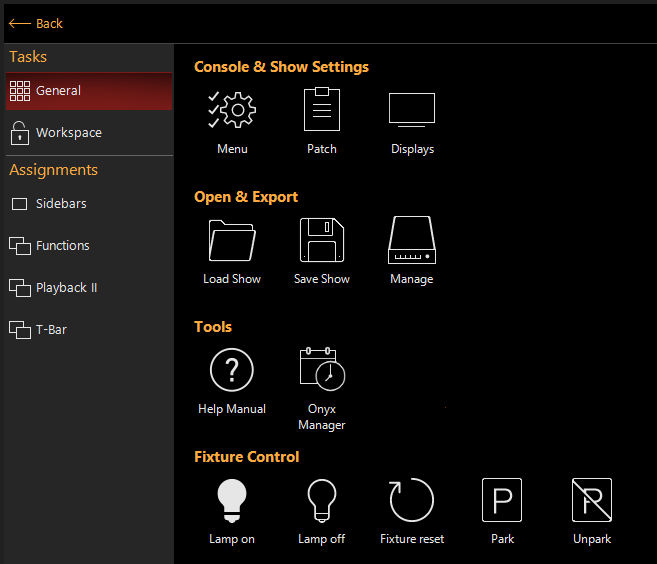
The button allows you to view, create, and edit the different Workspaces, as well as temporarily launch views.
![]()
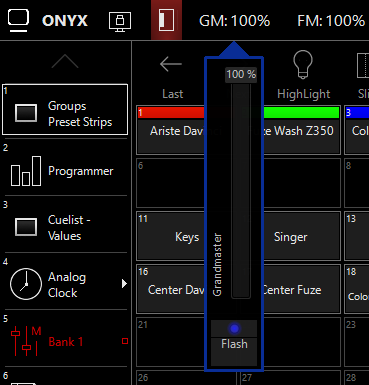
Touching either the or button will display the Grandmaster or Flashmaster faders.
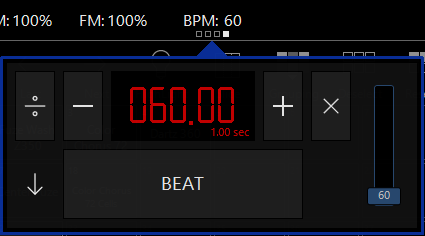
The Beat Editor function allows you to set global beat value in Beats Per Minute (BPM) and link that value to any of your Chase Cuelists. A shortcut to it is available on the toolbar at the top of the screen, touching the BPM icon will display the editor controls.
Note that this will only appear on the toolbar if at least one chase in the show is set to Global Rate.
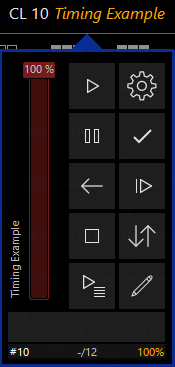
The currently selected cuelist will be displayed along the top of the screen. Touching it will show it's information and controls for quick access on the fly.
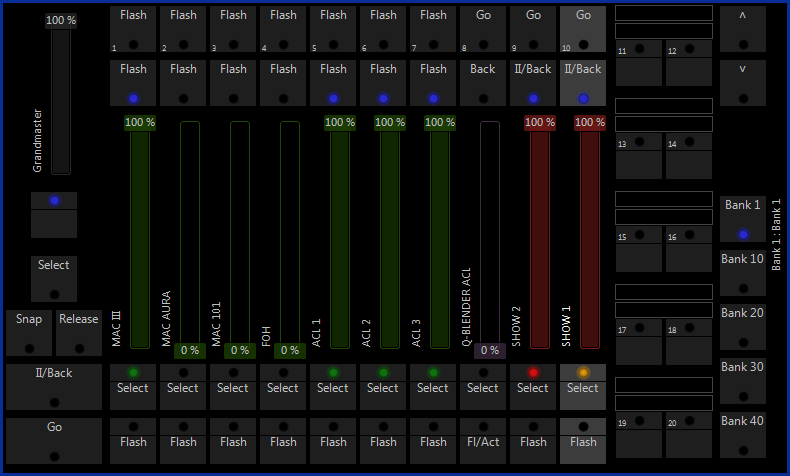
Touching the "Faders" button will open the playback faders pop-up over the current screenview.
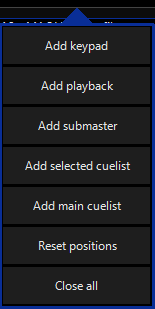
It can be moved by touching and dragging it. If you are using a multi-touch screen, multiple faders can be moved with multiple fingers. Right clicking on this button will provide some quick shortcuts to playback faders that can be embedded in the current screenview.
![]()
Channel Visualization
The Channel Visualization (Encoders) can be accessed by pressing the arrow button in the bottom right hand corner of the screen or the pop-up toggle in the upper right hand corner.
Touching or clicking anywhere on the belt, and moving your finger or mouse will control the parameter you touched. The belts can also be embedded in a screenview just like other screen elements.
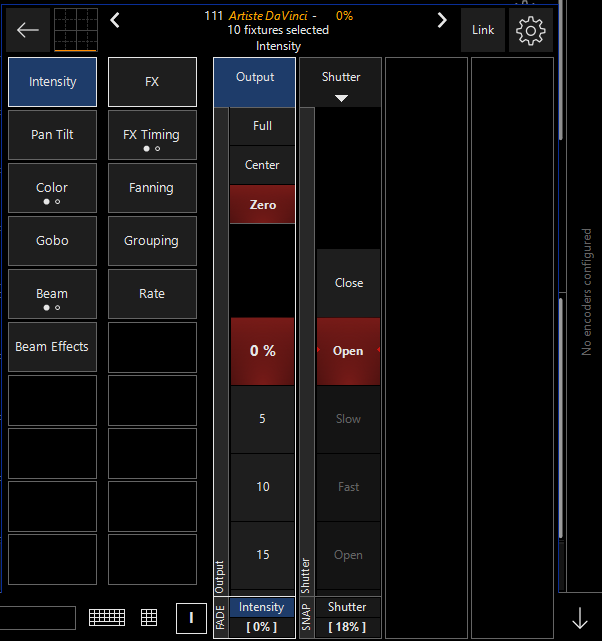
The Parameter Group buttons next to the on-screen belts work just like the encoder wheels or belts on
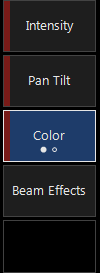
The red bar along the left hand side of the button indicates parameters in this group have been changed, and the blue button background indicates that is the currently selected parameter bank. The white dots below the button label indicate that the group has multiple parameter pages which can be accessed by pressing the button multiple times to page.
Touch the Keyboard or Keypad icons to have them opened over the top of the current screen view. They can be moved/dragged around the screen as needed.
