Patch Import
If you are working from a previous showfile or compatible visualizer, you can import your existing patch into ONYX via the Patch Import.
Patch importing is available from the Patch screen, which you can navigate to from the main view by pressing in the upper left-hand corner, and then pressing the icon:

Withing the "Tasks" section on the left sidebar, we see the import option:

We can import patches either from previous ONYX patch exports, or via CITP from compatible visualizers and other tools. Patches from ONYX shows previous to software version 4.6 may not import due to a mis-match in the fixture library. First, use Patch Exchange on the source showfile to swap the fixtures to the current fixture library, then follow the guide below to import.
ONYX Patch File Export/Import
Any ONYX show may export it's patch via the Main Menu and Show Settings Menu, under "Patch Tasks".
The resulting XML file may be imported via these steps:
1. From the "Import" page of the Patch window, press from the "Actions" section in the lower-left corner and select the file from the file explorer.
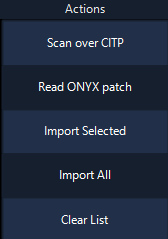
2. You'll then be able to view the patch in the import window. Via the "Actions" section seen above, we have the option to or .
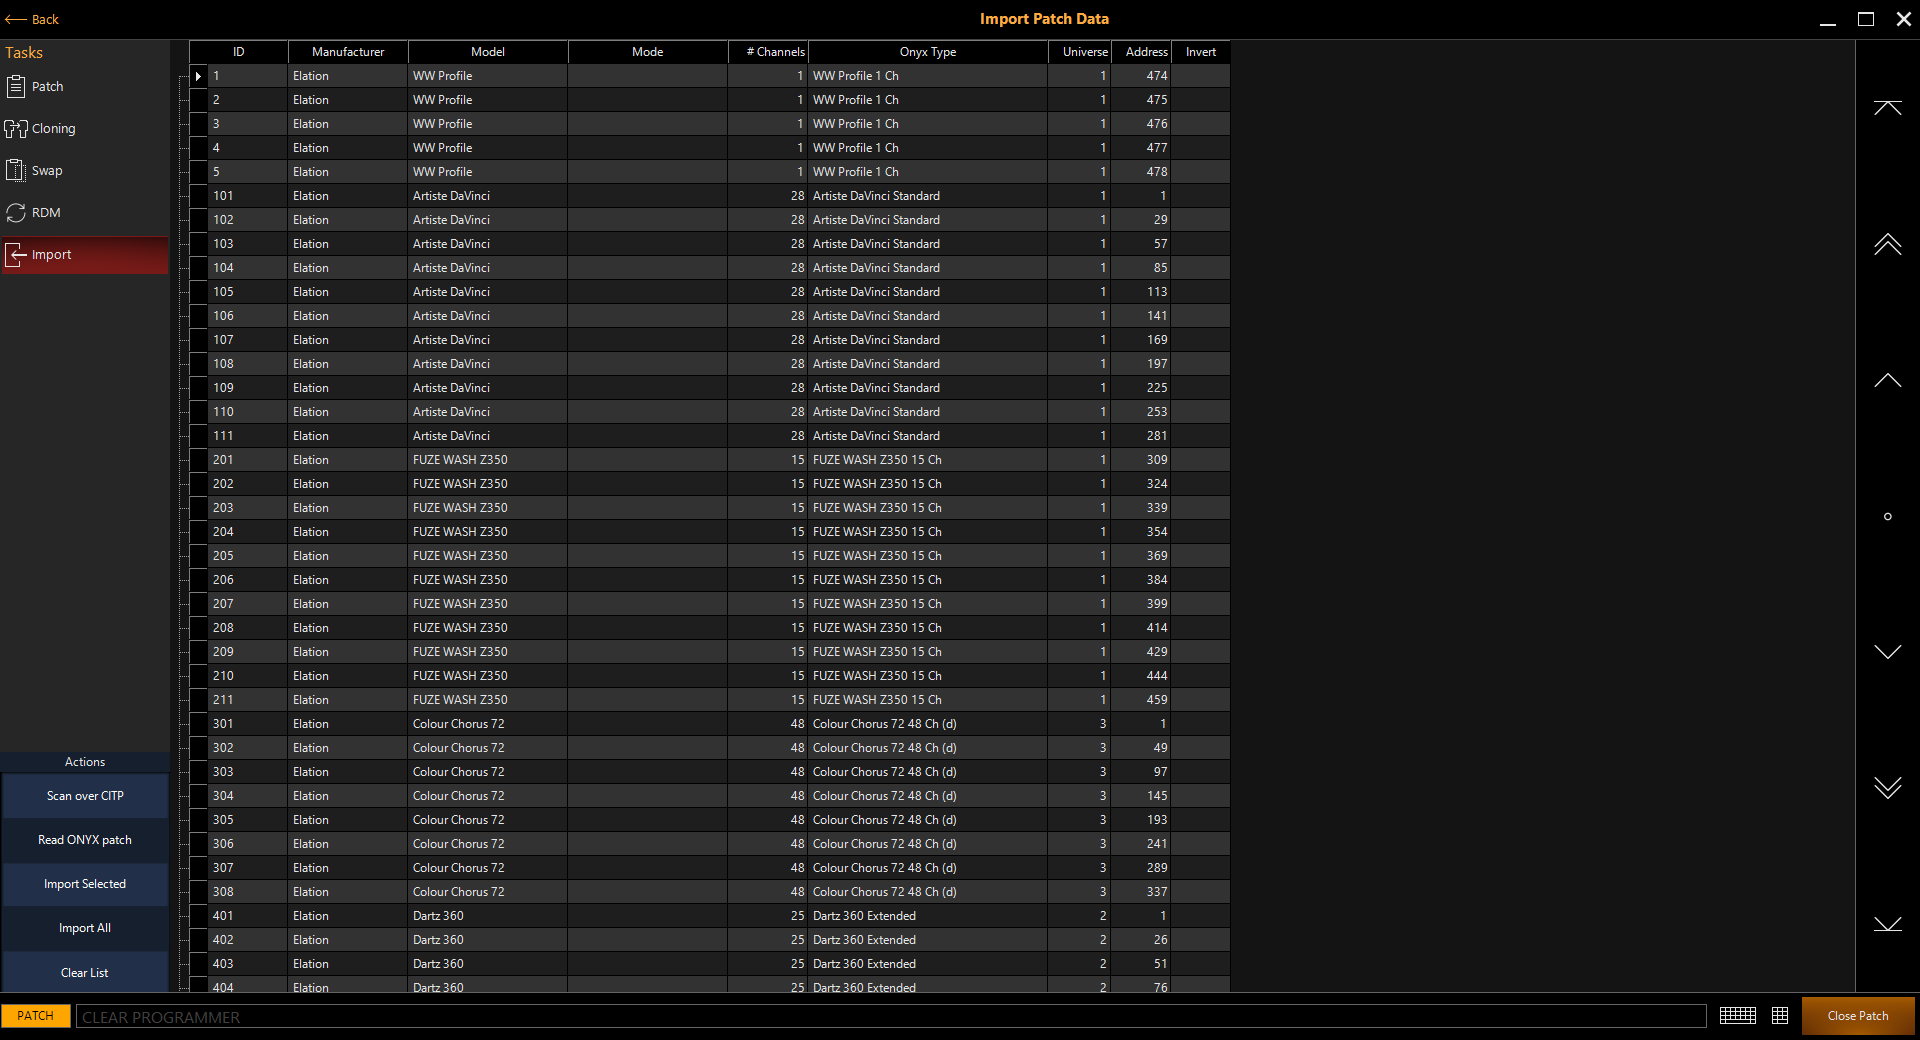
will only select those fixtures which have at least 1 cell of the import sheet selected.
will import the entire sheet.
Once an import is initiated, ONYX will follow the normal patch process of checking for conflicts, then patching. By default, ONYX will patch the fixtures as the type, at the universe and address read from the patch sheet.
If you are importing a lot of fixtures, this may take a few minutes.
CITP Import/Export
Visualizer and other tools that offer CITP integration can also sync patches and 2d Plan to ONYX and vice-versa.
1. Ensure that the visualizer and ONYX are connected via Network and that CITP is enabled. If you are unfamiliar with this process, see the CITP page for instructions.
2. From the "Import" page of the Patch window, press from the "Actions" section in the lower-left corner. You will then see a loading spiral on the button while ONYX searches for a CITP patch.
2. You'll then be able to view the patch in the import window. Via the "Actions" section seen above, we have the option to or .
will only select those fixtures which have at least 1 cell of the import sheet selected.
will import the entire sheet.
Once an import is initiated, ONYX will follow the normal patch process of checking for conflicts, then patching.
If you are importing a lot of fixtures, this may take a few minutes.
By default, ONYX will patch the fixtures as the type, at the universe and address read from the patch sheet. If the visualizer or tool that is connected does not have a perfect fixture match, ONYX will select the best fit, however you may change this (see Patch Import Options and Customizations).
ONYX will also create two different 2D Plan pages with a Front View and Top View, based off the information provided by the visualizer.