DyLOS Quickstart
This page is designed to give you a basic overview of DyLOS and get you running content across your lights quickly. There are 5 basic steps to working in DyLOS:
- Setting Up Your Views
- Loading Content into the Library
- Selecting Content on a Zone Fixture
- Using Effects in DyLOS
- Recording Your DyLOS Parameters to a Playback
The additional pages in this section will give you a deeper view and reference into all of the features that DyLOS offers.
1. Setting Up Your Views
The first step in working with DyLOS is to set up some views. DyLOS primarily makes use of 4 windows within ONYX:
-
Library - This window is where you load and manage your content, as well as view all content that is available to use.
-
2D Plan - Using the layout in your 2D Plan, you create Zones which are the canvases that your content plays on.
-
Zone Composer - This window allows you to apply content to your zones in a graphical manner, viewing each step as well as the final output, even when the Zone is not outputting.
- Zone Parameters - This is a combination of the Library and Zone Composer window, and is very helpful when mapping content in DyLOS.
If you're started a new show, these views are already located on the right sidebar of ONYX.
If you are using an older showfile and/or customized views, you can add these windows into your own custom views as needed - learn how to manage views here.
2. Loading Content into the Library
Navigate to the window:
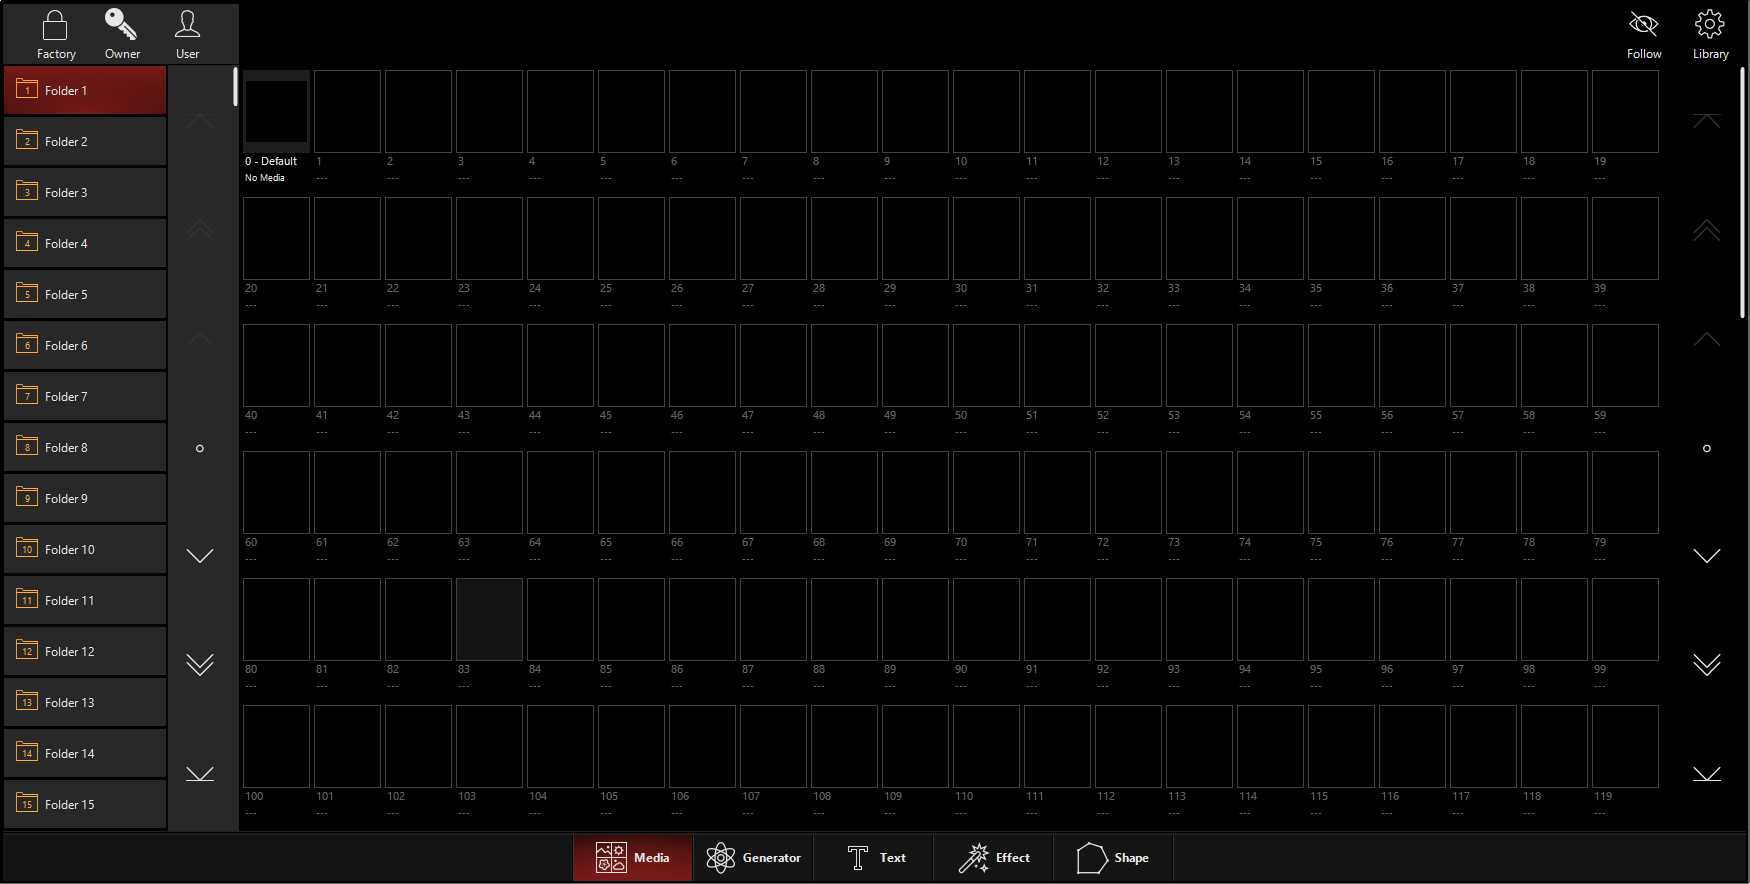
In the upper left corner, you can see a navigation bar with 3 icons at the top to navigate in between the different categories - , , and . Within each category of content, there are folders on the left which you can use to organize your content in any way you choose.
At the bottom of the window, we can see that we are in the type of content by default when we enter the Library. As you can see, there are also other types of content, but we will stick with media for this Quickstart tutorial.
On the right, you can see your content.
Navigate to the Media content by pressing the icon in the top left of the window:
![]()
Here, in Folder 1 you can see the first set of media content that is included with ONYX. These are Monochromatic Static Image Files:
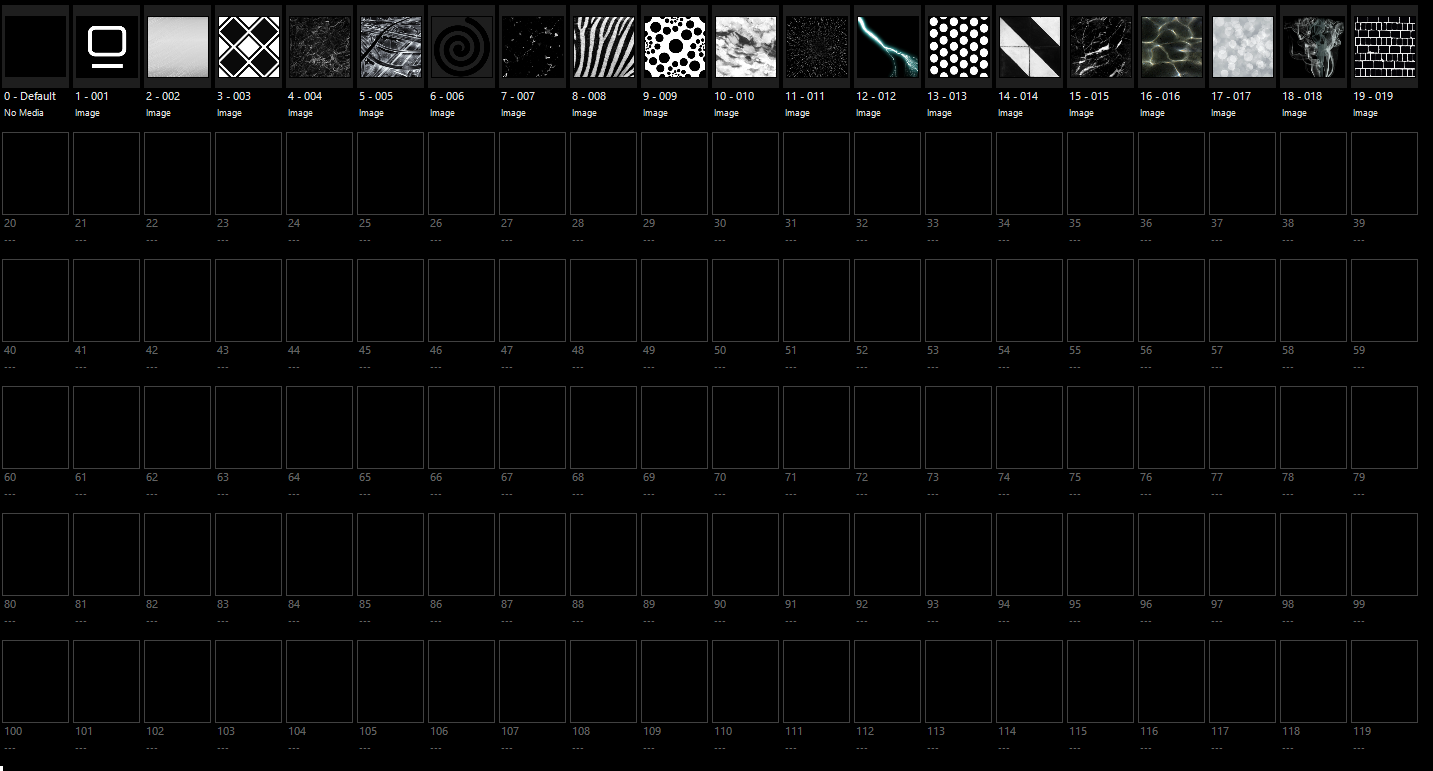
If you are using a show file that was created before ONYX version 4.4, then you may need to resynchronize the factory media to get it to appear in your show file. See Resynchronizing Media.
If this is your first time using the DyLOS factory media, then you do need to download and install it. See Importing and Exporting Content for full instructions and the download link.
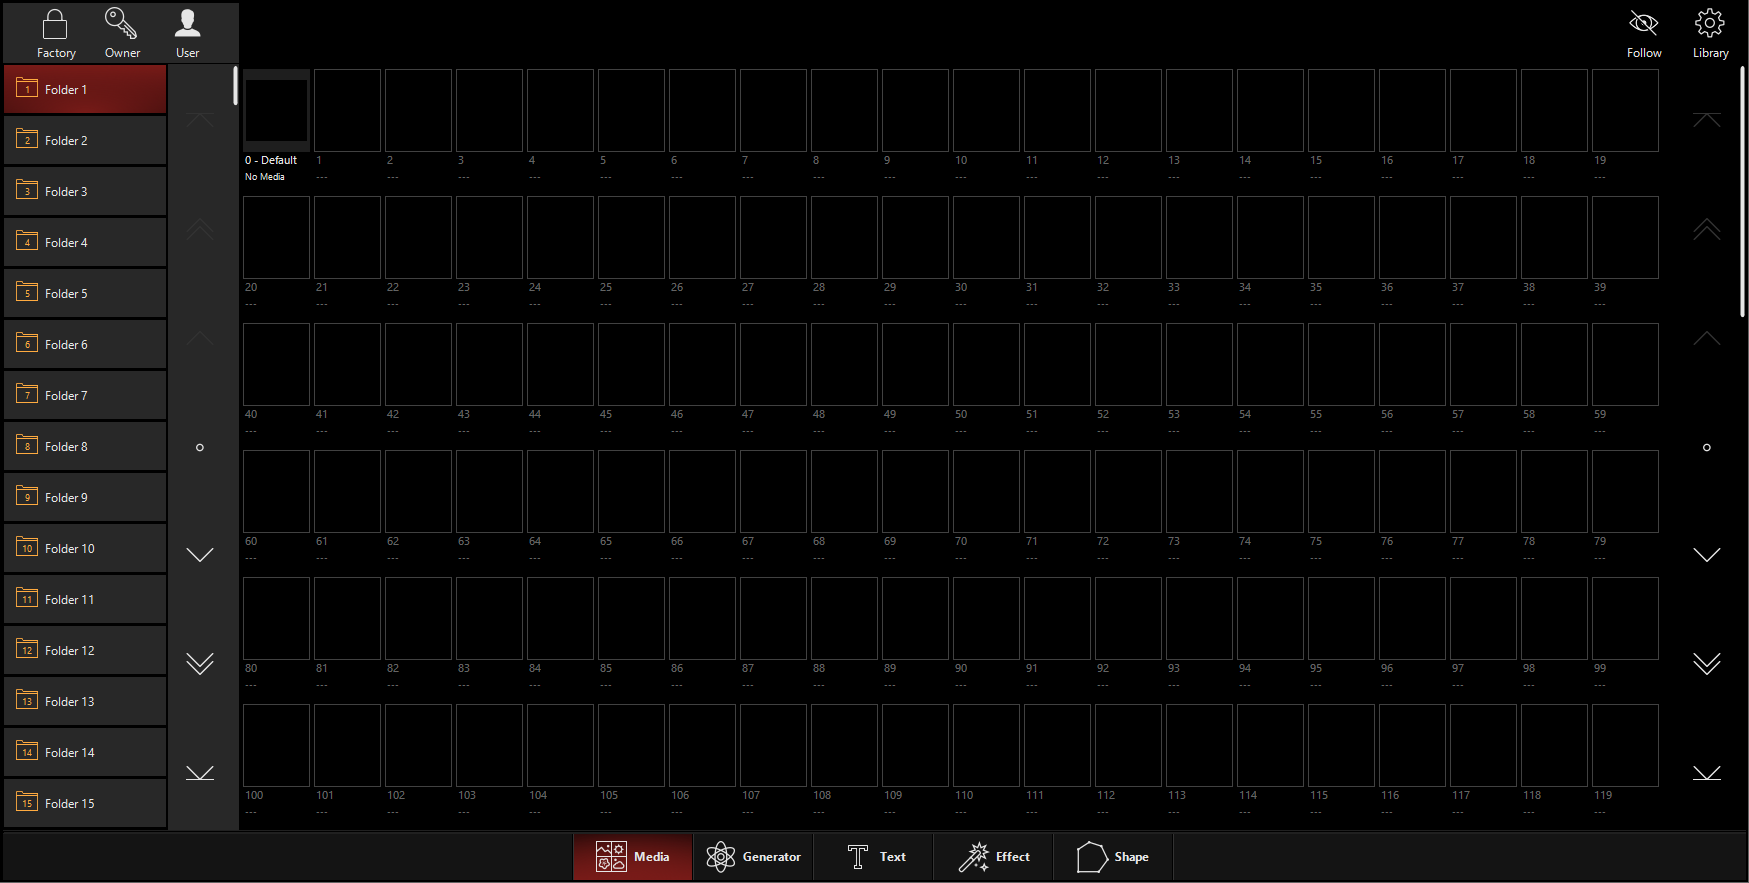
Now, press the Media. On a new show, you will see open Media slots 0-255 for each folder.
Adding "User" Media Content
To add media, simply hold and press any empty media slot, then choose from the popup:
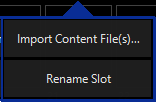
A file browser will appear, and you can select your content. Single or multiple pieces of content may be selected at once. If multiple pieces of content are selected, they will be added in alphabetical order to the next available spaces.
You may also "drag and drop" content into empty spaces if you are on a PC. Right-clicking an empty space on a PC will also open this pop-up.
When the media content is imported, you will see it load into the interface as it is automatically optimized to run smoothly in ONYX. If you have added a lot of media at once, this may take a few minutes. This will vary based on your system's hardware specifications and the size of the media added.
Now, your content is ready to use in a Zone fixture.
Saving With User Content
When you add or delete media or other content in your show, it's a great idea to save a full backup with content. Use the Quick Menu, found by pressing in the upper left hand corner and choosing
![]()
Now is a great time to do this, so that you do not forget to do it later! If you have added a lot of content since your last "Save with Content", this may take awhile, but there is a handy progress readout as you save:
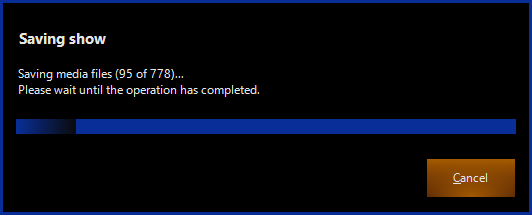
Note, this only applies to "User" and "Owner" content. Factory content is automatically saved within the console's memory, and is not part of the showfile.
3. Creating a Zone Fixture
A Zone fixture is a virtual canvas that allows you to play content on top of the lights within it. Let's add a Zone Fixture so that we can begin working with content!
Navigate to the 2D Plan view and enter "Edit Mode" by pressing the icon near the left-top corner:

Assuming you have already placed fixtures in your 2D Plan, press and choose the type. If this is your first time using DyLOS in this showfile, you will need to enable DyLOS in this tab by pressing the button:

Once you have enabled DyLOS support, press and choose the type.
By default is selected, and this is what we will use since we have not created any Zone Fixtures yet. Press and you will be able to draw a rectangle as your Zone fixture:
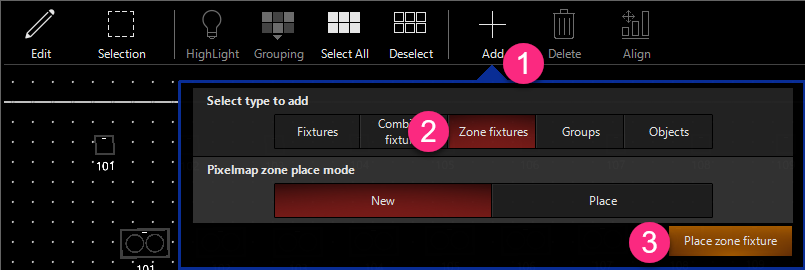
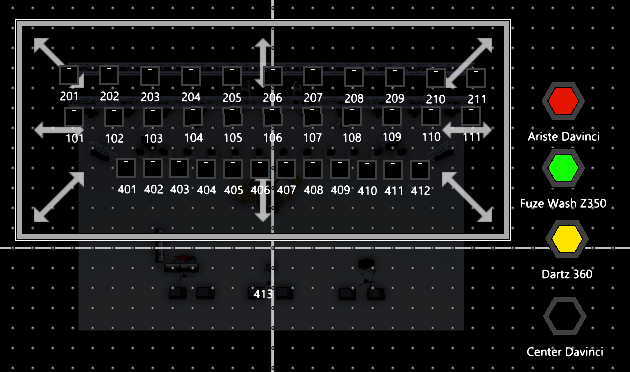
When your Zone fixture is ready, you may use the arrows that appear in Edit mode to re-size your Zone as desired. Your Zone fixture can be re-sized at any point in the future in Edit mode. When re-sizing, the changes are live as you make them, so you can see the affects of your Zone scaling live as you move it.
Press to exit edit mode so that you can begin mapping content to your new zone!
4. Selecting Content on a Zone Fixture
Now we're ready to play our content across our lights. For this example, I'm using the view "2D Plan - Zone Composer" from the "Compose" workspace, which has the 2D Plan and Zone Composer windows within the same view.
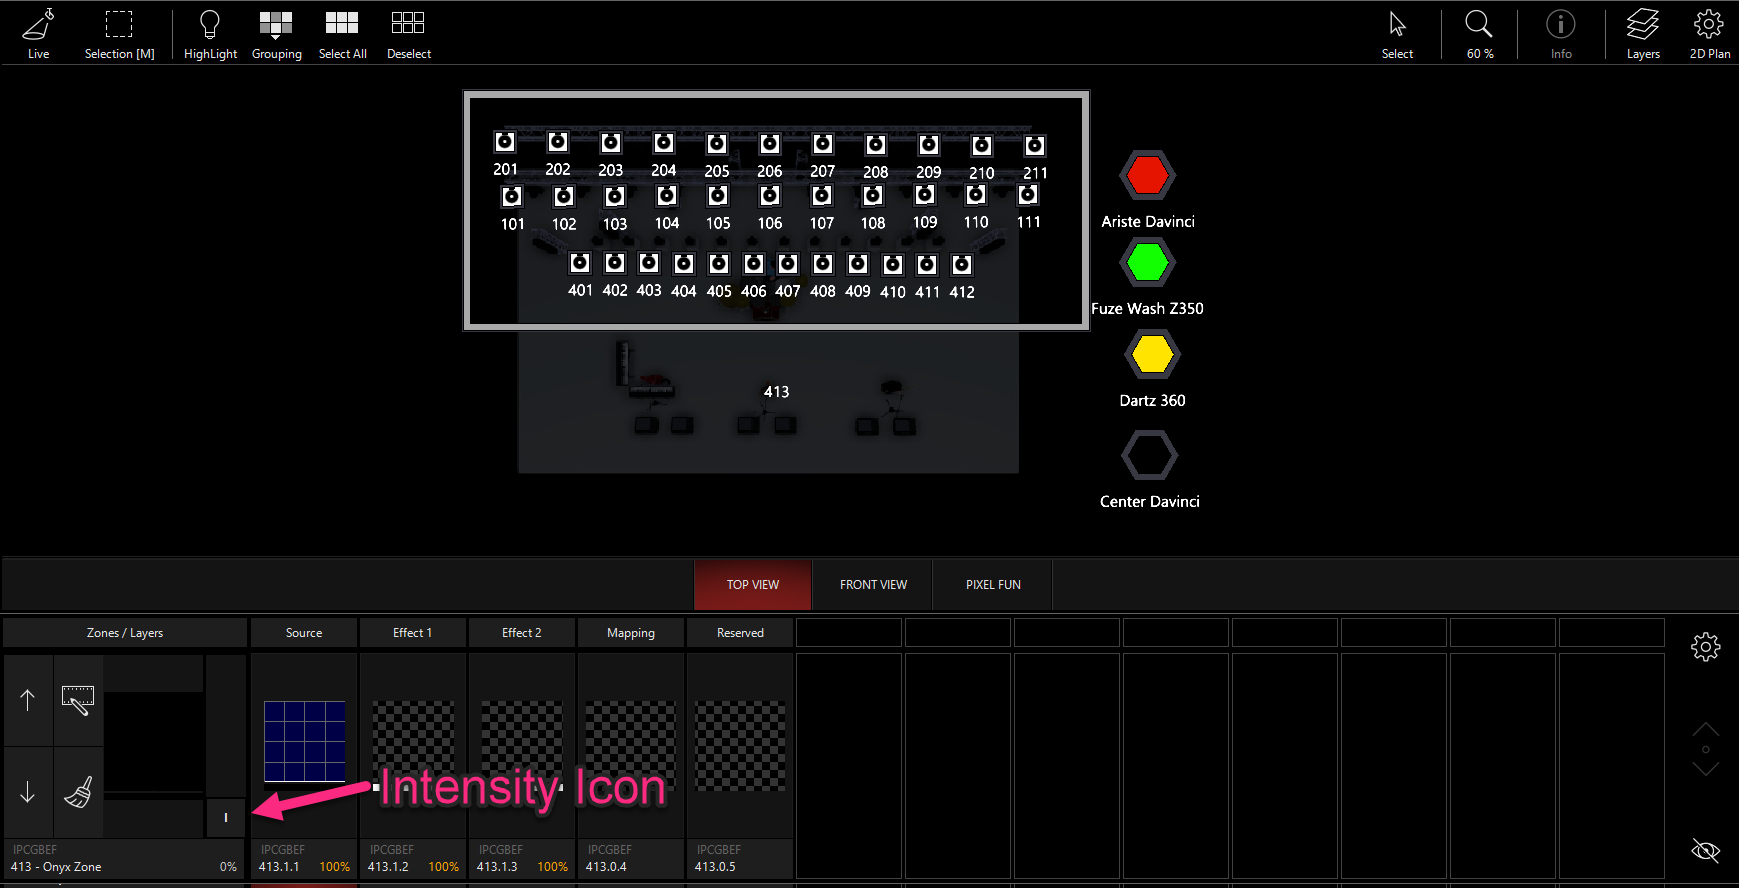
Here we can see our first zone in the Zone Composer. On the left, we have the master control of the Zone's intensity. Moving to the right, we have our , and , , and . Each of these slots are selectable graphically by pressing them, and also via the Command Line like any other fixture.
First, select the master fixture for the ONYX Zone that you have created by pressing on . On the right side of the Zone, you'll see the control (the "I" square icon) - let's bring that to full.
Select user content by pressing the "Pencil" icon on the master fixture for the Zone you are working in:
![]()
Along the bottom, the 3rd icon from the left is where you will see a very familiar sight - the media section of the Library, via the Zone Parameters window.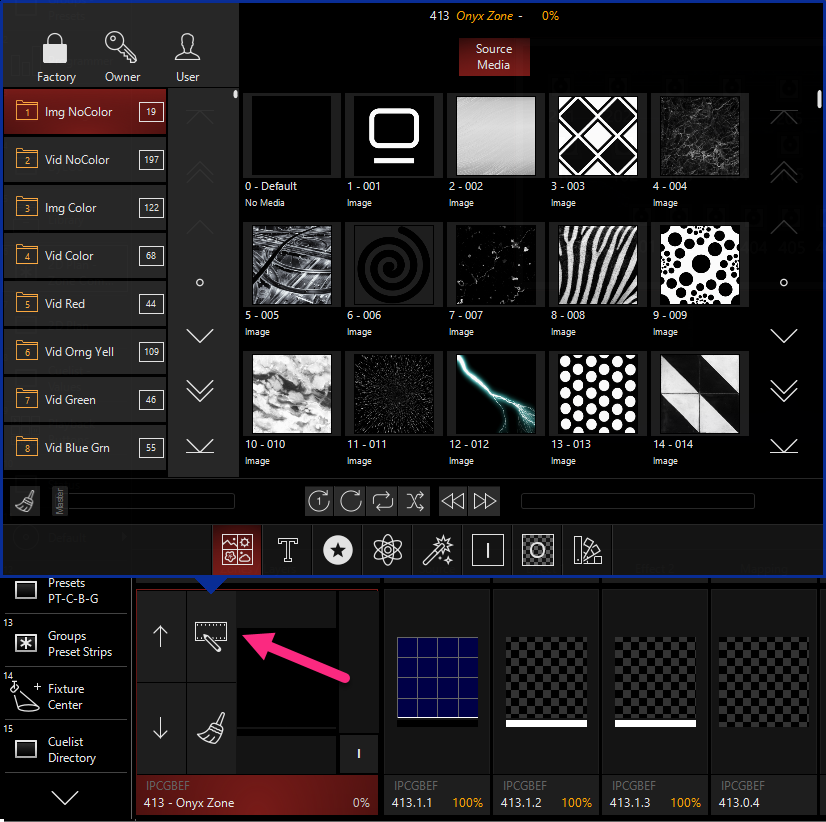
Here you can navigate to the 4th folder of the Factory content "Video - Color", and select the first piece of media content:
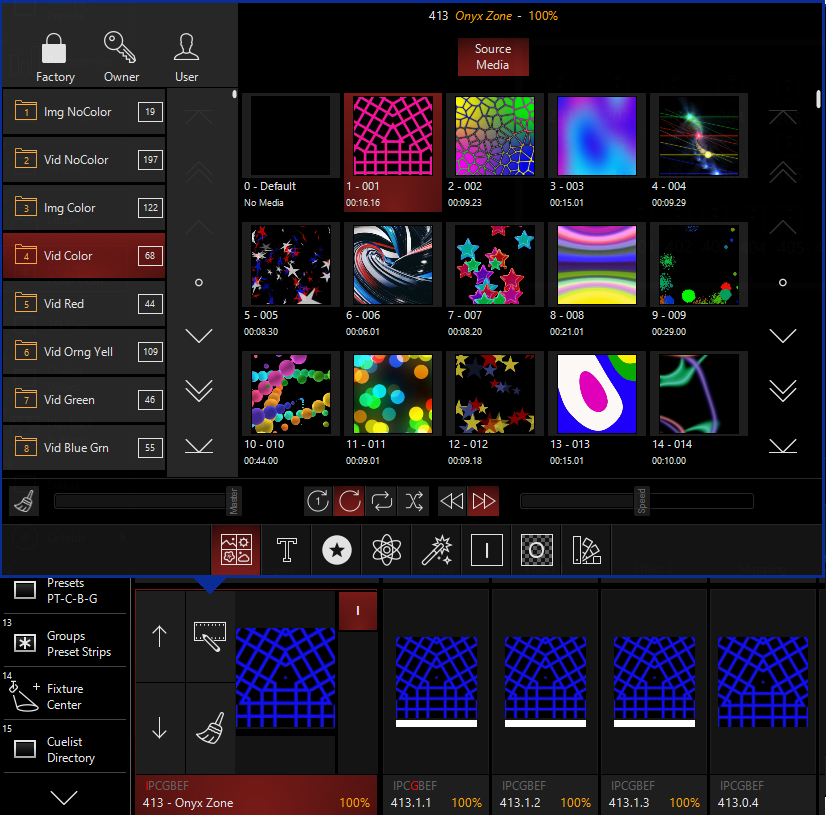
Once the media is selected, it will play and you will see the output in the Mapping section, as well as on your 2D Plan, and of course - on your lights!
5. Using Effects in DyLOS
The Effects 1 and 2 are slots which you can blend with the source to make your final mapping. While the capabilities are vast, we'll just go over a basic tutorial for this quick start. The full details are in the other pages of this section.
When no effect is selected, you will simply see the content that is showing through from the previous media slot. You can use the "Pencil" icon again to select content for the Effect 1 Mask slot:
For this example we'll use the first effect from the , which is called
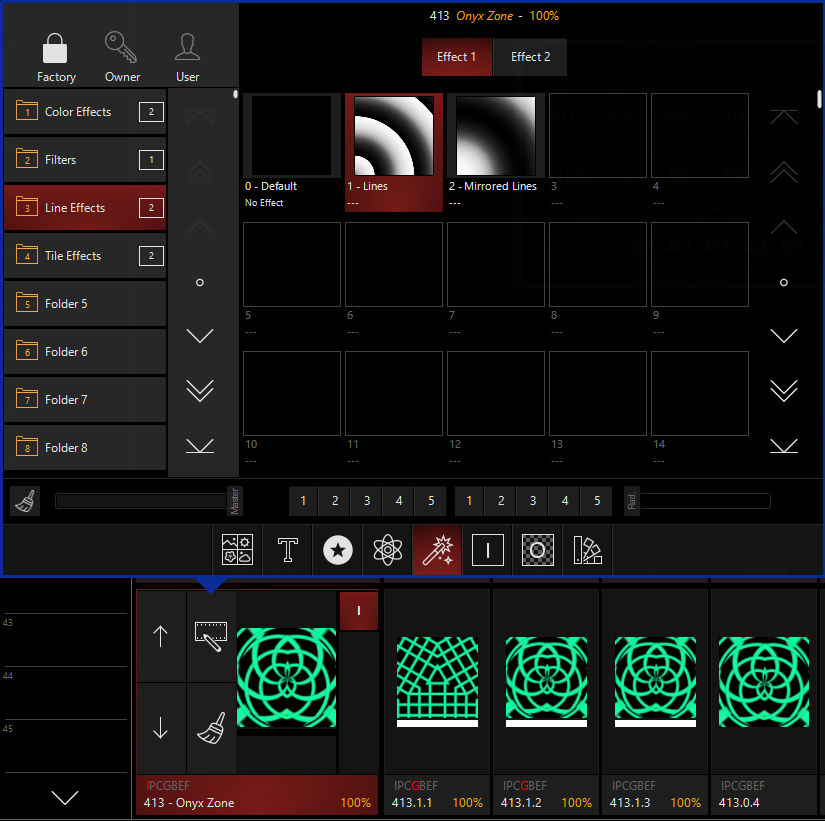
There are a variety of parameters to control how the line effect applies, and you can learn a lot about them by experimenting. We will cover them all later in this section of the manual.
For now, pull up your Channel Visualization display and press the parameter group. Set the and both to on the encoders:
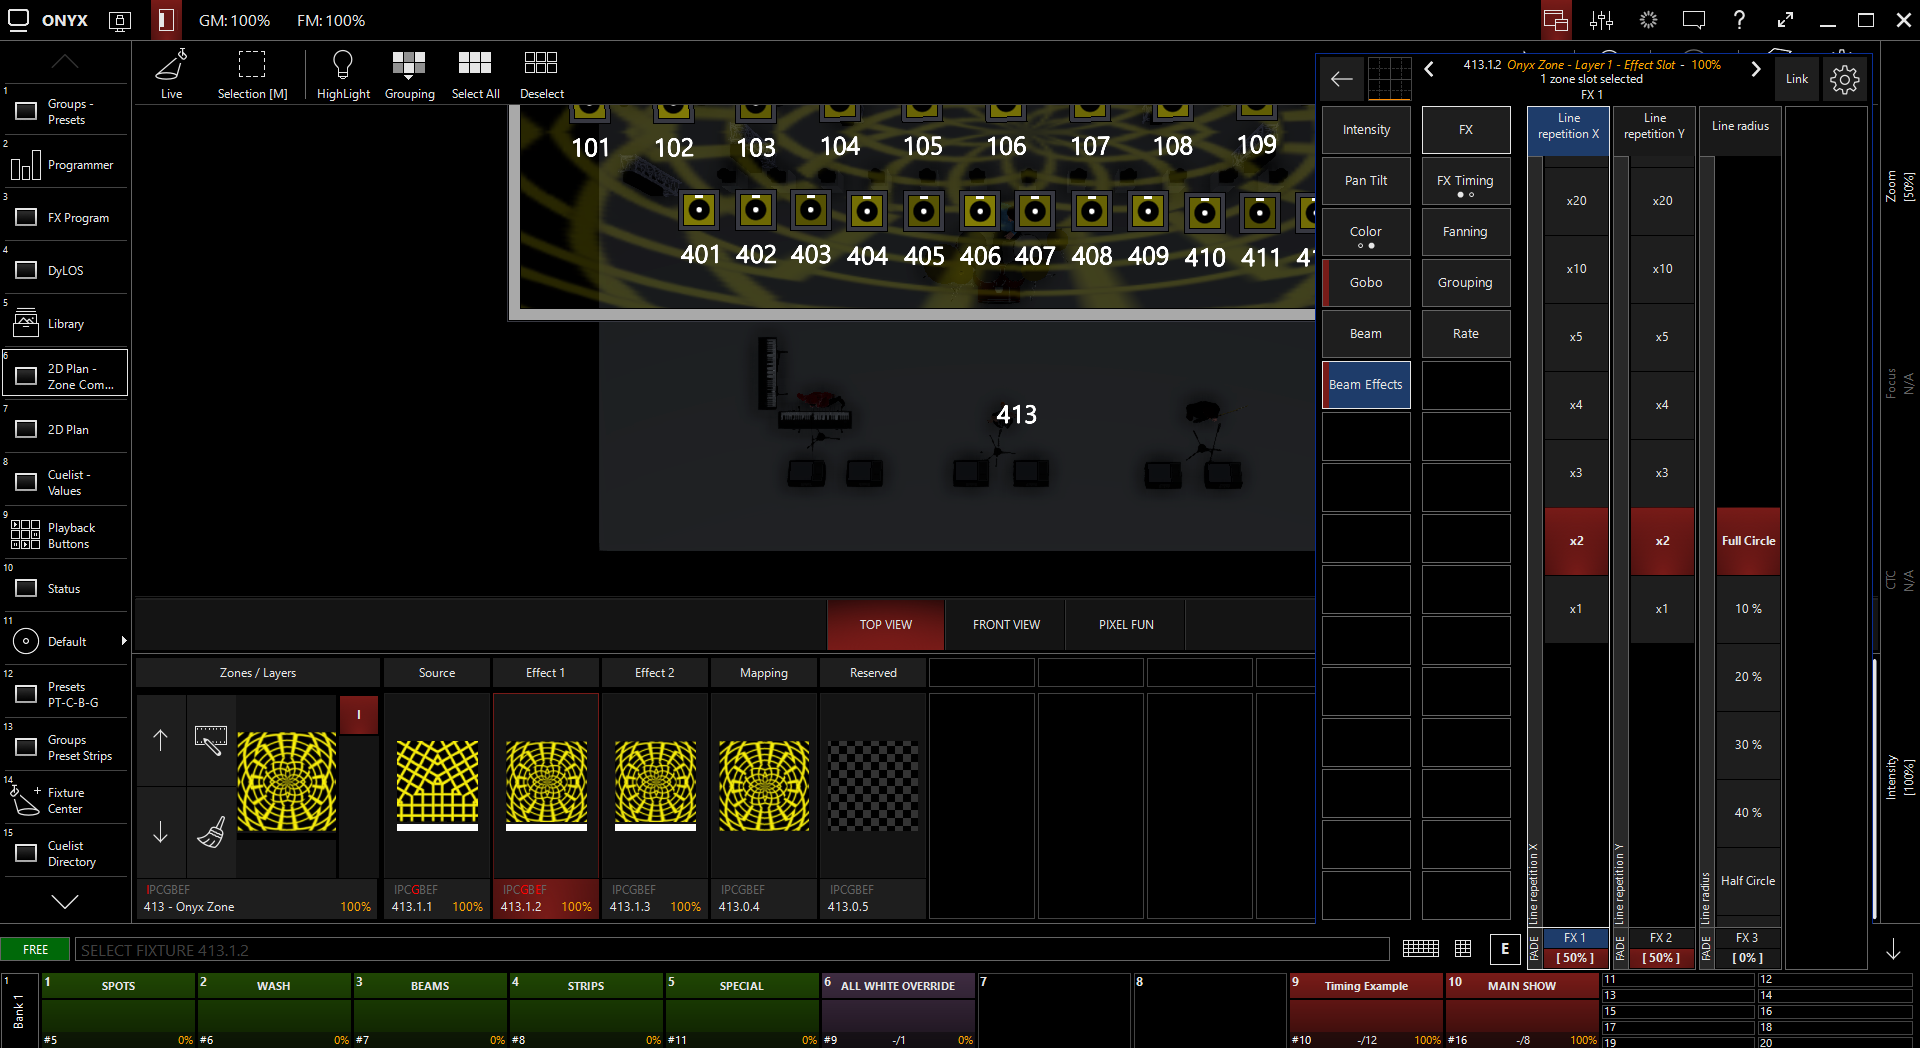
You can now see how the simple source is transformed into a group of concentric rings.
Now is a great time to remember that all of the parameters inside of DyLOS work identically to those within any other fixture in ONYX. To give an example of this, let's create an effect on the parameter:
Press on the encoder for and see that is has the white selection line around it:
Now, press the parameter group. Just like any other attribute, we can apply an effect to this using Swing, Speed, and Mode. Here is one example:
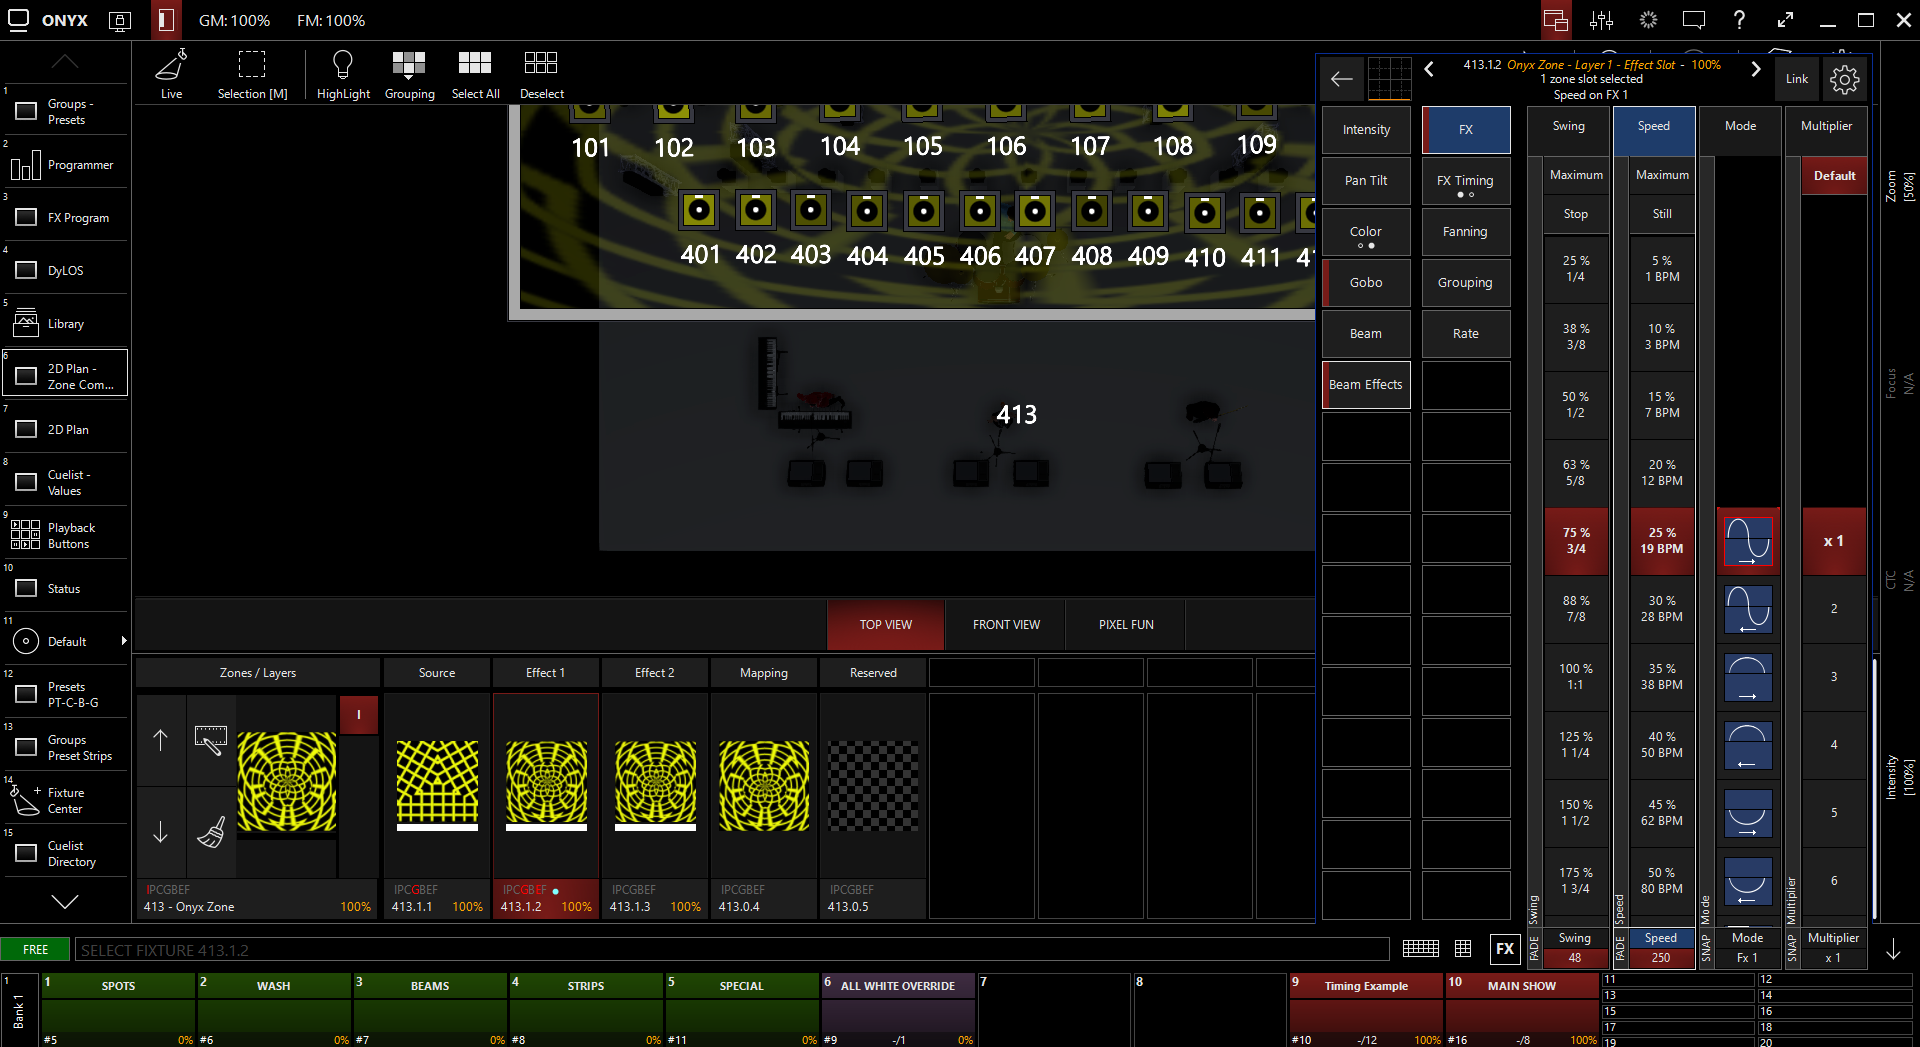
This is a simple form of an effect over the media. Note how there are parameter groups for Pan Tilt, Color, Gobo, Beam, and Beam Effects for this sub-fixture. All of these parameter groups contain powerful parameters for modifying your Source and Media.
Recording Your DyLOS Parameters to a Playback
Inside of DyLOS, all of the content parameters record and function just like any other parameter of any other fixture inside of ONYX. To record them to a cuelist, simply press and then press your cuelist or press to store a new cue on the selected cuelist. After you select the cuelist type (for new cuelists), you can and play back your media.
In this example, I have chosen a regular "Red" cuelist.
It is very simple to clear only portions of your Zone using the "broom" icon:
![]()
Once you make a look you like and Record it, it's simple to partially clear. Just press the broom icon, and then you'll see this pop-up:
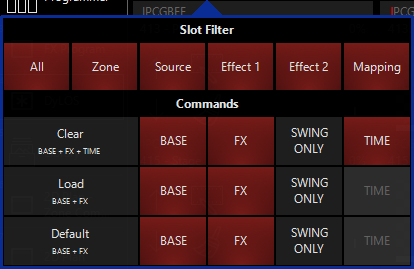
Choose the option you desire to instantly clear out items. Only slots that you have loaded into the programmer will show as clear-able in this pop-up.
We hope you enjoy working with DyLOS! Please check out the rest of the DyLOS section, as this quickstart has only scratched the surface!